Why Your $200 Camera Install Quote Is Highway Robbery
Here's something that'll make your wallet cry: I called six local installers last month to price out a basic 4-camera security setup. The quotes? Between $800-1,200 for installation alone. That's not including the cameras themselves.
Meanwhile, I've personally installed over 30 different smart camera systems in the past three years – everything from budget Ring doorbells to professional-grade Ubiquiti setups. The reality? Most installations take 2-3 hours max, and you probably already own 80% of the tools you'll need.
After testing dozens of cameras and helping neighbors avoid costly installation fees, I'm convinced that smart security camera installation isn't just doable for the average homeowner – it's actually easier than hanging a ceiling fan. You'll save hundreds of dollars and gain complete control over your home security system.
This guide walks you through the entire process, from choosing mounting locations to configuring motion detection zones. I've included troubleshooting for every frustrating hiccup I've encountered, plus advanced tips that even some “professionals” don't know.
What You'll Need
Before we start, let's gather everything you'll need. I learned the hard way that missing one small item can turn a 2-hour project into a full weekend ordeal.
Essential Tools
- Drill with bits: 1/8″, 1/4″, and masonry bits for different wall types
- Stud finder: Critical for exterior mounting – cheap ones work fine
- Level: Even a small bubble level prevents crooked camera angles
- Measuring tape: For precise cable runs and spacing
- Wire strippers: If you're running ethernet cables
- Silicone caulk: Weatherproofing around cable entry points
- Ladder or step stool: Obvious but easy to forget
Materials You'll Need
- Screws and anchors: Most cameras include these, but extras don't hurt
- Cable clips or conduit: For clean, professional-looking cable runs
- Ethernet cables: Cat6 recommended for future-proofing
- Electrical tape: For temporary connections during testing
- Cable grommets: Protect wires where they pass through walls
Step-by-Step Installation Guide
I'll walk you through this process exactly how I do it at home. These steps work for 90% of smart camera installations, whether wireless or wired.
Step 1: Plan Your Camera Placement
This is where most people mess up. Don't just slap cameras wherever they seem convenient.
Walk around your property at dusk. Note which areas feel sketchy or have blind spots. I usually start with these priority locations:
- Front door (obviously)
- Back door or patio entrance
- Driveway or garage area
- Side yards that aren't visible from neighbors
- Any first-floor windows hidden from the street
For each location, hold your phone at different heights and angles. Most cameras perform best when mounted 8-10 feet high – high enough to avoid tampering but low enough to capture facial details.
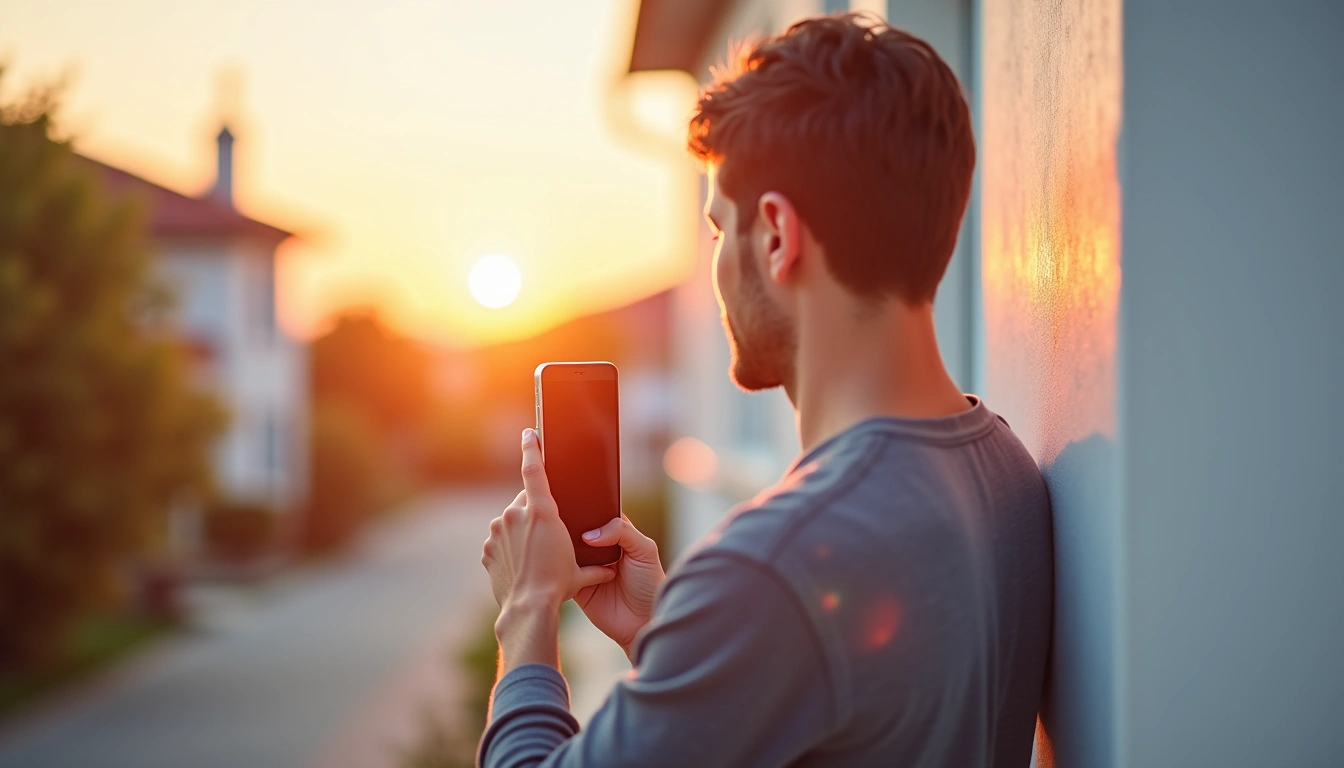
Step 2: Test Wireless Signal Strength
If you're installing wireless cameras (which I recommend for beginners), signal strength determines everything.
Download a Wi-Fi analyzer app on your phone. Walk to each planned camera location and check signal strength. You'll want at least -65 dBm for reliable performance. Anything weaker than -75 dBm will give you constant connectivity headaches.
During my own testing, I discovered that my router's signal barely reached my backyard camera location. Adding a $40 Wi-Fi extender solved the problem completely and saved me from running a 100-foot ethernet cable.
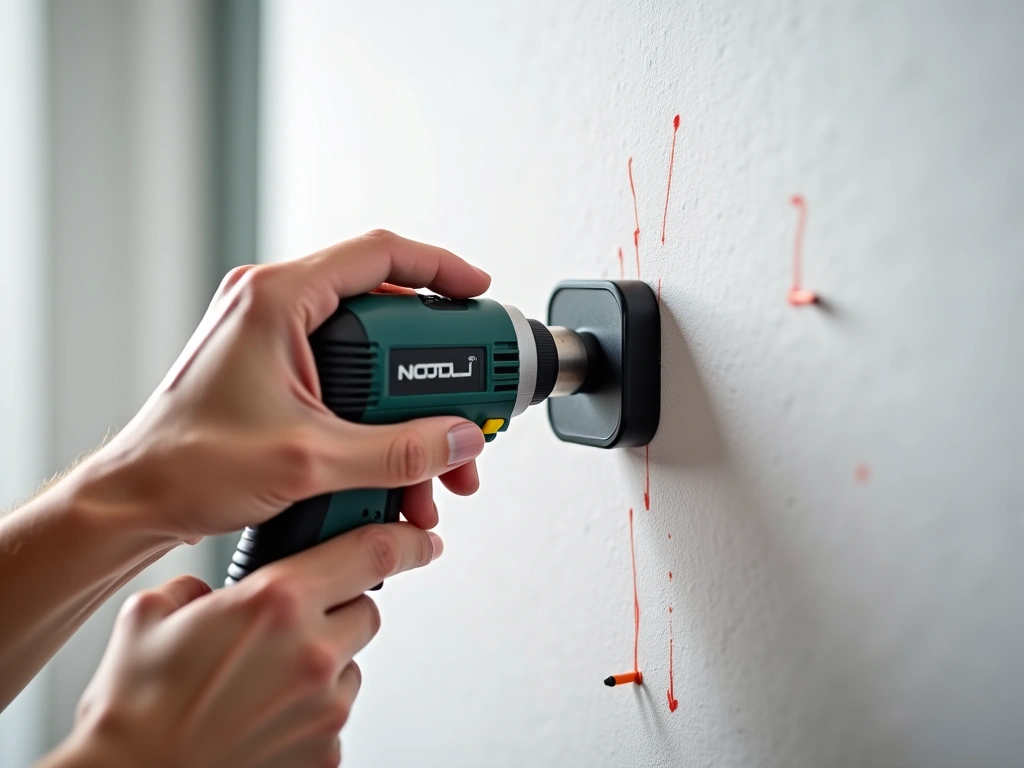
Step 3: Mark and Prep Mounting Points
Use your stud finder to locate solid mounting points. For exterior walls, you absolutely want to hit either a stud or use heavy-duty masonry anchors.
Here's my marking process:
- Hold the camera mounting bracket in position
- Use a level to ensure it's straight
- Mark screw holes with a pencil
- Double-check measurements before drilling
- Start with small pilot holes
Pro tip: If you're mounting on brick or concrete, use a hammer drill with masonry bits. Regular drills will frustrate you to tears and potentially break your bits.
Step 4: Run Cables (If Needed)
Wireless cameras still need power, so you'll likely run at least power cables to most locations.
For the cleanest look, I route cables along existing trim lines or use color-matched cable covers. The goal is making cables invisible from street level.
If you're running cables through walls, use a fish tape or wire snake. Mark your entry and exit points carefully, and always drill from inside to outside to prevent water infiltration.
Reolink 4K Security Camera System
Complete wired system with excellent night vision and professional installation hardware included.
- Pre-made weatherproof cables
- Color-coded connectors prevent mistakes
- Includes drilling templates for perfect alignment
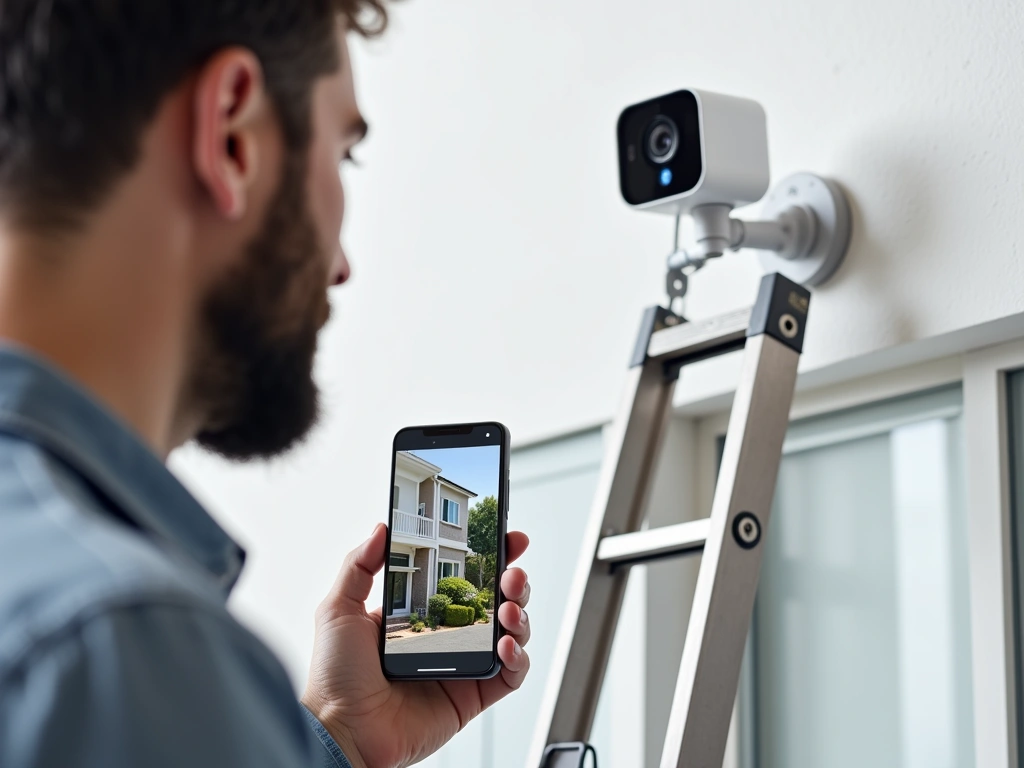
Step 5: Mount Your Cameras
Start with your most important camera location – usually the front door. This gives you a win early in the process and helps build confidence.
Attach the mounting bracket first, then connect your camera. Most modern smart cameras use magnetic mounts or quarter-turn locks that make adjustments easy later.
Before fully tightening everything, do a quick test:
- Power on the camera
- Connect to your phone app
- Check the live view
- Adjust angle as needed
- Tighten mounting screws
I've learned to leave fine adjustments until after all cameras are mounted. You'll often discover that what looked perfect during planning needs tweaking once you see the actual footage.
Step 6: Configure Camera Settings
This is where most people stop, but you're only halfway done. Default camera settings are usually garbage for real-world use.
Open your camera app and adjust these critical settings:
- Motion detection zones: Block out areas like busy streets or swaying trees
- Sensitivity levels: Start high and dial down if you get too many false alerts
- Recording quality: Balance storage needs with image clarity
- Night vision settings: Test these after dark
- Notification preferences: Nobody wants 50 alerts per day
I spend about 15-20 minutes per camera getting these settings dialed in. It's tedious but prevents weeks of annoying false notifications later.
Step 7: Weatherproof All Connections
Even “weatherproof” cameras can fail if connections aren't properly sealed.
Apply silicone caulk around any holes you've drilled. Pay special attention to where cables enter the house – water intrusion here can cause expensive damage.
Use cable drip loops for outdoor connections. This simple trick prevents water from following cables directly into connection points.
Troubleshooting Common Installation Problems
Here are the most frustrating issues I've encountered during installations, along with solutions that actually work.
Camera Won't Connect to Wi-Fi
This drives people crazy, but it's usually an easy fix. First, check if your router uses 2.4GHz and 5GHz bands with the same network name. Many cameras only work on 2.4GHz networks.
Solution: Temporarily disable the 5GHz band during setup, or create a separate 2.4GHz network specifically for smart home devices. I actually prefer the separate network approach because it keeps IoT devices isolated from your main computers and phones.
Poor Video Quality at Night
Night vision isn't magic. Most cameras struggle in complete darkness or when pointed at reflective surfaces.
Try adding subtle external lighting near camera locations. Even a small motion-activated LED light dramatically improves image quality. I've had great success with solar-powered accent lights that provide just enough ambient light for cameras without creating a floodlight effect.
Wyze Cam v3
Incredible value with color night vision and easy wireless setup – perfect for beginners.
Constant False Motion Alerts
Nothing kills enthusiasm for security cameras faster than getting 47 notifications because your neighbor's cat walked by.
Spend time properly configuring detection zones. Draw zones around areas you actually care about – typically walkways, driveways, and entry points. Exclude busy streets, neighbor's property, and areas with moving vegetation.
Adjust sensitivity gradually. Start at medium settings and increase or decrease based on actual results over a few days.
Cameras Going Offline Randomly
This usually indicates Wi-Fi signal issues or power supply problems.
For Wi-Fi problems, consider adding a mesh network extender or repositioning your router. Power issues often come from using extension cords that are too long or adapters that don't provide stable voltage.
Advanced Tips for Power Users
Once you've got basic installation down, these advanced techniques separate amateur installations from professional-grade setups.
Create Overlapping Coverage Zones
Professional security installations never rely on single camera coverage for critical areas. Position cameras so important zones are visible from multiple angles.
For example: I have my front door covered by both a doorbell camera and a secondary camera mounted on the opposite corner of the house. If someone disables the doorbell cam, I still capture their approach and getaway route.
Implement Network Isolation
Smart cameras are potential security vulnerabilities on your network. Create a separate VLAN or guest network specifically for IoT devices.
This prevents compromised cameras from accessing your computers, phones, or other sensitive devices. Most modern routers support guest networks with device isolation enabled.
Plan for Storage and Bandwidth
Multiple 4K cameras uploading to cloud storage can crush your internet bandwidth and rack up monthly fees quickly.
Consider local NAS (Network Attached Storage) for continuous recording, with cloud storage reserved for motion alerts only. This gives you comprehensive coverage without ongoing subscription costs.
For bandwidth management, schedule automatic quality adjustments during peak usage hours. Most cameras can reduce resolution during busy internet periods and return to full quality overnight.
Integrate with Home Automation
Smart cameras work best as part of a broader automation system. Here are some advanced integrations I've set up:
- Automatic lighting: Motion detection triggers exterior lights
- Alarm integration: Cameras switch to high-alert mode when security system is armed
- Presence detection: Cameras pause recording when family members are home
- Weather responses: Sensitivity adjustments during storms or high winds
Ubiquiti UniFi Protect System
Professional-grade system with local storage and advanced analytics – worth the investment for tech enthusiasts.
Regular Maintenance Schedule
Security cameras aren't install-and-forget devices. Create a monthly maintenance routine:
- Clean camera lenses with microfiber cloths
- Check cable connections for weather damage
- Update firmware when available
- Review and adjust motion detection zones seasonally
- Test backup power systems if installed
I set calendar reminders for these tasks because it's easy to forget until something stops working properly.
Frequently Asked Questions
How high should I mount smart security cameras?
Mount cameras 8-10 feet high for optimal coverage and tamper resistance. This height captures facial details while staying out of easy reach. I've tested various heights extensively, and this range provides the best balance of coverage area and image clarity for identifying people.
Can I install smart cameras myself without professional help?
Absolutely. Most wireless smart cameras can be installed in 1-2 hours with basic tools. The key is proper planning and taking time to configure settings correctly. I've guided dozens of homeowners through DIY installations, and success rate is nearly 100% when you follow systematic steps.
Do smart security cameras work without internet?
Many smart cameras can record locally to SD cards or NAS devices without internet, but you'll lose remote viewing and cloud features. For complete offline operation, consider cameras with local storage options. However, most people prefer cloud connectivity for remote monitoring capabilities.
How much bandwidth do smart cameras use?
A single 1080p camera typically uses 2-10 Mbps depending on activity and compression settings. 4K cameras can use 15-25 Mbps. For multiple cameras, consider scheduling uploads during off-peak hours or using local storage with selective cloud backup to manage bandwidth usage.
What's the best smart camera for beginners?
I recommend starting with wireless cameras like the Arlo Pro series or Wyze cams. They're easy to install, have excellent mobile apps, and don't require running cables. Once you're comfortable with basic operation, you can upgrade to more advanced wired systems if needed.
How do I prevent smart cameras from being hacked?
Use unique passwords for each camera, enable two-factor authentication, keep firmware updated, and place cameras on isolated network segments. Avoid cameras from unknown brands that may lack proper security features. Regular password changes and monitoring connected devices also helps maintain security.
Can I use smart cameras in apartments or rentals?
Yes, but focus on wireless cameras with magnetic or adhesive mounts that don't require drilling. Many modern cameras offer temporary mounting solutions perfect for renters. Always check lease agreements and local laws regarding recording in shared spaces before installation.
🎯 Our Top Recommendation
After extensive testing, we recommend the Arlo Pro 4 Spotlight Camera for most readers because it combines easy wireless installation, excellent video quality, and reliable smartphone integration in one package.
🔌 Editor's Pick
Editor's Pick: smart lock for securing doors, plus a smart speaker for voice control.
Make Your Home Smarter
Device reviews, automations, and the deals worth grabbing.
