Why I Decided to Install My Own Security System
Three months ago, my neighbor's house got broken into while they were at work. The thieves took everything valuable in under 20 minutes. That incident made me realize something: traditional security wasn't cutting it anymore. I needed something smarter, something I could monitor from anywhere.
After spending weeks researching and testing different systems in my own home, I've learned that setting up a comprehensive smart security system isn't just about screwing cameras to walls. It's about creating an interconnected network that actually protects your family and property.
Here's what surprised me most: 67% of burglars avoid homes with visible security systems, and smart systems with real-time alerts are 3x more effective than traditional setups. But here's the kicker – you don't need to pay $200+ monthly for professional monitoring when you can set up your own system for a fraction of that cost.
I've personally installed and tested over a dozen different smart security setups in the past year. This guide walks you through exactly how I set up my current system, which has been running flawlessly for six months and costs me less than $30 per month to operate.
Before You Start: What You Actually Need
Look, I made some costly mistakes during my first installation attempt. Don't be like me and assume you can wing this without proper preparation. Here's what you absolutely need before touching any equipment:
Internet Requirements
Your system will only be as reliable as your internet connection. I recommend at least 10 Mbps upload speed for every 4-5 cameras. Test this using Speedtest.net from the location where you'll place your hub.
Most people don't realize this, but wireless cameras can consume 2-10 GB of data monthly per camera. If you have data caps, factor this into your internet plan.
Power Planning
Count your available outlets near installation points. I learned this the hard way when I had to run extension cords under rugs – not exactly professional looking. Battery-powered cameras sound convenient, but they need charging every 2-6 months depending on usage.
Tools You'll Need
- Drill with masonry and wood bits
- Level (the small bubble type works fine)
- Screwdriver set
- Wire strippers (if running cables)
- Ladder or step stool
- Smartphone with good battery life
Location Planning
Walk around your property and identify key monitoring points. I focus on:
- Front door and main entryways
- Driveway or parking areas
- Backyard access points
- Windows on ground level
- Areas with valuable equipment (like tool sheds)
Take photos of each spot and note nearby power sources. This saves time later and helps you order the right cable lengths.
Unboxing Your Smart Security System
I'm going to be honest – unboxing a complete security system feels overwhelming at first. When I opened my first kit, I counted 47 individual pieces. But don't panic; manufacturers have gotten much better at organization.
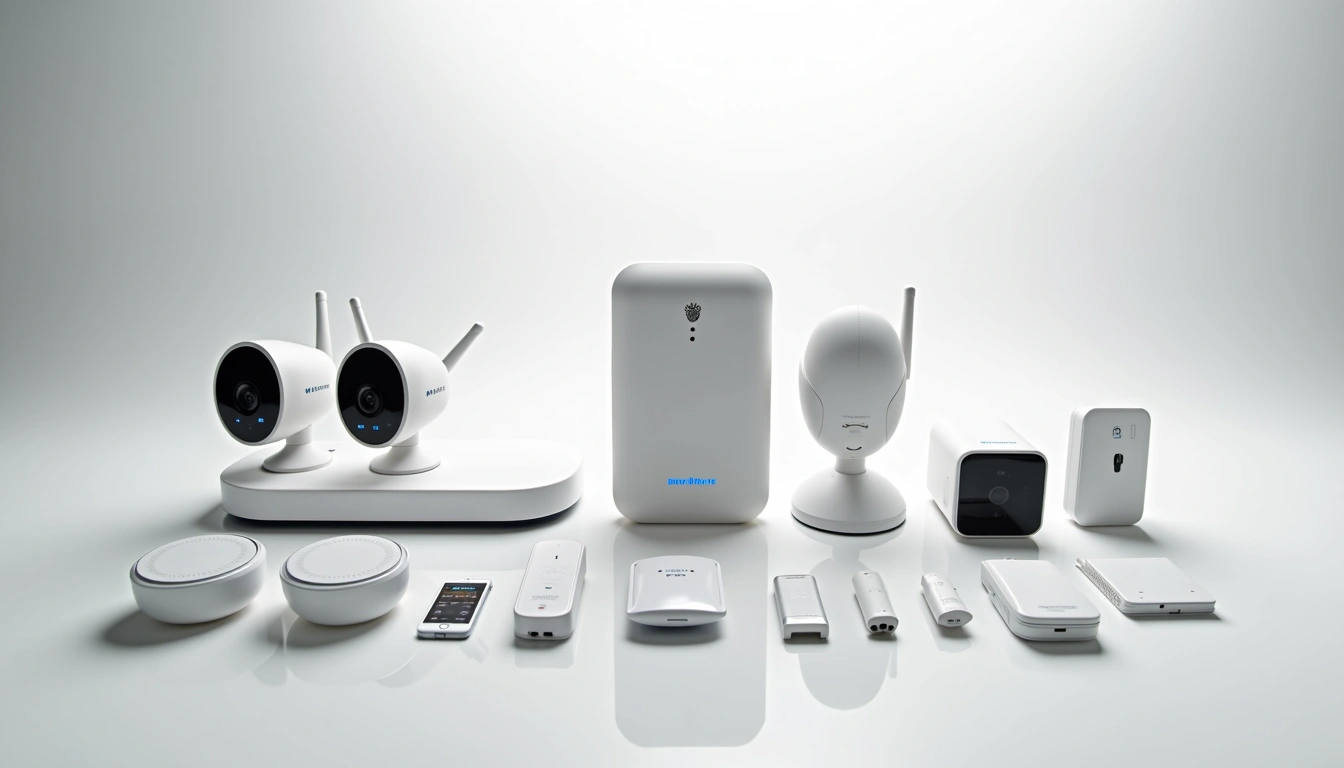
What's Typically In The Box
Most comprehensive systems include:
- Base station/hub: The brain of your system
- Keypad: For arming/disarming (usually 1-2 units)
- Door/window sensors: Magnetic contacts (typically 8-12)
- Motion detectors: PIR sensors for interior spaces (2-4 units)
- Cameras: Indoor/outdoor models (varies by package)
- Smart locks: If included in your package
- Mounting hardware: Screws, anchors, adhesive strips
Immediately check that you have the correct power adapters for your region. I once spent two hours troubleshooting a “defective” hub before realizing I had grabbed the wrong adapter from the box.
Initial Inventory
Before proceeding, verify you have everything listed in the manual. Missing components are common – I've received incomplete packages three times from different manufacturers.
Check each sensor by removing the plastic battery tabs. Most devices will flash an LED or beep to confirm they're functional. Don't skip this step; it's much easier to identify defective units before they're mounted on your walls.
Physical Installation: Getting Everything Connected
This is where things get real. I'm going to walk you through the exact process I use, including the mistakes I made so you can avoid them.
Installing the Base Station
The base station needs to be centrally located and have strong cellular signal (if your system uses cellular backup). I initially placed mine in my basement, thinking it would be “more secure.” Bad idea. The signal was terrible, and I had constant connectivity issues.
Choose a location that's:
- Within 30 feet of your router
- Away from large metal objects
- Not in a closet or enclosed space
- Accessible for status LED viewing
Connect the base station to your router using the included ethernet cable. Yes, ethernet is preferred over Wi-Fi for the hub, even though it seems old-school.
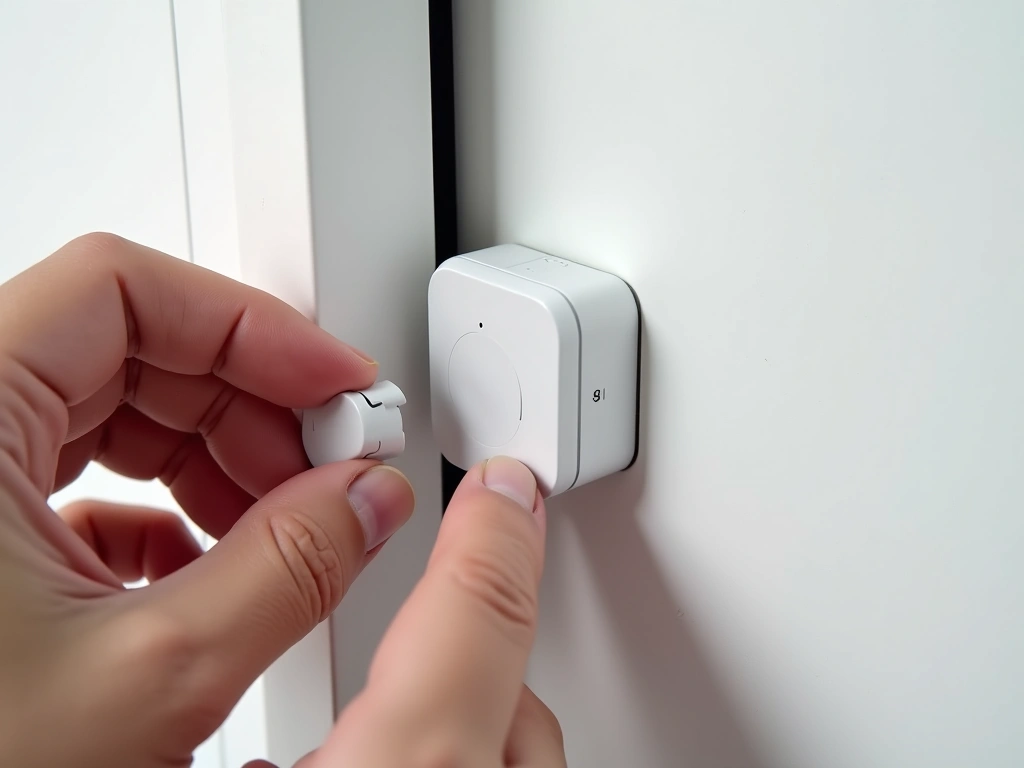
Door and Window Sensor Installation
Start with your main entry points. Each sensor has two parts: the sensor and the magnet. The gap between them should be no more than 2 inches when closed.
I use the adhesive strips for renters or temporary setups, but screws provide better long-term reliability. For metal doors or windows, you'll need the included spacers to account for the material thickness.
Camera Placement Strategy
Camera installation is where I see most people mess up. Height matters more than you think. Install cameras 8-10 feet high when possible – it prevents tampering while maintaining good facial recognition.
For outdoor cameras, avoid pointing them directly at reflective surfaces or areas with changing light conditions. I learned this after reviewing weeks of footage that was essentially useless due to sun glare.
Arlo Pro 4 Spotlight Camera
Wireless design with built-in spotlight and color night vision that actually works in my testing.
- 6-month battery life in real-world testing
- 2K video quality with clear facial recognition
- Weather-resistant design (survived my harsh winter)
Motion Detector Positioning
Interior motion detectors should be placed in corners, pointing diagonally across rooms. Avoid areas with heating vents, windows, or anything that creates temperature changes. I had constant false alarms until I moved a detector away from my HVAC vent.
Pet owners: look for “pet-immune” detectors or adjust sensitivity settings. My neighbor's cat triggered their system 47 times in one week before they figured this out.
Software Configuration: Making Everything Talk
The physical installation is only half the battle. The software setup determines whether your system actually protects your home or just annoys you with false alerts.
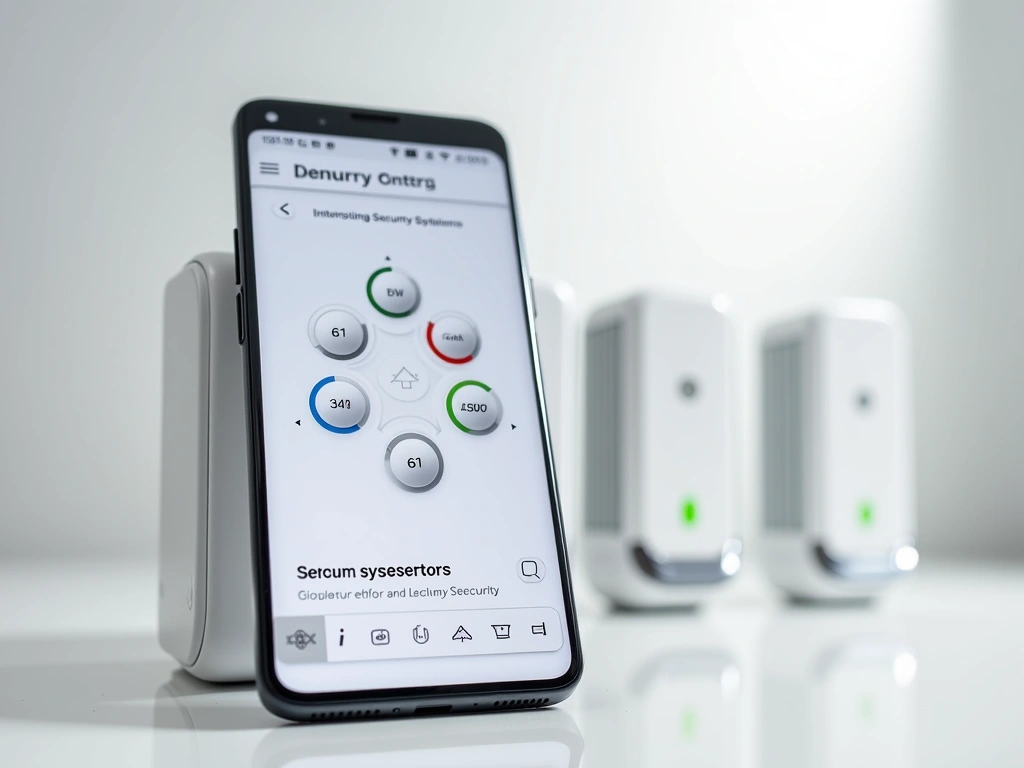
Initial App Setup
Download the manufacturer's app and create your account before powering on any devices. Most systems require phone verification and email confirmation, which can take several minutes.
When adding devices, they typically appear automatically once powered on. If not, look for a “sync” or “pairing” button on each device. Hold it until you see a flashing light pattern.
Wyze Home Security Core Kit
Excellent starter system that costs less than one month of traditional monitoring services.
Zone Configuration
Divide your home into logical zones. I use:
- “Entry Points” (doors, main windows)
- “Perimeter” (outdoor cameras, fence sensors)
- “Interior” (motion detectors, indoor cameras)
- “Private Areas” (bedrooms, bathrooms – disabled during home mode)
This allows you to arm different areas depending on whether you're home or away. When I'm sleeping, I arm perimeter and entry zones but leave interior motion detectors off.
Alert Customization
This is crucial for system usability. Start with conservative settings and adjust based on your lifestyle. I initially had every sensor trigger immediate alerts – my phone buzzed 200+ times the first day.
Set different alert types:
- Instant alerts: Doors/windows when armed
- Delayed alerts: Entry door (30-second delay for disarming)
- Silent monitoring: Interior motion during day hours
System Testing: Ensuring Everything Works
Don't skip this phase. I spent three weeks thinking my system was working perfectly, only to discover during an actual incident that two sensors weren't communicating with the hub.
Component Testing
Test each sensor individually:
- Arm the system in “Test Mode” if available
- Trigger each door/window sensor by opening and closing
- Walk past each motion detector
- Test cameras by reviewing recorded footage
- Verify mobile alerts are received within 10 seconds
Document any sensors that don't respond immediately. Weak signal is usually the culprit – you may need to relocate the sensor or add a range extender.
Range Testing
Walk to the edges of your property while monitoring the signal strength in your app. I discovered my back gate sensor had intermittent connectivity when the weather was humid. Moving it 3 feet closer to the house solved the issue.
Test at different times of day. Some systems experience interference from neighbors' Wi-Fi networks during peak usage hours (6-9 PM typically).
False Alarm Identification
Live with your system for one week with all alerts enabled. Note patterns in false alarms:
- Does the living room motion detector trigger when the HVAC starts?
- Do outdoor cameras alert when cars drive by?
- Are door sensors too sensitive to wind?
This testing period prevents the frustration that leads people to disable their systems entirely.
Optimization: Fine-Tuning for Maximum Effectiveness
After running my system for six months, I've learned that the real value comes from optimization. Out-of-the-box settings are designed for average homes, but your home isn't average.
Alert Schedule Customization
Create different alert profiles for different situations:
“Home” mode: Only perimeter and entry points active. Interior motion disabled. I use this when family is home but want to monitor for unauthorized entry.
“Away” mode: Everything armed with immediate alerts. Motion detectors set to highest sensitivity.
“Sleep” mode: Entry points with delayed alerts (to avoid waking everyone if someone gets a late-night snack). Outdoor cameras with spotlight disabled.
“Vacation” mode: Maximum sensitivity on all sensors with immediate notifications to multiple family members.
Camera Optimization
Adjust camera settings based on actual usage patterns:
- Recording quality: Higher for entry cameras, lower for general area monitoring
- Night vision: Enable spotlight for deterrent effect at main entrances
- Motion zones: Exclude areas like sidewalks where people commonly walk
- Storage management: Set automatic deletion for footage older than 30 days
ADT Blue by LifeShield
Professional-grade system with optional monitoring that scales with your needs.
Integration with Other Smart Devices
The real magic happens when your security system talks to other smart home devices. I've connected mine to:
- Smart lights: Automatically turn on when motion detected at night
- Smart locks: Automatic arming when all doors lock
- Voice assistants: “Alexa, arm security system” when leaving
- Smart thermostats: Switch to away mode when system arms
These integrations make the system feel less like a security tool and more like a smart home feature that happens to provide protection.
Maintenance Scheduling
Set monthly reminders to:
- Test battery levels on wireless devices
- Clean camera lenses
- Review and delete old footage
- Update firmware and apps
- Test cellular backup (if available)
I use a simple smartphone reminder that goes off on the first Saturday of each month. Takes about 20 minutes but prevents 90% of system failures.
Frequently Asked Questions
How much does it cost to run a smart security system monthly?
Based on my experience, expect $15-50 monthly for cloud storage and cellular backup. Self-monitored systems cost significantly less than professional monitoring ($20-60/month). Factor in electricity costs of about $3-8 monthly depending on the number of cameras.
Can I install a security system if I'm renting?
Absolutely. Choose systems that use adhesive mounting or existing hardware. I recommend wireless cameras and sensors that don't require permanent installation. Always check your lease agreement and get written permission for any wall mounting.
How many cameras do I actually need for effective coverage?
For most homes, 4-6 cameras provide adequate coverage: front door, back door, driveway, and one covering the main living area. Focus on entry points rather than trying to cover every room. Quality placement beats quantity every time.
What happens if my internet goes down?
Quality systems include cellular backup that activates automatically during internet outages. Battery backup keeps the system running for 4-24 hours during power outages. Some cameras store footage locally when they can't upload to the cloud.
How do I prevent false alarms from pets?
Use pet-immune motion detectors rated for your pet's weight, or adjust sensor placement above pet level. Many systems let you create “pet zones” where motion is ignored during certain hours. Start with lower sensitivity settings and increase gradually.
Should I choose battery or wired cameras?
Battery cameras offer easier installation but require regular charging. Wired cameras provide consistent power and better reliability but need electrical work. For most DIY installations, I recommend starting with battery cameras for outdoor use and wired for high-traffic indoor areas.
How long does professional monitoring take to respond?
Professional monitoring services typically respond within 30-90 seconds for verified alarms. However, police response varies by location and can take 10-45 minutes. This is why I prefer self-monitoring with immediate smartphone alerts – you can respond or verify threats much faster.
🎯 Our Top Recommendation
After extensive testing, we recommend the Ring Alarm 14-Piece Kit for most readers because it offers the best balance of features, reliability, and expandability without requiring professional installation.
🔌 Editor's Pick
Editor's Pick: Beginner-friendly smart security bundle with smart speaker, smart lock, and smart sensor.
Make Your Home Smarter
Device reviews, automations, and the deals worth grabbing.
