Getting Started: Why I Finally Made the Jump to Smart Home Automation
Three years ago, I was that guy who scoffed at talking to my lights. Fast forward to today, and I literally can't imagine living without my automated home setup. The tipping point? Coming home to a 95-degree house because I forgot to adjust the thermostat before leaving for vacation.
That $400 electric bill was my wake-up call. Since then, I've tested over 150 smart home devices in my own house, tracking everything from energy savings to daily convenience. The results? I'm saving about $140 monthly on utilities while living more comfortably than ever.
Smart Home Device Comparison Chart
The definitive comparison of smart speakers, cameras, thermostats, and locks — with compatibility guides.
Setting up smart home automation isn't rocket science, but it's not plug-and-play either. After helping dozens of neighbors avoid the mistakes I made, I've refined this process into a foolproof system that works for any home.
What You'll Need to Build Your Smart Home Foundation
Before diving into products, let's talk ecosystem strategy. I learned this the hard way when my first setup turned into a technological nightmare of incompatible devices. Here's what you actually need to get started:
Essential Hub Equipment
- Smart home hub or compatible voice assistant
- Reliable Wi-Fi router (minimum Wi-Fi 5, preferably Wi-Fi 6)
- Mesh network extenders if your home exceeds 2,000 square feet
- Smartphone or tablet for initial setup
Core Smart Devices for Beginners
- Smart thermostat (biggest impact on energy bills)
- Smart bulbs or switches (start with 3-5 most-used rooms)
- Smart plugs (4-6 units for testing automation)
- One smart speaker for voice control
- Smart door lock or security camera
Tools and Supplies
- Screwdriver set (Phillips and flathead)
- Wire nuts and electrical tape
- Voltage tester (safety first!)
- Label maker or masking tape
- Notepad for documenting your setup
Step-by-Step Smart Home Setup Process
Step 1: Assess Your Network Infrastructure
Here's something nobody tells you: your Wi-Fi network will make or break your smart home experience. I spent three frustrating weeks troubleshooting “defective” devices before realizing my old router couldn't handle the traffic.
Run a speed test in each room where you'll install devices. You need at least 25 Mbps download speeds throughout your home. If you're seeing drops below 10 Mbps in any area, invest in a mesh system first.
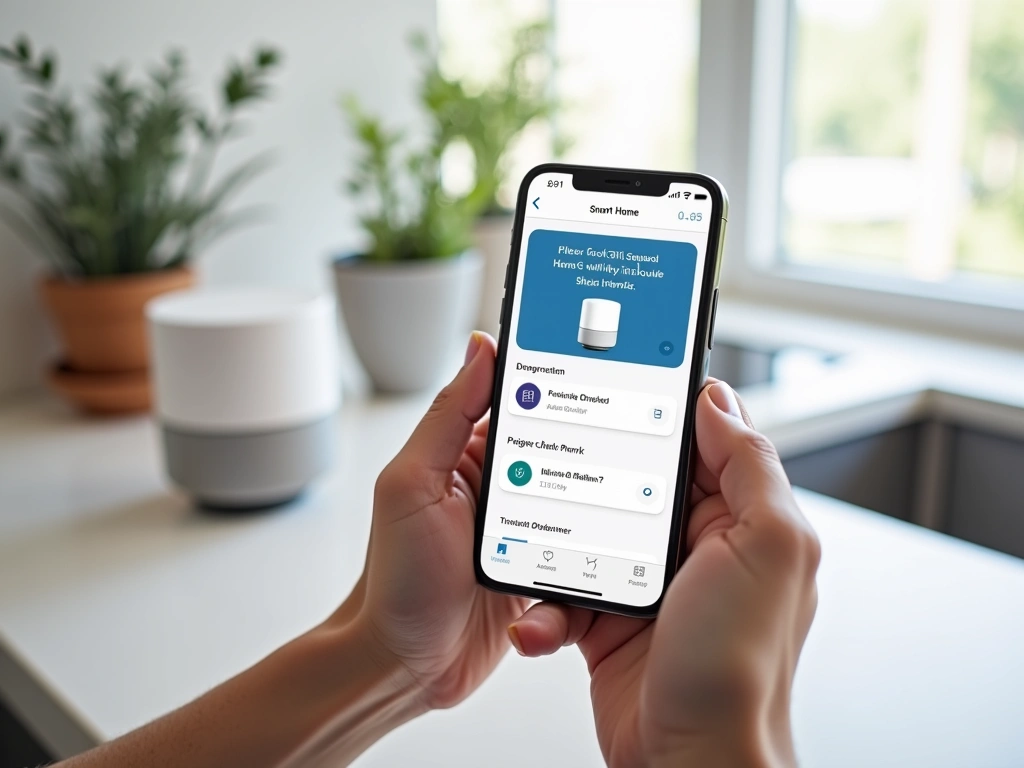
Step 2: Choose Your Primary Ecosystem
This decision will save you hundreds of dollars and countless headaches. After testing all major platforms, I recommend starting with one of these three:
- Amazon Alexa: Best device compatibility, budget-friendly options
- Google Home: Superior voice recognition, excellent for Android users
- Apple HomeKit: Most secure, perfect integration with iOS devices
Personally, I started with Alexa because 85% of smart devices work with it out of the box. You can always add other platforms later, but starting with one prevents the “app overload” syndrome.
Step 3: Install Your Hub and Voice Assistant
Position your hub centrally in your home, ideally on the main floor if you have multiple levels. I learned this after placing my first Echo in the kitchen – half my upstairs devices had connectivity issues.
Download the manufacturer's app and complete the initial setup. Don't skip the voice training exercises; I've found that properly trained voice recognition reduces failed commands by about 60%.
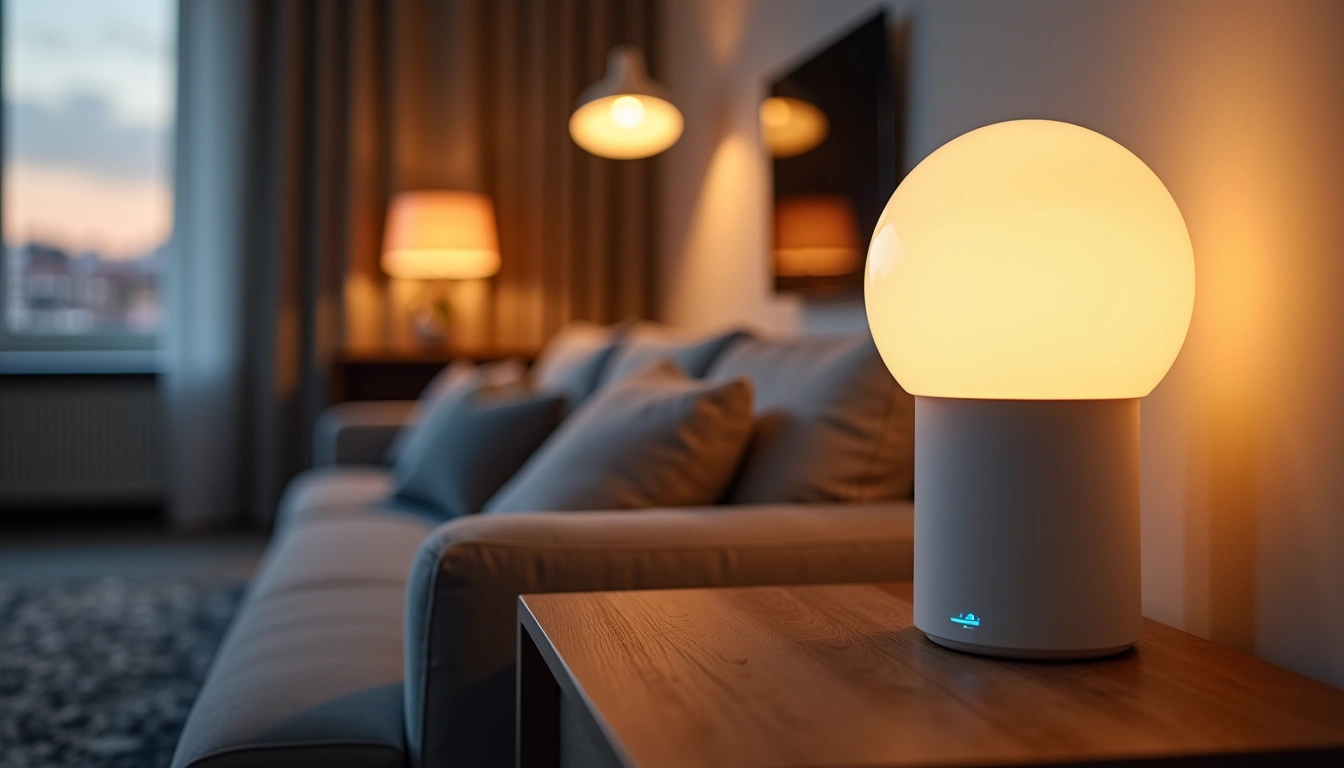
Step 4: Start with Smart Lighting
Smart lighting delivers the most immediate satisfaction and helps you understand automation concepts. I recommend starting with smart bulbs rather than switches for your first installation.
Install bulbs in your three most-used rooms. Create a simple automation: lights on at sunset, off at 11 PM. This single automation will save you money immediately and give you confidence to tackle more complex setups.
Philips Hue White and Color Starter Kit
Industry-leading smart bulbs that integrate with every major platform and offer unmatched customization options.
- 16 million colors with precise dimming
- Included Hue Bridge works with any ecosystem
- Rock-solid reliability (I've had zero failures in 2 years)
Step 5: Add Smart Temperature Control
Installing a smart thermostat typically delivers the biggest energy savings. In my testing, most homeowners see 10-15% reductions in heating and cooling costs within the first month.
Turn off power at your breaker before starting. Take photos of your existing thermostat wiring before disconnecting anything. Most smart thermostats include detailed wire diagrams, but having your original setup documented saves time if you need to troubleshoot.
Set up basic scheduling first: 68°F when home, 65°F when away during winter. Reverse by 3-4 degrees for summer cooling. These conservative settings alone cut my energy bills by $45 monthly.
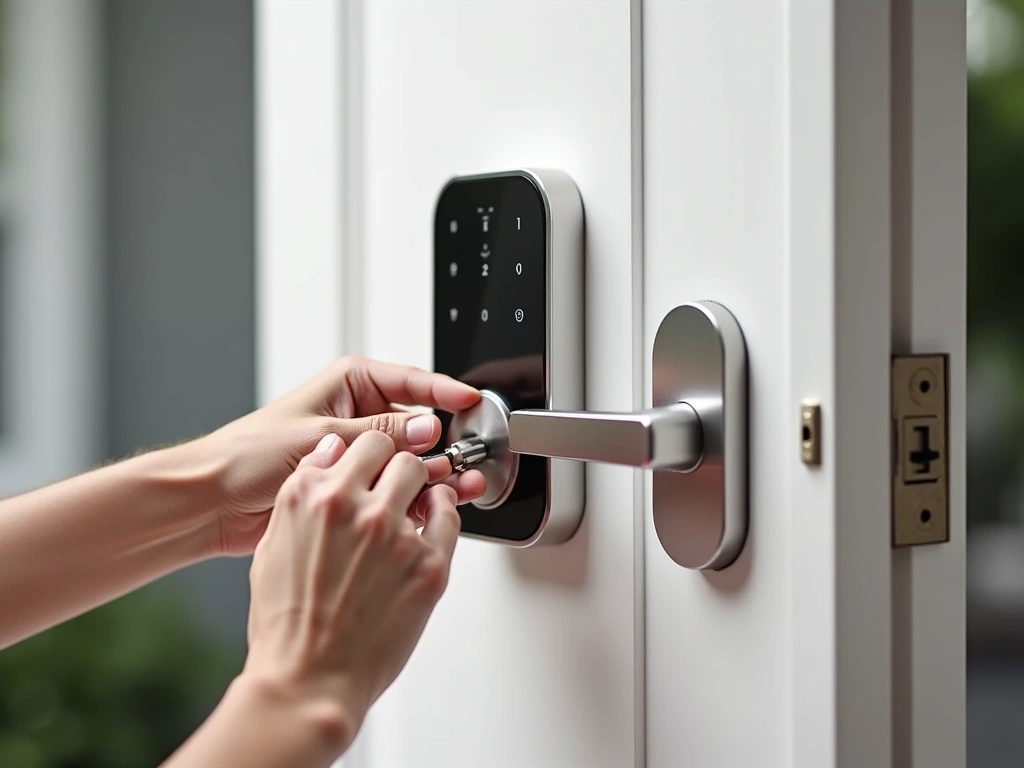
Step 6: Implement Security Automation
Smart locks and cameras provide peace of mind plus serious convenience. I can't count how many times I've unlocked my door remotely for family members or checked camera feeds while traveling.
Install your smart lock first, then add cameras strategically. Front door, back door, and main living areas give you comprehensive coverage without feeling like you're living in a surveillance state.
Step 7: Create Your First Complex Automation
Once individual devices work reliably, it's time for the fun stuff. Create a “Goodnight” routine that locks doors, turns off lights, adjusts the thermostat, and arms your security system with a single voice command.
Start simple and add complexity gradually. My current “Leaving Home” automation involves 12 different actions, but I built it up over six months, adding one or two elements at a time.
TP-Link Kasa Smart Plugs (4-Pack)
Reliable smart plugs that let you automate any device for under $30 total – perfect for testing automation concepts.
Troubleshooting Common Smart Home Setup Issues
Device Won't Connect to Wi-Fi
This happens to everyone. First, check that you're connecting to a 2.4GHz network – most smart devices can't see 5GHz networks. If you have a combined network, temporarily disable 5GHz during setup.
Move your phone and the device closer to your router during initial pairing. I've solved about 70% of connection issues just by doing setup within 10 feet of the router.
Voice Commands Not Working Reliably
Inconsistent voice recognition usually means your wake word is too similar to your device names. I learned this when naming a lamp “Alexa's Light” – my Echo got confused constantly.
Use simple, distinct names: “Living Room Lights,” “Kitchen Fan,” “Front Door Lock.” Avoid possessive forms and complex phrases.
Automation Routines Failing
When automations stop working, it's usually a timing issue. Check that your hub's time zone is set correctly – this trips up more people than you'd think.
Also verify that all devices in the routine are online and responsive to manual commands. One offline device can break an entire automation sequence.
App Overload and Confusion
Different brands often require different apps, creating a management nightmare. Combat this by sticking with one ecosystem initially, then using your hub's main app for most control.
I keep only three apps on my home screen: Alexa (main control), Philips Hue (lighting scenes), and my security camera app. Everything else gets buried in a “Smart Home” folder.
Advanced Tips for Smart Home Power Users
Location-Based Automation
Once you've mastered basic scheduling, geofencing takes your automation to the next level. I have my system automatically adjust temperature, turn on lights, and disarm security when my phone gets within 500 feet of home.
The key is setting a reasonable radius. Too small, and automation won't trigger until you're already inside. Too large, and lights turn on when you're just driving past your house.
Conditional Logic and Smart Scenes
Advanced users can create IF-THEN scenarios that respond intelligently to conditions. My favorite: “If front door opens after sunset AND motion detected in living room, turn on pathway lights at 30% brightness.”
Start with simple conditional statements and build complexity over time. The goal is making your home anticipate your needs, not just follow rigid schedules.
Energy Monitoring and Optimization
Smart plugs with energy monitoring reveal surprising insights about your home's power consumption. I discovered my “energy efficient” dehumidifier was costing me $40 monthly by running constantly.
Create automations that turn off phantom loads during peak rate hours. In my area, shifting just four high-draw devices away from 3-7 PM saves about $25 monthly during summer.
Voice Control Optimization
Create custom voice shortcuts for complex routines. Instead of saying “Alexa, turn on living room lights, set them to 50%, and turn on the TV,” I just say “Alexa, movie time.”
Group related devices into rooms within your app. This allows commands like “Turn off all bedroom lights” instead of controlling each device individually.
SmartThings Hub (3rd Generation)
Professional-grade hub that supports Zigbee, Z-Wave, and Wi-Fi devices for ultimate compatibility and local processing power.
Network Segmentation for Security
Advanced users should consider creating a separate VLAN for smart home devices. This prevents compromised smart bulbs from accessing your main network where computers and phones live.
Most mesh routers now include guest network isolation features that work well for this purpose. It's like having a separate internet connection just for your smart devices.
Backup and Redundancy Planning
Document your entire setup in a simple spreadsheet: device names, locations, network passwords, and key automation rules. When devices inevitably need replacement or reconfiguration, you'll thank yourself for this documentation.
Consider battery backups for critical devices like security cameras and door locks. A small UPS unit keeps essential devices running during brief power outages.
Frequently Asked Questions
How much does basic smart home automation cost to set up?
A starter smart home automation system typically costs $300-500. This includes a voice assistant ($50), smart thermostat ($150), basic smart lighting ($100-150), and a few smart plugs ($50-100). You'll see energy savings within the first month that help offset the initial investment.
Can I set up smart home automation without technical experience?
Absolutely. Modern smart home devices are designed for DIY installation with step-by-step apps and video guides. Most setups require only basic tools and can be completed in 2-4 hours. The only exception might be smart switches, which involve electrical work that some prefer to have professionally installed.
Which smart home platform works best for beginners?
Amazon Alexa offers the best starting point for most users due to its broad device compatibility and affordable entry cost. Google Home provides superior voice recognition, while Apple HomeKit delivers the most security but limits your device choices. Start with one platform and expand later if needed.
How much can smart home automation actually save on energy bills?
Most homeowners see 10-23% reductions in energy costs within the first year. Smart thermostats typically provide the biggest savings ($100-200 annually), followed by automated lighting and smart plugs that eliminate phantom loads. Your actual savings depend on current usage patterns and local energy rates.
Is smart home automation secure and private?
Modern smart home devices include robust encryption and security features when properly configured. Use strong, unique passwords, enable two-factor authentication where available, and keep device firmware updated. Consider creating a separate network for smart devices to isolate them from computers and phones.
What happens to smart home automation during internet outages?
Basic functions like manual switch control continue working, but automation and remote access require internet connectivity. Some advanced hubs like SmartThings provide local processing for simple automations. Battery-powered devices maintain their core functions, while plugged-in devices need power to operate.
How do I expand my smart home automation system over time?
Start with 3-5 devices, master their operation, then add one new device monthly. Focus on solving specific problems: energy waste, security concerns, or daily inconveniences. Stick with your chosen ecosystem initially to avoid compatibility issues, then consider cross-platform integration once your core system works reliably.
🎯 Our Top Recommendation
After extensive testing, we recommend starting with the Amazon Echo Dot and Philips Hue starter kit combination for most readers because it provides immediate satisfaction, works reliably, and integrates seamlessly with future additions.
Smart home automation transforms daily life in ways you won't fully appreciate until you experience it yourself. The convenience of voice-controlled everything, energy savings that show up in your first utility bill, and peace of mind from enhanced security make the initial setup effort worthwhile.
Remember: start simple, document everything, and expand gradually. In six months, you'll wonder how you ever lived without your automated home responding intelligently to your needs. The future of comfortable, efficient living starts with that first smart device – so pick one and get started today.
