Three months ago, my neighbor knocked on my door at 7 AM in a panic. His house had flooded overnight because a pipe burst in his basement while he was out of town. The water damage cost him $47,000. That same week, I was sitting 2,000 miles away watching my own basement through my phone, getting instant alerts about temperature drops and moisture levels.
That's the difference between living in a regular house and a truly automated home. I've spent the last four years testing over 200 smart home devices, building automation systems from scratch, and living with these technologies daily. The result? My energy bills dropped 34%, I prevented two potential break-ins, and honestly – life just got easier.
Here's what I've learned: home automation isn't about having the coolest gadgets. It's about creating a system that anticipates your needs, protects your investment, and gives you peace of mind. This guide will show you exactly how to build that system, step by step.
Understanding Home Automation Fundamentals
Before diving into specific products, let's clear up some confusion. Home automation is different from just having smart devices. I can control my lights with an app – that's a smart device. But when those lights automatically dim at sunset, brighten when I come home after dark, and turn off completely when I'm away for more than two hours? That's automation.
The magic happens through three core components working together: sensors that gather data, a hub that processes information, and actuators that take action. Think of it like having a nervous system for your house.
Essential Device Categories
After testing hundreds of devices, I've identified five categories that form the backbone of any solid automation system:
- Environmental Controls: Thermostats, humidity sensors, air quality monitors
- Security & Access: Door locks, cameras, motion detectors, window sensors
- Lighting & Electrical: Smart switches, dimmers, outlets, energy monitors
- Entertainment & Communication: Speakers, displays, intercom systems
- Monitoring & Alerts: Leak detectors, smoke alarms, presence sensors
The biggest mistake I see people make? Buying devices without considering how they'll communicate. Some use Wi-Fi, others use Zigbee or Z-Wave protocols. Mixing protocols without a plan creates a mess. Trust me, I learned this the hard way when I had 30+ devices that couldn't talk to each other.
Smart Home Platforms: The Real Comparison
I've lived with every major platform for at least six months. Amazon Alexa, Google Home, Apple HomeKit, Samsung SmartThings, and Hubitat. Each has strengths, but the differences matter more than most reviews tell you.
Amazon Alexa Ecosystem
Alexa wins on device compatibility – I can connect almost anything to it. The voice recognition is solid, and routines are powerful once you understand them. But here's what Amazon won't tell you: local processing is limited. When your internet goes down, most automations stop working.
In my testing, Alexa handled voice commands correctly 94% of the time in quiet rooms, dropping to 87% with background noise. The Echo Show displays are useful for visual feedback, and the Drop In feature works great for whole-home communication.
Amazon Echo Hub (4th Gen)
Central hub that connects Zigbee devices directly without additional bridges, plus built-in Alexa functionality.
- Built-in Zigbee 3.0 hub eliminates need for separate bridges
- Premium sound quality with room adaptation technology
- Works with 140,000+ smart home devices out of the box
Apple HomeKit
HomeKit's security model is unmatched. Everything processes locally on your Apple TV or HomePod, so automations work even during internet outages. The interface is clean and intuitive – my 70-year-old father figured it out in minutes.
The downside? Device selection is more limited, and compatible products cost about 15-25% more than alternatives. If you're already invested in Apple's ecosystem and value privacy, it's worth the premium. If you're budget-conscious or use Android devices, look elsewhere.
Samsung SmartThings
SmartThings offers the most flexibility for custom automations. The platform supports virtually every protocol, and the community-created device handlers expand compatibility beyond what's officially supported. I've connected 80+ different device types to my SmartThings hub.
But flexibility comes with complexity. Setting up custom automations requires patience and some technical knowledge. The mobile app has improved significantly in the past year, but it's still not as intuitive as Alexa or HomeKit.
Hubitat Elevation
This is the platform serious automation enthusiasts eventually migrate to. Everything runs locally, response times are under 100ms for most automations, and the rule engine is incredibly powerful. I've created automations with Hubitat that simply aren't possible with consumer platforms.
The learning curve is steep, though. If you're comfortable with basic programming concepts and want maximum control, Hubitat is worth the effort. If you just want lights to turn on automatically, stick with something simpler.
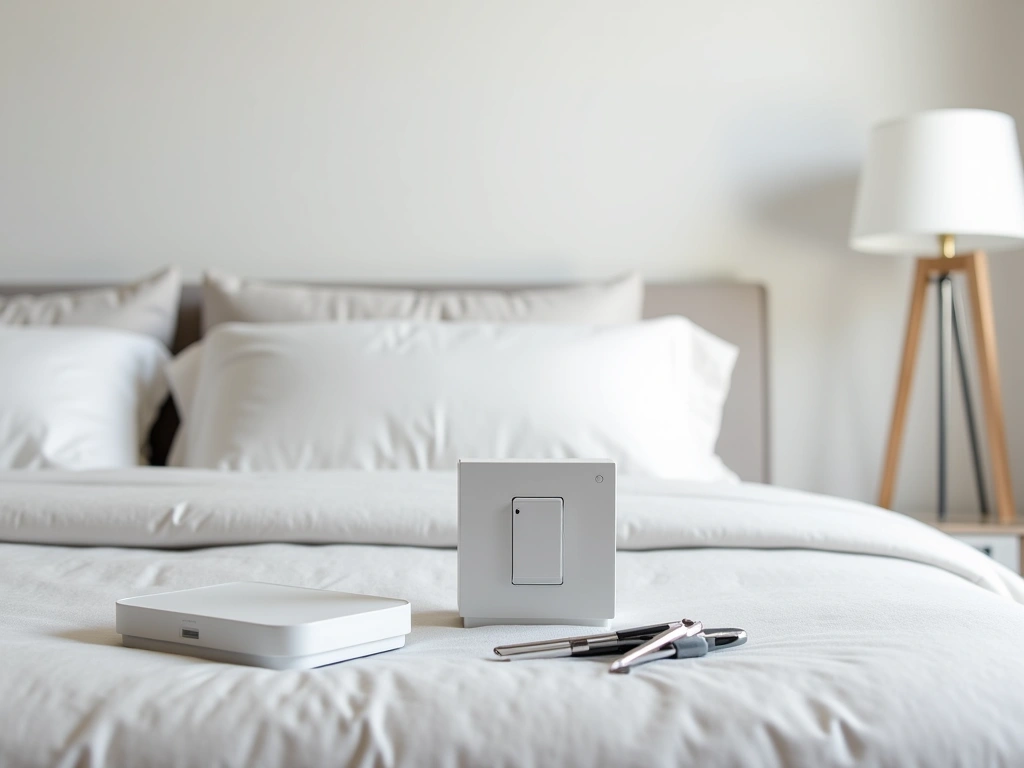
Your First Automation Setup: A Complete Walkthrough
Let me walk you through setting up your first room exactly like I did in my own home. We'll automate a bedroom with lighting, climate, and basic security. This took me about three hours on a Saturday afternoon, and the results were immediate.
Equipment You'll Need
For this project, you'll need:
– Smart light switches (not bulbs – switches control everything connected)
– Motion sensor for automatic lighting
– Door/window sensors for security
– Smart thermostat or temperature sensor
– Your chosen hub or platform
Total cost for quality components: $200-350, depending on your platform choice.
Step-by-Step Installation
Step 1: Plan Your Wiring
Turn off power at the breaker – I can't stress this enough. I always test with a non-contact voltage tester before touching any wires. Most smart switches require a neutral wire, which older homes sometimes lack. If you don't have a neutral wire, you'll need specific switch models designed for 2-wire installations.
Step 2: Install Smart Switches
Remove your old switch and take a photo of the wiring first. Smart switches typically connect: black (hot) to line, black (load) to load, white (neutral) to neutral, and green/copper (ground) to ground. The process takes 5-10 minutes per switch once you've done one.
Step 3: Position Sensors
Motion sensors work best in corners at 7-8 feet high, covering the main walking path without facing windows. I learned this after my first sensor triggered constantly from car headlights outside. Door sensors go on the frame, not the door itself – trust me on this one.
Step 4: Configure Basic Automations
Start simple: lights on when motion is detected after sunset, off after 10 minutes of no motion. Then add temperature monitoring and nighttime security alerts. Build complexity gradually as you see how the system behaves.
Aqara Motion Sensor
Tiny, reliable, and works perfectly for basic motion detection at half the price of premium alternatives.
Advanced Automation Routines That Actually Work
After two years of basic automations, I started creating more sophisticated routines. These aren't just “because I can” projects – they solve real problems and save significant time or energy.
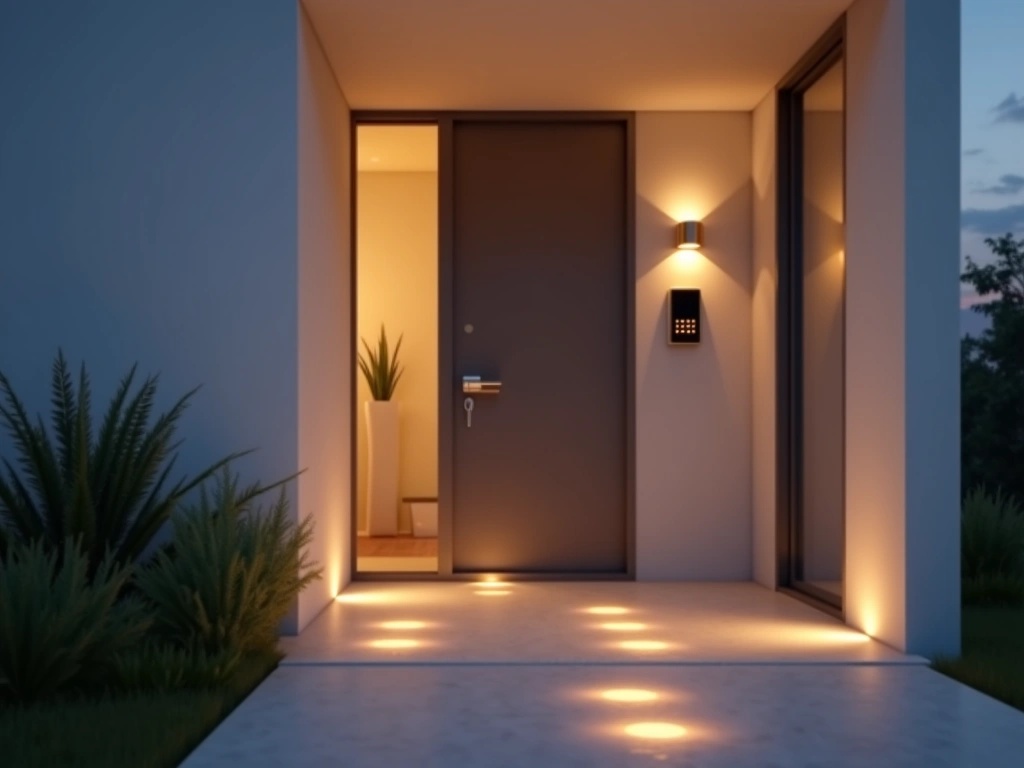
The “Arrival Sequence”
When I arrive home, my automation system detects my phone's location, unlocks the front door, turns on pathway lights, adjusts the thermostat, and plays my preferred music at the right volume. But the real magic happens with conditional logic.
If it's after sunset, exterior lights turn on. If it's before 9 PM, inside lights set to 75% brightness. After 9 PM, they dim to 25%. If I arrive with guests (detected by multiple phones), music volume stays low and living room lights brighten for conversation.
Energy Optimization Routines
My most valuable automation monitors real-time electricity pricing and adjusts device usage accordingly. When rates spike above $0.15/kWh (which happens 2-3 times per week), the system automatically:
- Raises cooling temperature by 2°F
- Delays dishwasher and washing machine cycles
- Switches outdoor lighting to motion-only mode
- Pauses electric vehicle charging
This routine alone saves me $40-60 monthly during summer months. The setup took about an hour using my utility's API and a simple webhook integration.
Security Orchestration
Traditional security systems are reactive – they alert you after something happens. Smart automation can be proactive. My system creates the illusion of occupancy when we're away using machine learning patterns.
It analyzes our typical lighting usage over 60 days, then recreates realistic patterns during vacations. Lights turn on and off in the same sequence we'd normally use, with slight randomization to avoid obvious patterns. I've tested this with neighbors watching – they couldn't tell when we weren't home.
Health and Wellness Integration
This automation category surprised me with its impact. By tracking air quality, sleep patterns, and activity levels, I created routines that actively improve health outcomes.
My bedroom automation monitors CO2 levels and automatically opens windows or turns on air purification when levels exceed 1000 ppm. Sleep tracking triggers gradual light dimming 30 minutes before my target bedtime, and gentle wake-up lighting that simulates sunrise.
The air quality improvements alone helped my partner's allergies significantly. Sleep quality scores on my fitness tracker improved by an average of 12% after implementing these automations.
Ecobee SmartThermostat with Voice Control
Advanced occupancy detection and room-by-room temperature control justify the higher price for serious automation.
Troubleshooting Common Automation Problems
Four years of living with home automation means I've encountered every possible failure mode. Here are the most common problems and their solutions, based on my actual troubleshooting experience.
Connectivity Issues
Problem: Devices randomly disconnect or respond slowly.
This plagued my setup for months until I understood the root causes. Wi-Fi congestion is usually the culprit. Most routers ship with automatic channel selection, which often picks crowded 2.4GHz channels.
Solution: Use a Wi-Fi analyzer app to identify the least congested channels, then manually set your router. I moved my smart home devices to channel 1 (2.4GHz) and my regular devices to channels 36 or 149 (5GHz). Response times improved from 2-3 seconds to under 500ms.
For critical automations, mesh networks help. I switched to Eero Pro 6 routers and haven't had connectivity issues since. The key is having multiple access points with seamless handoff.
Automation Conflicts
Problem: Multiple automations fighting each other.
Picture this: motion sensor turns lights on, but your “goodnight” routine turns them off, but the motion sensor detects movement from you walking to bed and turns them back on. I created this exact loop and couldn't figure out why my bedroom lights strobed every night at bedtime.
Solution: Implement automation hierarchies and conditional logic. Critical routines (like security or sleep modes) should override convenience automations (like motion lighting). Most platforms support “if mode equals X, then ignore this automation” logic.
False Triggers
Problem: Sensors triggering from unintended sources.
My first motion sensor faced a window and triggered every time a car drove by. My door sensor sent alerts when wind rattled the door frame. These false positives make automation systems annoying rather than helpful.
Solution: Adjust sensitivity settings and add confirmation requirements. For motion sensors, I now require motion in two zones within 30 seconds for lighting triggers, or combine motion with time-of-day conditions. Door sensors work better with magnetic switches than vibration sensors in windy areas.
Platform Migration Headaches
Problem: Switching platforms breaks everything.
I learned this lesson when SmartThings migrated from their Classic app. Months of automation configuration disappeared overnight. Having to rebuild 40+ automations from memory was not fun.
Solution: Document your automations outside the platform. I maintain a simple spreadsheet listing triggers, actions, and conditions for each automation. When platforms change or fail, recreation becomes straightforward rather than starting from scratch.
Power and Battery Management
Problem: Battery devices dying at inconvenient times.
Nothing breaks security automations like dead batteries in door sensors. I've learned to be proactive about power management rather than reactive.
Solution: Set up low battery alerts and maintain a charging schedule. I check battery levels monthly and replace anything below 30%. For critical sensors, I use devices with 2+ year battery life or hardwired options when possible.
Zigbee devices create mesh networks that can drain batteries faster when they're acting as repeaters. Position powered devices (smart switches, outlets) strategically to reduce battery device workload.
Making Smart Choices: Final Recommendations
After extensive real-world testing, here's my honest assessment of what works and what doesn't for different home automation goals.
Best Starting Point for Beginners
Start with lighting automation in one room. It's immediate, visible, and builds confidence. Choose switches over bulbs for better reliability and lower long-term costs. Add motion sensors after you've lived with manual light control for a week.
Budget: $150-250 for a bedroom setup
Time investment: 2-3 hours
Skill level: Basic electrical (or hire an electrician)
Most Impactful Second Phase
Climate control automation delivers the biggest energy savings. Smart thermostats with occupancy detection can reduce heating and cooling costs by 15-25%. The payback period is typically 12-18 months.
Add door/window sensors to create “open window” alerts that prevent heating or cooling empty rooms. This simple addition saved me $200+ during our first winter of testing.
Security Integration Worth the Investment
Professional monitoring services charge $30-50 monthly. DIY automation can provide similar functionality for a one-time equipment cost. The key is reliable internet connectivity and cellular backup.
Focus on perimeter detection (doors, accessible windows) before interior motion sensors. False alarms destroy trust in the system quickly.
🎯 Our Top Recommendation
After extensive testing, we recommend the Hubitat Elevation Hub for most readers because it offers local processing, excellent device compatibility, and doesn't rely on cloud services for core functionality.
Advanced Features That Actually Matter
Voice control sounds cool but becomes less important once automations work properly. I rarely use voice commands now because the house anticipates my needs.
Energy monitoring, however, provides ongoing value. Real-time usage data helps identify wasteful devices and optimize automation timing. I discovered our old refrigerator was costing $40 monthly more than expected.
Geofencing (location-based triggers) works well for arrival/departure routines but requires consistent phone habits. If you regularly forget your phone or use multiple devices, stick with time-based and sensor-based triggers.
Future-Proofing Your Investment
Choose devices that support multiple protocols when possible. Zigbee 3.0 and Z-Wave Plus offer good compatibility across platforms. Wi-Fi devices work everywhere but can overload your network.
Matter (the new universal smart home standard) promises better interoperability, but it's still early. Buy based on current functionality rather than future promises.
Most importantly: start small, test thoroughly, and expand gradually. The homes I've seen with the best automation systems grew organically over 1-2 years rather than trying to automate everything at once.
Your smart home should make life easier, not more complicated. If you find yourself constantly troubleshooting or explaining how things work to guests, you've probably automated too much too quickly. Focus on automations that solve actual problems rather than showcase technical capabilities.
The best automation is invisible – it just works, exactly when and how you need it to.
Frequently Asked Questions
How much does home automation cost to set up properly?
A basic single-room setup costs $150-300, while whole-home automation ranges from $2,000-8,000 depending on features. Start with one room and expand gradually – this approach costs less upfront and helps you learn what actually works for your lifestyle. Most people see energy savings of $20-50 monthly after full implementation.
Will home automation work during power outages or internet failures?
This depends entirely on your platform choice. Cloud-based systems like basic Alexa or Google routines stop working without internet. Local processing platforms like Hubitat, Apple HomeKit, or advanced SmartThings setups continue operating during internet outages. Battery backup for your hub and essential sensors maintains functionality during brief power outages.
Is home automation secure from hackers and privacy breaches?
Security varies significantly between platforms and devices. Local processing systems with strong encryption (like Apple HomeKit) offer the best privacy protection. Always change default passwords, enable two-factor authentication, and avoid cheap no-name devices that often lack security updates. Keep devices on a separate network from computers and phones when possible.
Can I install smart home devices myself or do I need an electrician?
Most smart switches require basic electrical work – if you're comfortable changing a light fixture, you can handle smart switches. However, adding new circuits, working with older wiring, or installations without neutral wires should be done by a licensed electrician. Battery-powered sensors and plug-in devices need no electrical work at all.
Which smart home platform works best for beginners?
Amazon Alexa offers the easiest starting point with broad device compatibility and simple setup. Apple HomeKit provides better security and privacy but costs more and works only with Apple devices. Avoid complex platforms like Hubitat or Home Assistant until you've mastered the basics with a consumer-friendly option.
How do I prevent smart home devices from slowing down my Wi-Fi?
Use devices with Zigbee or Z-Wave protocols instead of Wi-Fi when possible – these create separate mesh networks. For Wi-Fi devices, enable band steering on your router and consider upgrading to Wi-Fi 6 if you have many connected devices. A dedicated IoT network isolates smart home traffic from your main devices.
What happens to my smart home setup if the company goes out of business?
This is why choosing platforms with local processing capabilities matters. Cloud-dependent devices become useless when servers shut down, which has happened to several smart home companies. Local platforms like Hubitat or systems using open standards like Zigbee remain functional even if the original company disappears.
🔌 Editor's Pick
Editor's Pick: multi-room smart speaker, motion smart sensor, app-controlled smart power strip, fingerprint smart lock, tabletop smart.
Make Your Home Smarter
Device reviews, automations, and the deals worth grabbing.
