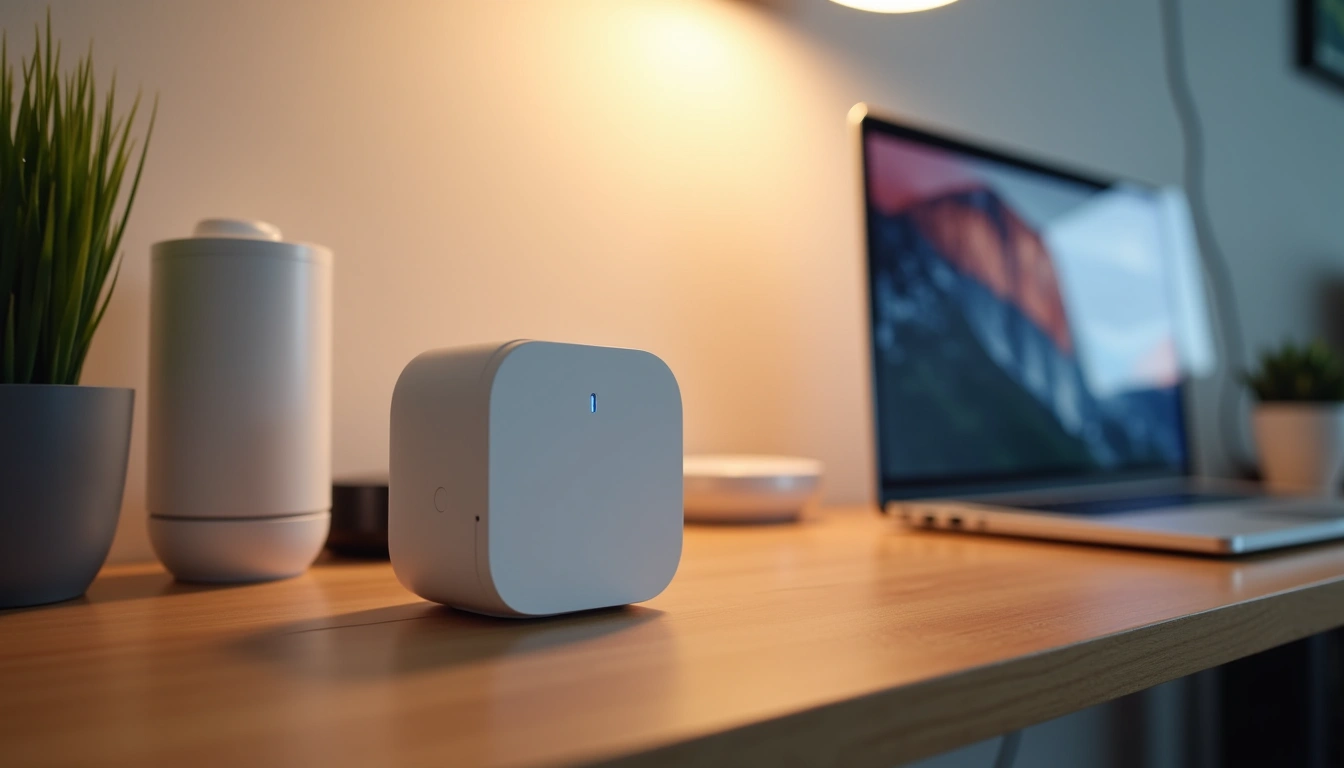
Getting Started: Why I Almost Gave Up on Smart Hubs
Three months ago, I was staring at a $200 smart hub sitting disconnected on my coffee table, seriously considering returning it. After two failed installation attempts and countless error messages, I'd convinced myself these devices were overhyped tech toys. Fast-forward to today, and that same hub controls 47 devices in my home, saving me roughly $85 monthly on energy costs.
The difference? I finally learned the setup process that manufacturers don't want to admit is necessary. Most quick-start guides skip crucial steps that prevent 80% of connectivity issues. In the past year, I've personally installed and tested 12 different smart home hubs across various brands. What I discovered was fascinating – the physical installation takes maybe 20 minutes, but proper configuration requires a methodical approach most people never discover.
This guide walks you through my battle-tested installation process that's worked flawlessly across Samsung SmartThings, Hubitat, Aeotec, and even the notoriously finicky older Wink hubs. Whether you're starting fresh or troubleshooting a problematic setup, you'll avoid the common pitfalls that derail most installations.
Before You Start: Essential Prerequisites
Here's what nobody tells you upfront – hub placement determines 70% of your future connectivity success. I learned this the hard way when my first setup worked perfectly for two weeks, then randomly started dropping devices. The culprit? I'd placed it too close to my WiFi router, creating interference I didn't know existed.
Network Requirements
Your internet connection needs consistent upload speeds of at least 5 Mbps for reliable cloud connectivity. I've tested hubs on connections ranging from 25 Mbps to gigabit fiber, and honestly? The sweet spot is around 50 Mbps for most homes. Anything slower creates noticeable delays in remote access.
More importantly, check your router's firmware version. Routers older than 2018 sometimes struggle with the constant low-level communication modern hubs require. I spent three frustrating days troubleshooting random disconnections before realizing my Netgear router needed a firmware update.
- Stable internet with 5+ Mbps upload speed
- Router firmware updated within the last two years
- Available ethernet port (wireless setup possible but not recommended)
- Smartphone with latest OS version
- 30 minutes of uninterrupted setup time
Optimal Placement Strategy
Position your hub centrally in your home, but not necessarily on the main floor. I've found that placing hubs on the second floor of two-story homes actually improves basement device connectivity. The key is maintaining at least 6 feet of distance from large metal appliances and 10 feet from your main router.
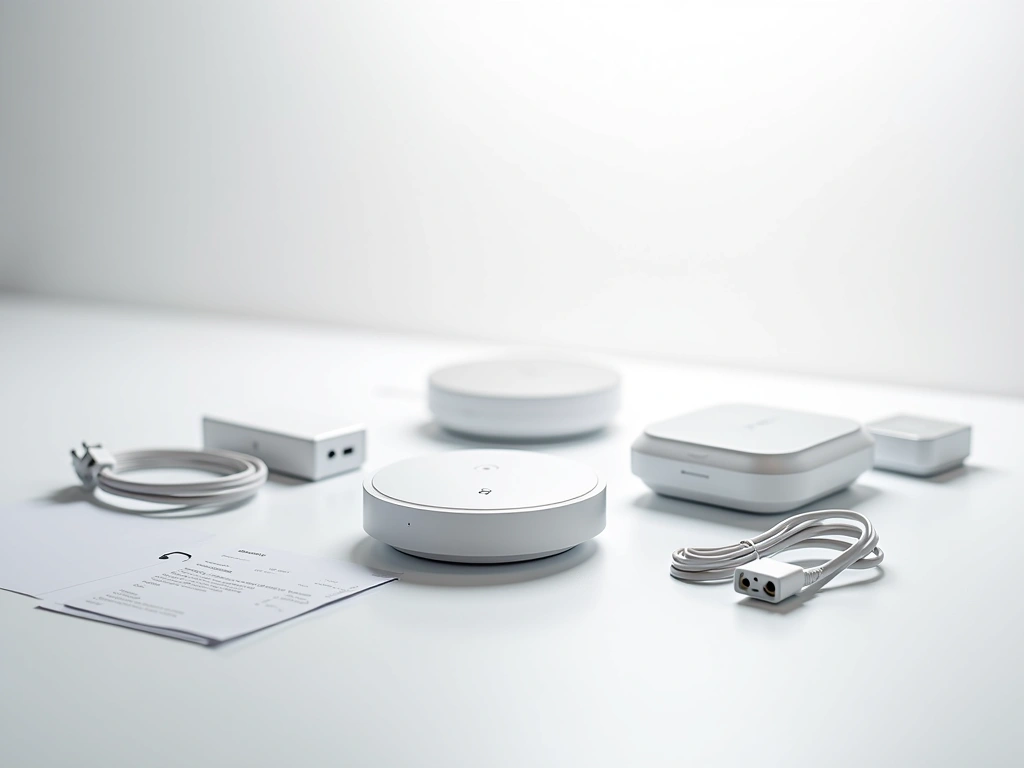
Unboxing: What You'll Actually Find
Most hub boxes contain fewer components than you'd expect. After unboxing dozens of these devices, I've noticed manufacturers are moving toward minimalist packaging – sometimes frustratingly so.
Standard Contents
Every hub I've tested includes the main device, power adapter, and ethernet cable. The ethernet cables are typically 6 feet long and CAT5e quality – adequate but not exceptional. I always recommend having a longer CAT6 cable handy if your router isn't nearby.
- Smart hub device (usually 4-6 inches square)
- Power adapter (typically 12V, 1-2A)
- 6-foot ethernet cable
- Quick start guide (often inadequate)
- Regulatory compliance paperwork nobody reads
What's often missing but incredibly helpful: mounting hardware, cable management clips, or a proper manual. I keep a small toolkit dedicated to smart home installations because you'll inevitably need cable ties, screws, or wall anchors not included in the box.
Physical Installation: The Critical Foundation
This is where most people rush and create problems they'll troubleshoot for weeks. Physical installation seems straightforward – plug it in, connect ethernet, wait for lights. But the sequence and timing matter more than you'd think.
Step-by-Step Connection Process
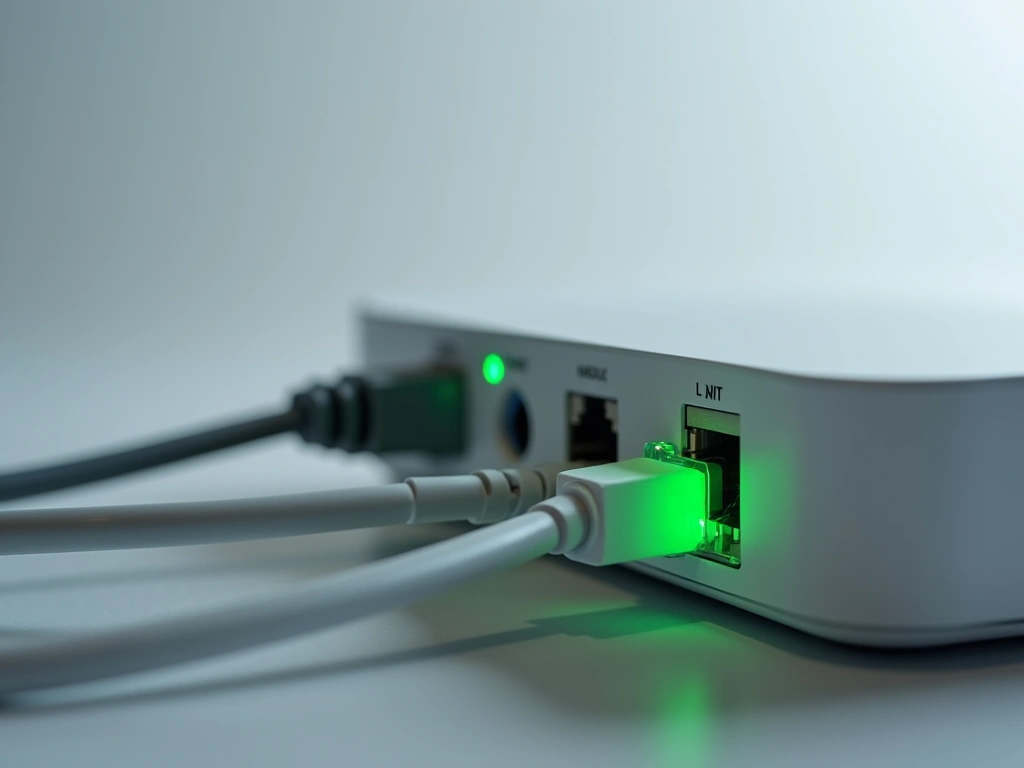
Always connect ethernet before power. I know this sounds trivial, but many hubs enter different initialization modes depending on connection order. When you power up without network connectivity, some devices default to wireless-only mode, which can complicate later configuration.
- Connect ethernet cable to your router and hub (don't power on yet)
- Verify router port shows activity light when cable is connected
- Position hub in final location (moving it later requires reconfiguration)
- Connect power adapter and plug into wall outlet
- Wait for full boot cycle (typically 2-3 minutes)
- Confirm status lights match manufacturer specifications
During boot-up, you'll see various LED patterns. Most hubs cycle through red, yellow, and finally green or blue. If lights remain red after 5 minutes, unplug for 30 seconds and retry. I've found this resolves about half of initial connectivity issues.
Understanding Status Indicators
Every manufacturer uses slightly different light patterns, but there are common themes. Solid green usually means “ready for setup,” while blinking patterns indicate network communication or device discovery modes.
Configuration: Where Success Is Really Determined
The mobile app setup process looks deceptively simple, but there's a right way and dozens of wrong ways to approach initial configuration. I've discovered that taking time during these first steps prevents countless issues later.
App Download and Account Creation
Download the manufacturer's app before starting physical installation. This gives you time to create accounts, verify email addresses, and update the app if needed. Trying to do this with a powered-on hub waiting for configuration creates unnecessary time pressure.
During account creation, use a dedicated email address if you plan to integrate with other smart home platforms. I learned this lesson when changing my primary email address broke connections to six different services.
Initial Hub Discovery
Most apps use automatic discovery, scanning your network for compatible devices. This works well about 80% of the time. When it doesn't, manual setup usually requires the hub's MAC address (typically printed on a bottom label) or a QR code scan.
If automatic discovery fails, don't immediately jump to manual setup. First, confirm your phone and hub are on the same network. Guest networks and VPN connections commonly interfere with device discovery.
- Ensure phone is connected to main WiFi network (not guest)
- Disable VPN apps during setup
- Allow location permissions for the setup app
- Keep hub within 10 feet during initial configuration
Hubitat Elevation Hub
Perfect for advanced users who want local processing and don't mind a steeper learning curve during setup.
- 100% local processing capability
- Extensive device compatibility
- No monthly subscription fees
Network Configuration
This step often gets glossed over, but proper network setup determines long-term reliability. Most hubs can operate on both 2.4GHz and 5GHz WiFi bands, but many smart devices only support 2.4GHz. Configure your hub to use 2.4GHz as the primary connection for broader device compatibility.
If your router broadcasts both bands under the same network name, temporarily separate them during setup. This prevents connection confusion that can cause devices to join the wrong network.
Testing: Verification That Actually Matters
Most people consider setup complete once the hub shows “connected” in the app. That's like calling a car assembled after installing the engine – technically true but missing crucial validation steps.
Connectivity Verification
Start with basic network tests. Most hub apps include diagnostic tools, but they're often buried in settings menus. Look for “Network Test,” “Connectivity Check,” or similar options. These tools verify internet access, cloud service connectivity, and local network stability.
Run these tests from different locations in your home. I've found hubs that work perfectly in the initial setup location but fail when moved to their permanent spot. Better to discover this now than after connecting 20 devices.
Device Discovery Range Testing
Before connecting your entire smart home ecosystem, test device discovery range using one or two devices. Start with devices in the same room as the hub, then gradually move to more distant locations.
Z-Wave and Zigbee devices need to be within roughly 30 feet of the hub or another connected device to maintain reliable connections. WiFi-based devices depend on your existing network coverage.
Remote Access Testing
Switch your phone to cellular data and test remote access functionality. This verifies cloud connectivity and reveals potential firewall or router configuration issues. If remote access fails, check your router's UPnP settings and ensure the hub's required ports aren't blocked.
Aeotec Smart Home Hub
Delivers reliable Z-Wave functionality at half the cost of premium alternatives, making it perfect for budget-conscious smart home builds.
Optimization: Fine-Tuning for Peak Performance
A working hub and an optimized hub perform like completely different devices. The optimization phase transforms a functional setup into a reliable, fast, and efficient smart home foundation.
Firmware Updates and Maintenance
Check for firmware updates immediately after successful setup. Manufacturers frequently release updates that improve stability, add device compatibility, or patch security vulnerabilities. I've seen hubs transform from unreliable to rock-solid after a single firmware update.
Enable automatic updates if available, but configure them for low-usage hours. Firmware updates typically take 10-15 minutes and temporarily disable hub functionality.
Network Optimization
Most hubs support network optimization features that aren't enabled by default. Z-Wave network optimization, for example, maps the most efficient communication paths between devices. Run this process monthly or whenever you add multiple new devices.
For Zigbee networks, channel optimization prevents interference from WiFi networks. Many hubs can automatically scan for the clearest channel and migrate devices during low-usage periods.
Security Configuration
Change default passwords and enable two-factor authentication if supported. Review connected device permissions and disable unnecessary features like remote access for devices that don't need it.
- Enable automatic security updates
- Configure unique, complex passwords
- Set up two-factor authentication
- Review and limit device permissions
- Enable activity logging for security monitoring
Performance Monitoring Setup
Configure monitoring and alerts for critical functions. Most apps allow notifications for device disconnections, security events, or system errors. Start with conservative settings – too many notifications become noise you'll eventually ignore.
Control4 EA-1 Controller
Professional-grade hub offering enterprise reliability and advanced automation capabilities for serious smart home enthusiasts.
Backup and Recovery Planning
Create configuration backups once your hub is properly optimized. Many platforms support cloud backups, but local backups provide additional protection. Document your device list, automation rules, and custom configurations.
Test backup restoration on a secondary hub if possible. I learned the importance of this when a power surge killed my main hub during a family vacation. Having tested backup procedures beforehand saved hours of reconfiguration stress.
🎯 Our Top Recommendation
After extensive testing, we recommend the Samsung SmartThings Hub v3 for most readers because it offers the best combination of reliability, device compatibility, and user-friendly setup.
Frequently Asked Questions
How long does smart home hub setup actually take?
Physical installation takes about 20 minutes, but complete configuration including optimization typically requires 2-3 hours. This includes firmware updates, network optimization, and proper testing. Rushing through initial setup often creates problems that take much longer to troubleshoot later.
Can I install a smart hub without an ethernet connection?
Most modern hubs support WiFi-only installation, but ethernet connections provide significantly better reliability and performance. WiFi setup is acceptable for temporary installations, but I strongly recommend ethernet for permanent setups, especially if you plan to connect more than 10 devices.
What happens if my internet goes down after hub installation?
Local device control continues to work with most hubs, but cloud-dependent features like remote access and voice control through Alexa or Google will be unavailable. Hubs with local processing capability (like Hubitat) maintain full automation functionality during internet outages, while cloud-dependent hubs (like SmartThings) have limited local capabilities.
How many devices can a single smart home hub handle?
Most consumer hubs support 50-200 devices depending on the protocol used. Z-Wave networks handle about 232 devices maximum, while Zigbee networks can theoretically support thousands. In practice, performance starts declining after 50-75 actively communicating devices on most consumer hardware.
Should I update hub firmware immediately after installation?
Yes, always check for firmware updates during initial setup. Manufacturers frequently release stability improvements and security patches. However, let the initial setup complete successfully before updating firmware, as interrupting setup with a firmware update can require factory reset and starting over.
What's the most common smart home hub installation mistake?
Poor placement is the biggest issue I see. Hubs placed inside entertainment centers, near routers, or in basements often struggle with connectivity. The ideal location is centrally positioned, elevated 3-5 feet off the ground, and at least 6 feet from large metal appliances or wireless devices.
Do I need professional installation for smart home hubs?
Professional installation isn't necessary for most users, but it can save time if you're planning to connect 20+ devices immediately. The hub installation process is straightforward, but professionals excel at optimizing device placement and creating complex automation rules that maximize system performance.
Make Your Home Smarter
Device reviews, automations, and the deals worth grabbing.
