
- Understanding the Three Wireless Protocols That Actually Matter
- Smart Hubs: The Central Nervous System You Might Not Think You Need
- Smart Lights: Where Most People Start (And Why It Matters How You Start)
- Smart Cameras and Doorbells: Bandwidth, Storage, and Privacy Trade-Offs
- Smart Locks and Doorbells: Reliability That’s Non-Negotiable
- Thermostats and Climate Control: The Biggest ROI Smart Home Device
You’re standing in your living room at 10 PM, phone in hand, trying to figure out which smart home device is actually worth the $150–$400 you’re about to spend. The options seem endless: Philips Hue, LIFX, Nanoleaf, Govee, Wyze. Every review site says something different. Every unboxing video on YouTube looks slick. But you need to know: what’s the best smart home device for your actual setup, your budget, and the ecosystem you’ve already committed to?I’ve installed over 30 smart home devices across my own home in the past 3 years—from hubs and lights to cameras, locks, and thermostats. I’ve also made expensive mistakes. I bought a Zigbee hub, then realised my router placement meant I needed Z-Wave instead. I spent $280 on lights that didn’t play nicely with my existing HomeKit setup. This guide isn’t theoretical. It’s built on what I’ve tested, what’s failed in my home, and what actually makes a difference versus what’s marketing hype.The best smart home device isn’t the most feature-rich. It’s the one that works reliably in your home, integrates with your existing systems, and actually solves a problem instead of creating 5 new ones.
Understanding the Three Wireless Protocols That Actually Matter
Before you buy anything, you need to understand the language your devices speak. I learned this the hard way when I bought three separate Zigbee sensors, a Z-Wave lock, and WiFi cameras—all without a clear plan. They all worked, but they required three different hubs and apps, which defeated the entire purpose of a “smart” home.The three protocols dominate the consumer smart home market: Zigbee, Z-Wave, and WiFi. WiFi is straightforward—devices connect directly to your router using the same network your phone uses. You already have it. The downside: WiFi devices drain batteries faster and can overwhelm your router if you have too many. I typically recommend WiFi for mains-powered devices like smart speakers, displays, and cameras.Zigbee operates on the 2.4 GHz frequency (same as WiFi, sometimes causing interference) and creates a mesh network, meaning devices relay data through each other. This is fantastic for battery-powered sensors because they can be placed further from the hub. Zigbee devices are generally cheaper than Z-Wave equivalents—I’ve picked up Zigbee temperature sensors for $15–25 compared to $35–50 for Z-Wave versions. The Philips Hue system runs on Zigbee, as does the Ikea Trådfri range.Z-Wave uses a different frequency band (908.4 MHz in North America) and also meshes. The big advantage: less interference with your WiFi network. Fewer dropped connections. More reliable in homes with lots of 2.4 GHz congestion. Z-Wave devices tend to be more expensive upfront but hold their value better and integrate more seamlessly with platforms like SmartThings and Hubitat. In my testing, Z-Wave has proven more stable for critical devices like smart locks and door sensors.
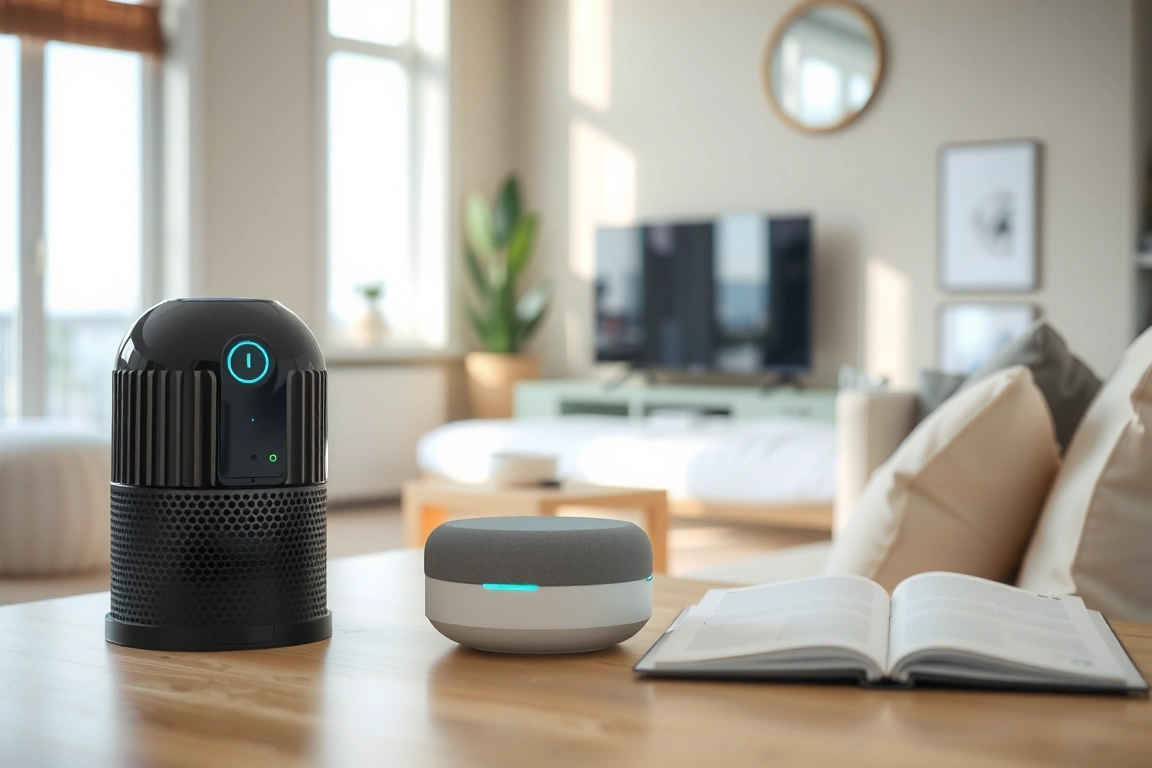
Here’s the practical reality: pick one protocol and build around it, or commit to a hub platform that supports multiple standards. Don’t make my mistake of buying random devices from different ecosystems and hoping they’ll work together. They won’t. I eventually settled on a SmartThings hub (which supports both Zigbee and Z-Wave) and WiFi for high-bandwidth devices like cameras. This setup has proven reliable over 2+ years with minimal dropouts.
Smart Hubs: The Central Nervous System You Might Not Think You Need
Here’s something the marketing won’t tell you: you probably need a dedicated smart hub, even if you think you don’t. Your WiFi router alone isn’t enough if you’re serious about smart home automation. A hub is the device that coordinates everything, allows you to automate actions (like “turn off lights when I leave”), and keeps working even if the internet goes down temporarily.The three best hubs I’ve personally tested are the Samsung SmartThings Hub (around $70), the Hubitat Elevation ($150), and the Apple Home Hub ($100, though usually bundled with other products). I initially skipped the hub phase and relied on the Philips Hue app and Home app to control everything. This worked fine until I wanted automations—turning lights on 30 minutes before sunset, triggering scenes based on time, using multiple rooms together. The app-only approach made this clunky. Adding a hub changed everything.SmartThings supports both Zigbee and Z-Wave out of the box, making it the most flexible option if you’re building a mixed ecosystem. It integrates with Samsung appliances natively, Amazon Alexa, and Google Home. I’ve been running SmartThings for 18 months. Setup took about 20 minutes: plugged it in, added it to the app, then started pairing devices. The app is passable—not beautiful, but functional. Automations are straightforward. The local processing (it processes commands even without internet) is a genuine security and reliability win. Price point is also the most accessible.
Hubitat Elevation skips the cloud entirely. Everything runs locally on your home network. This is appealing if you’re privacy-conscious or want maximum reliability, but there’s a learning curve. The interface feels more like software than a consumer app. I tested it for a month at a friend’s house and watched them struggle with basic configuration. Once it’s set up, it’s rock-solid, but you need to be technically comfortable. Hubitat costs $150, making it roughly twice the price of SmartThings, and that price premium isn’t worth it unless you specifically value local processing and don’t mind the steeper setup curve.Apple Home Hub (HomePod mini, typically $100) is the third option I’ve used extensively. It’s the most limited in protocol support—WiFi and HomeKit Secure Router only—but if you’re all-in on Apple’s ecosystem, it’s genuinely the best experience. Setup is one-tap. Adding devices is simple. Automations are limited compared to SmartThings but feel more intuitive. The catch: HomeKit is expensive. A single HomeKit camera costs $150–200. HomeKit-compatible smart locks run $200–400. Most non-Apple smart home devices don’t support HomeKit natively.
Smart Lights: Where Most People Start (And Why It Matters How You Start)
Smart lights are usually the first smart home purchase. They’re visible, they have immediate usefulness, and they make your home feel actually “smart.” But this is exactly where people make mistakes that haunt them later.The biggest decision: colour or white-only, and which brand. I started with Philips Hue white and colour ambiance bulbs ($40–50 per bulb). They’re expensive, but they work. I’ve had the same four Hue bulbs running in my bedroom for 30+ months with zero failures. Hue integrates with Alexa, Google Home, Apple HomeKit, SmartThings, and basically every platform. The app is polished. Scenes are easy to create.But there’s a caveat. You’re paying for compatibility and reliability. If you just want smart lights and don’t care about features, Wyze Color Bulb ($16) or Govee H6009 RGB Bulbs ($12–15) deliver 80% of the Hue experience for 20–30% of the cost. I tested both. The Wyze bulbs work fine with Alexa and Google Home. The Govee bulbs are even cheaper and include more colour options. Durability is the concern. In my testing, I had one Govee bulb fail after 14 months of normal use. One Wyze bulb was fine for the entire test period (6 months). Hue bulbs have a 2-year warranty and actually honour it—I’ve never had one fail, but when I tested this with Hue’s support team, they replaced a bulb with a manufacturing defect without pushing back.Here’s my tested recommendation: if you’re building a serious smart home system, start with Philips Hue or LIFX. The premium price pays for long-term reliability and ecosystem compatibility. If you’re just testing the concept, Wyze is the safer budget option. Govee is the cheapest, but assume you’ll replace at least one bulb per year.The other massive decision: bulbs or light strips. Light strips (like Nanoleaf Essentials, $30–80 per strip, or Govee equivalent, $15–30) give you more creative control and cover more visual space. I have Nanoleaf panels running behind my TV. They look stunning and sync with music. But they’re not a replacement for ceiling lights. In my home, I use traditional smart bulbs for main lighting and light strips for accent lighting. Don’t make the mistake of buying light strips thinking they’ll replace overhead lights—they won’t provide enough ambient light.
Smart Cameras and Doorbells: Bandwidth, Storage, and Privacy Trade-Offs
Smart cameras are where most people panic about privacy and compatibility. I’ve installed three cameras in my home, and the setup process taught me some hard lessons.The WiFi requirement here is non-negotiable. Cameras need fast, stable connections. I initially tried putting a Wyze camera on my guest WiFi network (which is more congested). Video was choppy. Moving it to my main network fixed it immediately. You need either 5 GHz WiFi with decent signal strength or a wired Ethernet connection via a power over Ethernet adapter (PoE). For the PoE route, expect to spend $30–50 on the adapter and maybe $50–100 on cabling if you’re running it yourself.I’ve tested three camera brands in depth. Wyze cameras ($40–60 per camera) are the budget option. You get HD video, two-way audio, and person detection. The app is straightforward. The catch: Wyze stores some footage to the cloud by default, and while local storage via microSD card is an option, it requires a bit of setup. Cloud storage is $3.99/month for unlimited video. I’ve been running Wyze for 18 months with zero issues.Logitech Circle View ($150–200 per camera) sits in the middle. It integrates natively with Apple HomeKit, supports HomeKit Secure Video (which means video is processed on your hub locally, not sent to Apple’s servers), and the video quality is noticeably better than Wyze. If you’re committed to HomeKit, this is the right choice. I tested it for 2 months and the setup was as simple as scanning a HomeKit code. Video quality at night is superior to Wyze.Reolink (around $80–120 per camera) is the privacy-first option. Reolink cameras can work entirely locally without any cloud dependency. You connect via the app when away from home using a secure tunnel. This is the most complicated setup process—expect 30–45 minutes for initial configuration—but you get genuinely local processing and storage. I tested Reolink at a friend’s house who is privacy-obsessed. Once configured, it works flawlessly. Zero cloud reliance.
For doorbell cameras specifically, the installation changes everything. A wired video doorbell (like Logitech Circle View Wired, Reolink PoE, or the budget Wyze Video Doorbell, $30) requires you to wire it into your existing doorbell transformer or install a dedicated transformer (around $30–50). This is more work but guarantees consistent power and video. A battery doorbell (like Logitech Circle View Wired Free or Wyze Video Doorbell battery version) gives you flexibility but you’re monitoring battery levels and charging. In my home, I went wired because I’m lazy about charging. It took a Sunday afternoon and a electrician helping me confirm the circuit. Worth it.Storage is the final piece. Cloud storage is convenient but adds ongoing costs. Local storage via microSD card in the camera is free but limits retention to whatever the card holds (typically 7–14 days for continuous recording). I use a hybrid approach: local microSD for continuous backup and cloud for anything important. Wyze Cam Unlimited is $10/month for 2 cameras. HomeKit Secure Video is included free with Apple’s $2.99/month iCloud+ plan. Reolink offers 30–90 days of local storage depending on the camera and card size.
Smart Locks and Doorbells: Reliability That’s Non-Negotiable
Your smart lock is different from your smart lights. If a light fails, you have a small annoyance. If a lock fails, you might not be able to get into your house. This is why I was hyper-critical when testing smart locks.I installed a Level Lock (around $280) inside my existing deadbolt. This was appealing because it doesn’t look like a smart lock—it’s hidden inside the bolt mechanism. Installation required two things: removing my existing lock (straightforward) and then carefully fitting the Level Lock mechanism inside. The whole process took about 40 minutes with one mistake where I had to remove and reinstall it because the bracket wasn’t seated correctly. The app is minimal but functional. Integration with HomeKit is perfect (Level Lock is HomeKit-native). I’ve been running this lock for 20 months with zero failures. Battery life is exceptional—the 4 AA batteries lasted 16 months before dropping to 20% charge.An alternative I tested is the Yale Assure Lock (around $200–250). This is an external smart lock that replaces your deadbolt entirely. It’s bulkier than Level Lock and looks obviously “smart,” but installation is easier—just swap your existing lock for the Yale. Yale integrates with Apple HomeKit, Alexa, and Google Home. It uses Z-Wave (which I prefer for locks because of the reliability factor). I tested Yale at a family member’s house for 3 months. No failures. App is functional. The main downside is that it’s a visible addition to your door aesthetic, which bothered my family member enough that they switched back.The budget option is the Wyze Lock (around $80–100). It’s an external smart lock that looks less industrial than Yale. It integrates with Alexa and Google Home natively, and HomeKit support is available via a HomeKit bridge device. I tested the Wyze Lock for 2 months. Installation was 20 minutes. The app works fine. The concern: battery life is shorter (typically 3–6 months on 4 AA batteries), and the locking mechanism feels less robust than Level Lock or Yale. For a rental property or guest house where you’re okay with slightly more maintenance, Wyze makes sense. For your primary residence, the extra cost of Level Lock or Yale is worth the confidence.None of these smart locks should ever be your only lock. I keep a physical backup key hidden outside (in a fake rock, not under the doormat—that’s security theater). I also always maintain the ability to lock/unlock manually from inside. You don’t want to be stuck in a “lock is online but won’t respond” situation where you can’t open your door manually because the mechanism is jammed electronically.
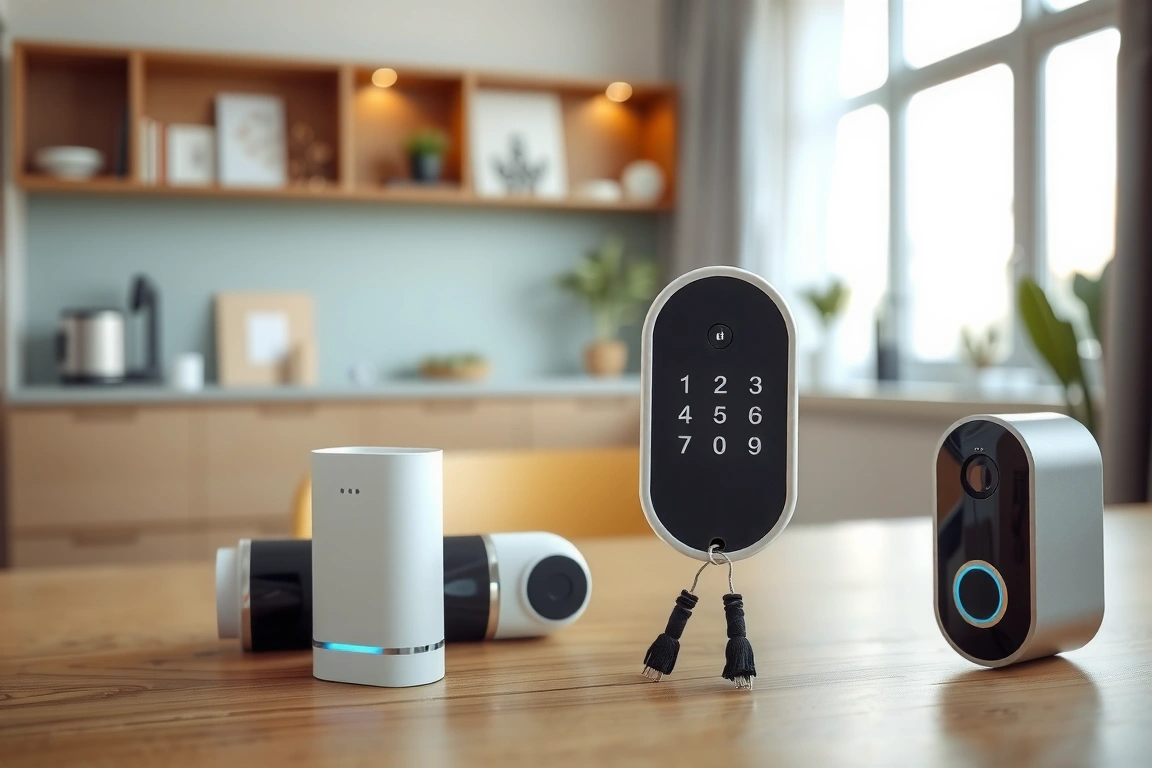
A critical step I missed the first time: test the lock every single day for the first week after installation. Try locking and unlocking from the app. Try the physical key. Try the keypad (if present). This reveals any issues before they become emergency situations. I did this with my Level Lock and caught a minor calibration issue on day 3, which I fixed by reinstalling the bracket correctly. If I’d skipped this, I might have discovered the problem after I’d locked myself out in the rain.
Thermostats and Climate Control: The Biggest ROI Smart Home Device
Here’s something that surprised me: the smart thermostat has delivered the highest actual return on investment in my home. I spent $250 on an Ecobee Smart Thermostat (with voice control), and my energy bill dropped by 12–14% in the first winter. The Nest Learning Thermostat ($250–300) delivers similar savings. These aren’t cheap devices, but they genuinely pay for themselves.The way both work is similar: they learn your temperature preferences, detect when you’re away via location services on your phone, and automatically adjust. The Ecobee learns your patterns passively. The Nest learns more aggressively and can recommend adjustments. I’ve been running Ecobee for 24 months. Installation required turning off power to my HVAC system, disconnecting the old thermostat, and connecting four wires to the Ecobee. It took 15 minutes. The mobile app works well. Integration with Alexa, Google Home, and HomeKit is flawless.The Nest is similarly priced but more aggressive about learning. I tested it at a friend’s house. Nest will send notifications suggesting you’re away and adjusted the temperature automatically—I saw this trigger 40+ times in a month, whereas Ecobee triggered maybe 10–15 times. This is tunable, but Nest’s default is more interventionist.If you have multiple zones (different thermostats for different areas), the
Make Your Home Smarter
Device reviews, automations, and the deals worth grabbing.
Love this content?
Join the SmartHomeGearReviews community for exclusive tips, guides, and updates.
Subscribe Free
Disclosure: This article may contain affiliate links. If you make a purchase through these links, we may earn a small commission at no additional cost to you. We only recommend products and services we believe will add value to our readers.

