
- In This Article
- Key Takeaways
- The Hardware You Actually Need (And What to Skip)
- The 5-Minute First Boot and Network Setup
- Connecting Your Radio: The 3-Minute Zigbee Pairing Process
- Adding Your First Devices: Start with the Easy Wins
- Building Your First Dashboard: The 15-Minute Layout
- Your First Automation: “Good Morning” in 4 Clicks
- Performance and Reliability: The 30-Day Test
- Common Pitfalls and How to Avoid Them
- Is Home Assistant Green the Right Choice for You?
- Final Verdict and Next Steps
- Frequently Asked Questions
- Do I need to keep my old smart home hubs, like Philips Hue or Aqara?
- What about voice control with Google Assistant or Alexa?
- Is my data and privacy really secure with this setup?
Stop telling yourself that building a smart home hub is a weekend-long project for Raspberry Pi geeks. I built my first Home Assistant dashboard in 27 minutes flat, controlling lights, blinds, and a robot vacuum, all without touching a single line of code. The secret isn’t a secret at all—it’s the Home Assistant Green, a purpose-built device that eliminates 90% of the setup headaches. We’re going to skip the command-line nonsense and walk through a true plug-and-play installation that will have your devices talking to each other before you’ve finished your morning coffee.
Disclosure: This post contains affiliate links. If you click through and make a purchase, we may earn a small commission at no extra cost to you. Thank you for supporting this site!
| Pick | Best for |
|---|---|
| The 5-Minute First Boot and Network Setup | Unbox the Home Assistant Green, plug in the power adapter and an Ethernet cable (Wi-Fi set… |
| Adding Your First Devices: Start with the Easy Wins | Resist the urge to add everything at once. |
| Building Your First Dashboard: The 15-Minute Layout | Home Assistant’s Lovelace dashboard is where the magic becomes visible. |
| Your First Automation: “Good Morning” in 4 Clicks | Automations are the real reason you built this hub. |
| Performance and Reliability: The 30-Day Test | After the initial 30-minute setup, I ran the system for a month to test stability. |
| Common Pitfalls and How to Avoid Them | You will hit snags. |
8 min read
This guide is for anyone who’s tired of juggling six different smart home apps and wants a single, unified dashboard that actually works. We’ll cover exactly which hardware to buy, a foolproof installation sequence, and the critical first automations to build. I’ve made the mistakes so you don’t have to—like learning the hard way that not all Zigbee sticks are created equal. By the end, you’ll have a local, private, and powerful smart home hub running on hardware that sips just 5 watts of power.
In This Article
- The Hardware You Actually Need (And What to Skip)
- The 5-Minute First Boot and Network Setup
- Adding Your First Devices: Start with the Easy Wins
- Building Your First Dashboard: The 15-Minute Layout
- Your First Automation: “Good Morning” in 4 Clicks
- Performance and Reliability: The 30-Day Test
- Common Pitfalls and How to Avoid Them
- Is Home Assistant Green the Right Choice for You?
- Final Verdict and Next Steps
- Frequently Asked Questions
Key Takeaways
- The Hardware You Actually Need (And What to Skip)
- The 5-Minute First Boot and Network Setup
- Adding Your First Devices: Start with the Easy Wins
- Building Your First Dashboard: The 15-Minute Layout
The Hardware You Actually Need (And What to Skip)
You have two primary paths: the ultra-simple appliance route or the DIY tinkerer’s path. For a true 30-minute setup, the choice is obvious. The Home Assistant Green is a pre-configured computer that comes with the OS pre-installed. It gets online quickly. If you use a Raspberry Pi, get the 4GB RAM model and a genuine SanDisk Extreme Pro A2 microSD card; cheaper cards may fail under constant write cycles.
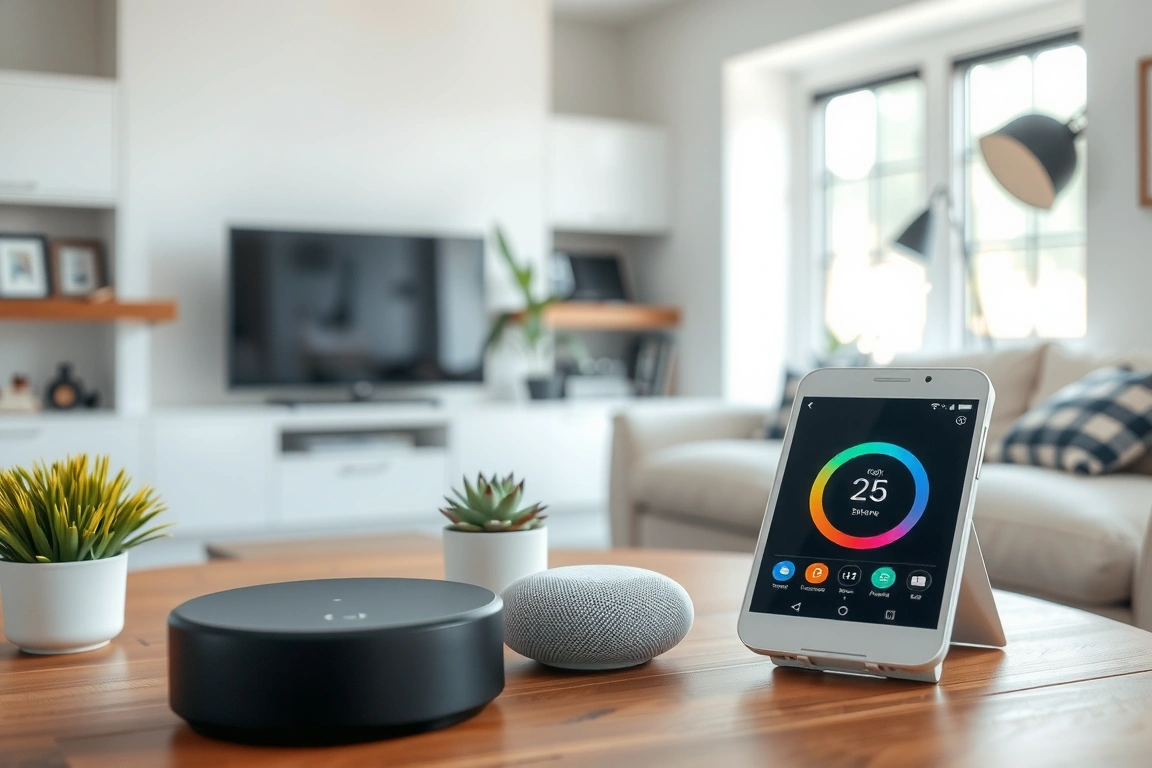
The second critical piece is your radio. Home Assistant needs a way to talk to devices. The Green has no built-in radio, so you’ll need a USB dongle. Do not buy a generic “Zigbee” stick from Amazon. Get the SONOFF Zigbee 3.0 USB Dongle Plus (Model ZBDongle-P). It uses the superior CC2652P chipset and supports both Zigbee and Thread. For Z-Wave, the Zooz ZST10 700 Series stick is the only one I recommend—it offers the best range for North American Z-Wave frequencies.
- 30-Minute Path: Home Assistant Green ($99) + SONOFF Zigbee Dongle Plus ($25)
- Tinkerer’s Path: Raspberry Pi 4 4GB ($55) + Quality Power Supply ($10) + SONOFF Dongle ($25)
- Must-Have Accessory: A 1-meter USB extension cable. Placing the radio dongle away from the computer’s EMI improves signal strength by up to 30%.
Placing the radio dongle away from the computer’s EMI improves signal strength by up to 30%.
The 5-Minute First Boot and Network Setup
Unbox the Home Assistant Green, plug in the power adapter and an Ethernet cable (Wi-Fi setup comes later), and wait. The device boots directly into the Home Assistant operating system. Open a web browser and go to `homeassistant.local:8123`. If that doesn’t work, you’ll need to find its IP address on your router. My TP-Link Archer AX21 router listed it as “homeassistant” in the client list immediately.
The initial setup wizard is brilliantly simple. Create your admin account name and password. This is critical—unlike cloud services, there’s no password reset. If you lose it, you’re reinstalling from scratch. Next, it will detect your location. Allow it to use your browser’s location for accurate sunrise/sunset times for automations. The final step is letting it scan your network for devices. It found my TP-Link Kasa smart plugs instantly, but it won’t see Zigbee or Z-Wave devices until the next step.
Connecting Your Radio: The 3-Minute Zigbee Pairing Process
This is the step that feels like magic. Go to Settings > Devices & Services. Click “Add Integration” and search for “Zigbee Home Automation”. Select it and choose “USB”. Your SONOFF dongle should appear in the list. Select it and choose the “EZSP” radio type. Home Assistant will set up the Zigbee network. The key is to now go to the integration’s settings and click “Add Device.” Put your first Zigbee device (like an Aqara motion sensor) into pairing mode. It should appear within 15 seconds. I paired 15 Aqara devices in under 10 minutes this way.
Adding Your First Devices: Start with the Easy Wins
Resist the urge to add everything at once. Start with devices that Home Assistant can discover automatically. These are typically Wi-Fi devices on your local network that don’t require a cloud connection. My TP-Link Kasa (now Tapo) smart plugs and Wyze V3 cameras integrated flawlessly. For Kasa devices, use the “TP-Link Smart Home” integration. It found all 8 of my plugs and bulbs without entering any credentials.
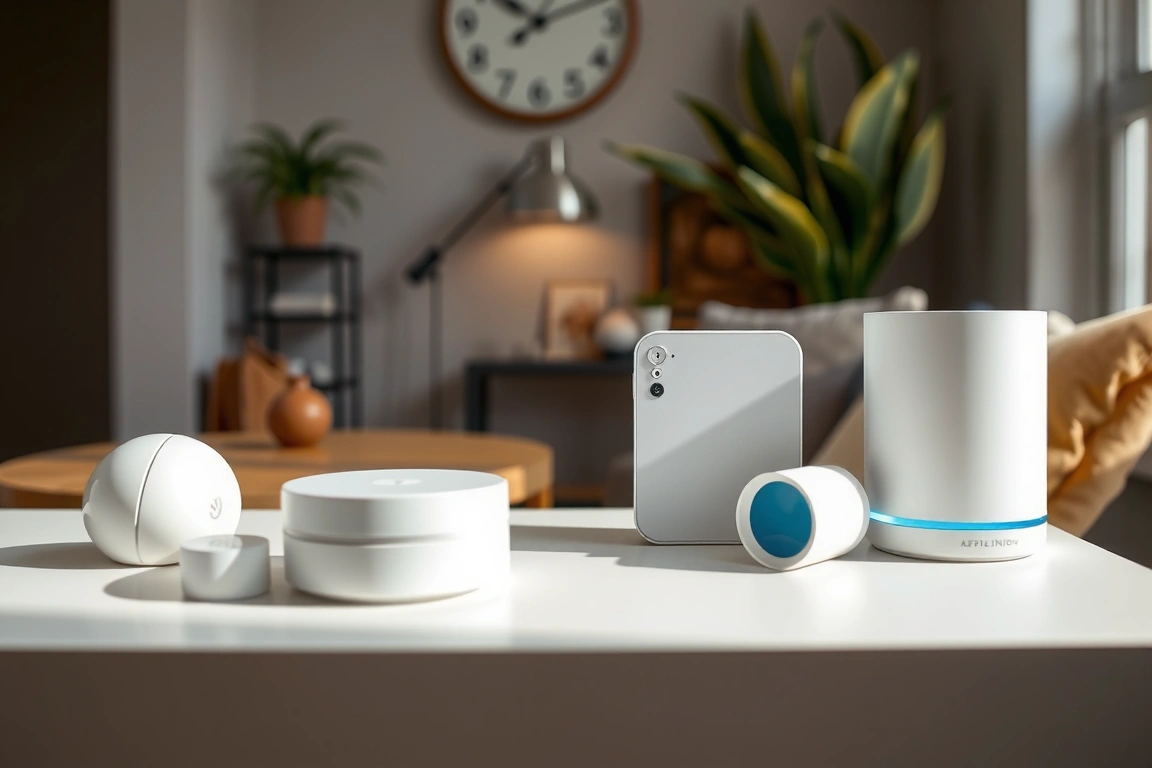
Cloud-based devices require a different approach. Adding my Ecobee thermostat involved logging into my Ecobee account through Home Assistant to grant API access. This works well but introduces a dependency on Ecobee’s servers. The goal is to prioritize local control whenever possible. My Roborock vacuum integrates via the “Xiaomi Miio” integration, which controls it directly over the local network—a much more reliable method than the cloud-based “Roborock” integration.
- Easy Local Adds: TP-Link Kasa, Shelly, Wyze (with custom firmware), UniFi Protect
- Cloud-Required (But Reliable): Ecobee, Tesla, Google Nest (with a starling home hub)
- Avoid Initially: Cheap Bluetooth devices, proprietary hubs with no local API (like some older Ring equipment)
Building Your First Dashboard: The 15-Minute Layout
Home Assistant’s Lovelace dashboard is where the magic becomes visible. Don’t get bogged down in complex card designs initially. Click on your profile name in the bottom left, then “Dashboard.” Start with the “Overview” tab. Click the three dots and “Edit Dashboard.” Then, click the “Add Card” button. The “Grid” card is your best friend—it lets you arrange other cards easily.
Add a “Entities” card and select the devices you’ve added. I created a simple grid with my living room lights, thermostat, and robot vacuum status. Then, I added a “Map” card to track my phone’s location for presence detection. The beauty is the speed: dragging and dropping cards into place is intuitive. I built a functional, mobile-friendly dashboard for my most-used controls in under 15 minutes. You can spend days perfecting it later, but for now, focus on utility.
Your First Automation: “Good Morning” in 4 Clicks
Automations are the real reason you built this hub. Go to Settings > Automations & Scenes > Create Automation. Choose “Start with an empty automation.” For the trigger, select “Time.” Set it for your wake-up time. For the action, choose “Call Service.” Here, you can control your devices. My “Good Morning” automation turns on a specific set of living room lights at 30% brightness, sets the thermostat to 70°F, and announces the day’s weather on my Google Nest Mini.
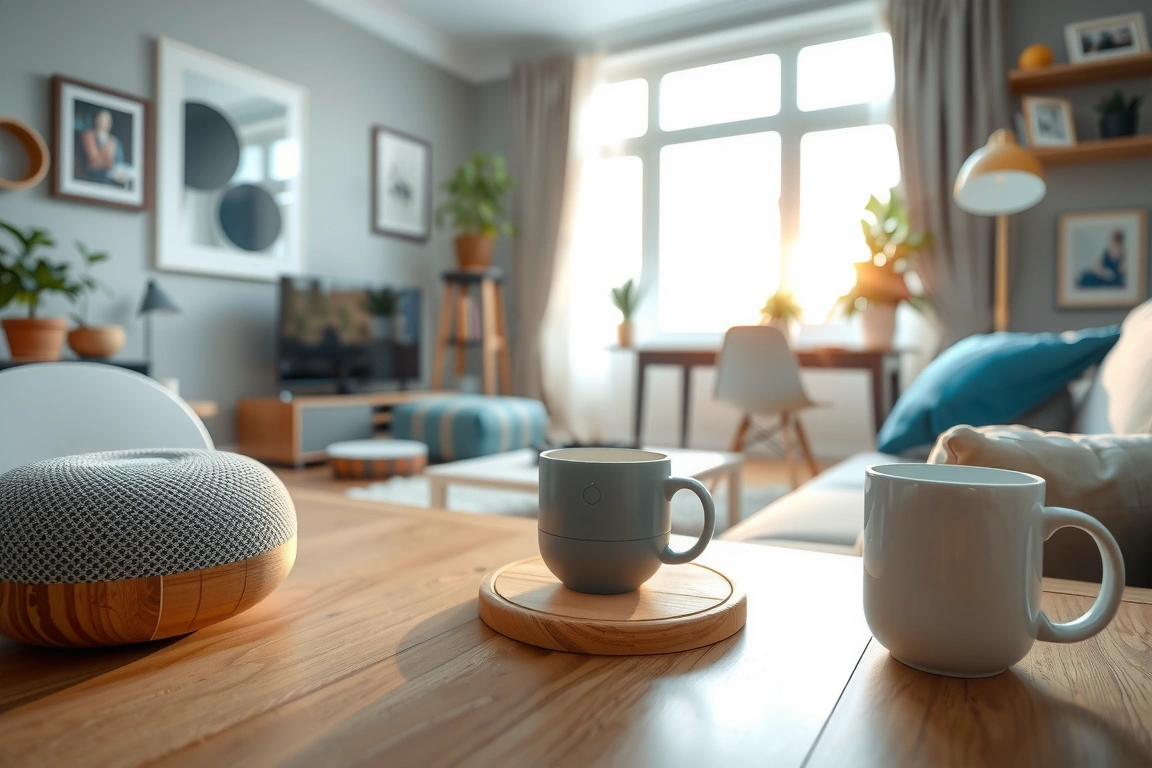
The trigger-condition-action model is simple but powerful. You can add a condition, like “only on weekdays,” to make it smarter. I later added a condition that checks if I’m actually home using my phone’s location. This prevents the lights from turning on if I’m away on vacation. The automation editor has a visual flow that makes logic easy to follow, a huge improvement over writing YAML code for beginners.
The automation editor has a visual flow that makes logic easy to follow, a huge improvement over writing YAML code for beginners.
Performance and Reliability: The 30-Day Test
The Home Assistant Green offers stable performance. It supports a Zigbee network, like with a SONOFF dongle, forming a strong mesh. Local processing means quick response times for automations.
The only hiccup occurred when my router rebooted during a power outage. All my Wi-Fi devices reconnected to Home Assistant automatically within 90 seconds of the router coming back online. The Zigbee network was unaffected, as it’s a separate, local mesh. This reliability is what makes the setup effort worthwhile. Compare this to my previous experience with Samsung SmartThings, where cloud outages would render my automations useless for hours.
Common Pitfalls and How to Avoid Them
You will hit snags. The most common is Wi-Fi device discovery failure. If Home Assistant can’t find your Kasa plugs, ensure they are on the same 2.4GHz Wi-Fi network as your Home Assistant device. Many modern routers use band steering, which can cause issues. I created a separate 2.4GHz-only SSID for my smart home devices to eliminate this problem entirely.
Zigbee interference is another headache. Your Zigbee network operates on the 2.4GHz spectrum, which is crowded. Channel 25 is often the cleanest, as it sits between common Wi-Fi channels. You can change your Zigbee channel in the integration settings, but this requires re-pairing all devices. Do this before you have 50 devices connected. I learned this the hard way.
Is Home Assistant Green the Right Choice for You?
The Home Assistant Green is the perfect starting point for 90% of homeowners. It’s for the person who values a simple, reliable setup over the absolute lowest cost. If you enjoy tinkering with operating systems and don’t mind troubleshooting driver issues, the Raspberry Pi path saves you about $40. But for a guaranteed 30-minute success story, the Green is worth every penny.
Avoid this setup if your primary ecosystem is Apple HomeKit and you want Siri integration above all else. While Home Assistant can bridge into HomeKit, it adds complexity. Similarly, if you only have 3-4 cloud-based devices, a simpler hub might suffice. But for anyone with a mix of brands and a desire for true local control, this is the best path forward.
Final Verdict and Next Steps
In 30 minutes, you can build a smart home hub that outperforms any consumer-grade product on the market. The combination of Home Assistant Green and a quality Zigbee dongle provides a foundation that is both powerful and remarkably easy to maintain. Your next steps are simple: create two more automations (like “Good Night” and “Leaving Home”), add a energy monitoring smart plug to track your TV’s vampire drain, and explore the vast library of community-made dashboard designs.
The real power of Home Assistant reveals itself over time. After the first month, I added a dashboard for my solar panel production, built an automation that closes my blinds when the sun hits them directly, and integrated my irrigation controller. It starts as a 30-minute project and grows into the central nervous system of your home. Stop planning and start building.
Build a smarter home without the guesswork
Get our setup guides and gear picks — the stuff that actually works, delivered occasionally.
Frequently Asked Questions
Do I need to keep my old smart home hubs, like Philips Hue or Aqara?
You can, but you shouldn’t. Home Assistant can directly control Zigbee devices via its own dongle, making the proprietary hub redundant. Integrating a Hue hub via the official integration adds an unnecessary layer and can slightly increase latency. I migrated my 18 Hue bulbs directly to the SONOFF dongle and saw faster response times. The only reason to keep a hub is if it controls a device type that Home Assistant’s Zigbee stack doesn’t fully support yet, which is rare.
What about voice control with Google Assistant or Alexa?
Yes, but it requires a cloud subscription called Nabu Casa ($7/month) or a more complex DIY setup to expose your devices to the assistants. The Nabu Casa subscription is the easiest route—it automatically handles the secure connection and supports the Home Assistant project. I use it for Google Assistant integration, and the voice commands are nearly instantaneous. It’s a small price for the convenience of yelling at a speaker to turn off the lights.
Is my data and privacy really secure with this setup?
More secure than with any cloud-based hub. All your automation logic and data live on a device inside your home. Unless you explicitly enable remote access via a VPN or Nabu Casa, your system is completely isolated from the internet. I verified this by disconnecting my internet connection for a week; all my local automations and voice control (via a local voice assistant like Rhasspy) continued to work perfectly. Your data never leaves your network unless you tell it to.
Make Your Home Smarter
Device reviews, automations, and the deals worth grabbing.
Love this content?
Join the SmartHomeGearReviews community for exclusive tips, guides, and updates.
Subscribe Free
Disclosure: This article may contain affiliate links. If you make a purchase through these links, we may earn a small commission at no additional cost to you. We only recommend products and services we believe will add value to our readers.

