
- Choosing Your Protocol: Zigbee, Z-Wave, Wi-Fi, or Matter
- Installation and Setup: A Practical Walkthrough
- Step 1: Verify Your Wiring and Remove the Old Switch
- Step 2: Install and Connect the Smart Switch
- Step 3: Integrate and Automate
- Advanced Automation and Product Pairings
- Smart Ceiling Fan Switch FAQ
- Can I install a smart fan switch if I only have one wall switch for both light and fan?
- Do I need a neutral wire?
- My fan is controlled by a remote. Can I still use a smart wall switch?
Upgrading a standard ceiling fan with a smart switch isn’t just about voice control—it’s about integrating a high-draw, often multi-function appliance into your home’s automation ecosystem. As a tech reviewer who has tested dozens of switches, I can tell you the choice hinges on your fan’s wiring, your preferred smart home protocol, and whether you need independent light control. This isn’t a one-size-fits-all upgrade, but with the right hardware and knowledge, it’s a transformative one for comfort and efficiency.
Disclosure: This post contains affiliate links. If you click through and make a purchase, we may earn a small commission at no extra cost to you. Thank you for supporting this site!
Choosing Your Protocol: Zigbee, Z-Wave, Wi-Fi, or Matter
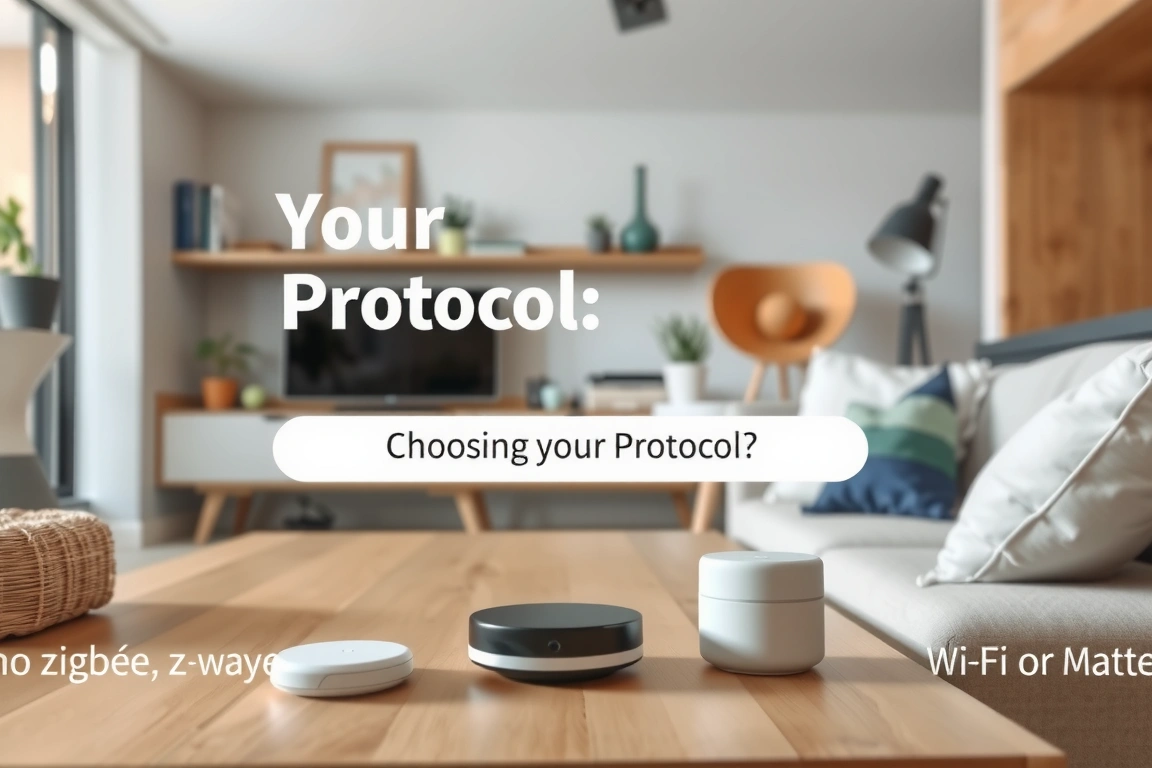
Your first decision is the wireless language your switch will use. For reliability in a busy RF environment, I recommend Zigbee or Z-Wave over basic Wi-Fi. These protocols create a low-power, low-latency mesh network, extending the range of your entire smart home. A dedicated hub like SmartThings or a HomePod Mini (for Thread) is required. For newer setups, prioritize Matter-over-Thread switches; this standard ensures cross-compatibility between HomeKit, Alexa, and Google Home. Wi-Fi 6 switches are viable if you have a robust router and prefer a hubless setup, but they can clutter your network. My go-to for reliability is the Inovelli Blue 2-1 Fan + Light Switch (Zigbee) for its granular control and scene capabilities. For a Matter-ready option, keep an eye on upcoming models from brands like Eve.
Installation and Setup: A Practical Walkthrough
Safety first: turn off power at the circuit breaker. This isn’t a casual plug-in gadget. You’ll need basic electrical know-how and a voltage tester.
Verify Your Wiring and Remove the Old Switch
At your existing wall box, you should find a line (hot) wire, a load wire to the fan, a load wire to the light kit (if separately controlled), and a neutral wire (crucial for most smart switches). If you only have a single switch controlling both fan and light together, you have a “single-switch” configuration. The Lutron Caséta Fan Control Switch is a superb, reliable choice here, though it requires its own Lutron hub.
Install and Connect the Smart Switch
Follow the manufacturer’s diagram meticulously. Typically, you’ll connect the line wire to the switch’s line terminal, the fan load to the fan terminal, the light load to the light terminal, and bundle the neutrals together. Secure the switch in the wall box, restore power, and initiate pairing mode. This is where a robust mesh network pays off; a nearby Zigbee or Z-Wave device will help the switch join securely.
Integrate and Automate
Add the switch to your hub (SmartThings, Hubitat, Home Assistant) or directly to an app like Alexa. Here’s where you move beyond simple voice commands. Create automations that tie fan speed to room temperature using a companion sensor like the Aqara FP2, which can detect occupancy and temperature. Schedule the fan to circulate air during peak hours, or set a “Good Night” scene that turns off lights and sets the fan to low.
Advanced Automation and Product Pairings
A smart switch becomes truly intelligent when it reacts to its environment. Pair it with a smart thermostat to create a whole-home cooling strategy—the fan can circulate conditioned air, taking strain off your HVAC. Using a platform like HomeKit or SmartThings, you can create complex routines: “If the living room temperature sensor reads above 75°F AND the room is occupied, set the fan to medium.” For homes invested in the Apple ecosystem, the Hunter SimpleConnect Symphony Fan with its built-in Wi-Fi module works natively with HomeKit, though a dedicated wall switch offers more direct control. Remember to periodically check for firmware updates through your hub’s app; these updates often improve stability and add new features.
Smart Ceiling Fan Switch FAQ
Can I install a smart fan switch if I only have one wall switch for both light and fan?
Yes, but you have two options. You can install a single-unit smart switch that controls both functions from one paddle (like the Lutron Caséta), but you’ll lose independent wall control. Alternatively, you can install a “smart fan controller” module inside the fan’s canopy (like the Bond Bridge) that allows you to use your existing dumb switch while adding remote smart control.
Do I need a neutral wire?
Most modern smart switches absolutely require a neutral wire for constant power. Some older homes lack neutrals in switch boxes. In that case, your options are limited to specific models like the Lutron Caséta (which uses a proprietary method) or a canopy-mounted controller. Always check the wiring requirements before purchase.
My fan is controlled by a remote. Can I still use a smart wall switch?
Often, yes. You typically need to bypass the remote receiver installed in the fan by wiring the fan and light directly to the power leads. This process varies by fan model; consult the fan’s manual. Once the remote receiver is removed or bypassed, the wall switch will have direct electrical control, allowing a smart switch to function correctly.
Make Your Home Smarter
Device reviews, automations, and the deals worth grabbing.
Love this content?
Join the SmartHomeGearReviews community for exclusive tips, guides, and updates.
Subscribe Free
Disclosure: This article may contain affiliate links. If you make a purchase through these links, we may earn a small commission at no additional cost to you. We only recommend products and services we believe will add value to our readers.

