
- In This Article
- Key Takeaways
- Gear You’ll Need Before You Start
- Step 1: Unboxing and Hub Registration
- Critical First-Time Settings
- Step 2: Connect Your First Device (A Smart Bulb)
- Step 3: Add a Smart Plug
- Step 4: Pairing a Contact Sensor
- Step 5: Integrating a Motion Sensor and Final Device
- Troubleshooting Common Setup Hiccups
- Why This Specific Setup Order Matters
- What To Do in Your First 48 Hours
- Frequently Asked Questions
- Do I need a hub if my devices connect directly to Wi-Fi?
- What’s the difference between Zigbee and Z-Wave?
- My device paired but isn’t responding. What now?
- Related from our network
Ready to stop fumbling with five different apps just to turn off your lights? A smart home hub can finally unify your devices into one reliable system, but only if you set it up correctly. We’ve seen too many homeowners buy a hub and then abandon it after wrestling with connectivity issues and confusing apps. The secret isn’t buying the most expensive gear—it’s following a precise setup order that prevents the most common pairing failures. This guide will walk you through connecting your first five devices in under 30 minutes, with specific steps for Samsung SmartThings, Hubitat, and Home Assistant.
| Pick | Best for |
|---|---|
| Gear You’ll Need Before You Start | You can’t start this process without the right hardware. |
| Step 1: Unboxing and Hub Registration | First, plug your hub into power and connect it to your router via the included Ethernet ca… |
| Step 2: Connect Your First Device (A Smart Bulb) | Always start with a smart bulb. |
| Step 3: Add a Smart Plug | Next, let’s add a smart plug. |
| Step 4: Pairing a Contact Sensor | Now for a sensor—specifically, an Aqara Door and Window Sensor. |
| Troubleshooting Common Setup Hiccups | Even with a perfect guide, things can go wrong. |
9 min read
In This Article
- Gear You’ll Need Before You Start
- Step 1: Unboxing and Hub Registration
- Step 2: Connect Your First Device (A Smart Bulb)
- Step 3: Add a Smart Plug
- Step 4: Pairing a Contact Sensor
- Step 5: Integrating a Motion Sensor and Final Device
- Troubleshooting Common Setup Hiccups
- Why This Specific Setup Order Matters
- What To Do in Your First 48 Hours
- Frequently Asked Questions
Key Takeaways
- Gear You’ll Need Before You Start
- Step 1: Unboxing and Hub Registration
- Step 2: Connect Your First Device (A Smart Bulb)
- Step 3: Add a Smart Plug
Gear You’ll Need Before You Start
You can’t start this process without the right hardware. The heart of your system is the hub itself. For most beginners, we recommend the Samsung SmartThings Station (model EP-P9500). It’s widely compatible, has a simple app, and includes a built-in wireless charging pad and three physical buttons you can program. You’ll also need a smartphone with the hub’s companion app installed and a stable 2.4GHz Wi-Fi network. Don’t even think about using a 5GHz-only network; most smart home devices simply won’t see it. Finally, have your first five devices ready and powered on. We suggest starting with a mix: two smart bulbs (like Philips Hue White A19), a smart plug (like the Kasa Smart Wi-Fi Plug Mini KP115), a contact sensor (like the Aqara Door and Window Sensor), and a motion sensor (like the Philips Hue Motion Sensor). This mix tests your hub’s ability to handle different protocols.
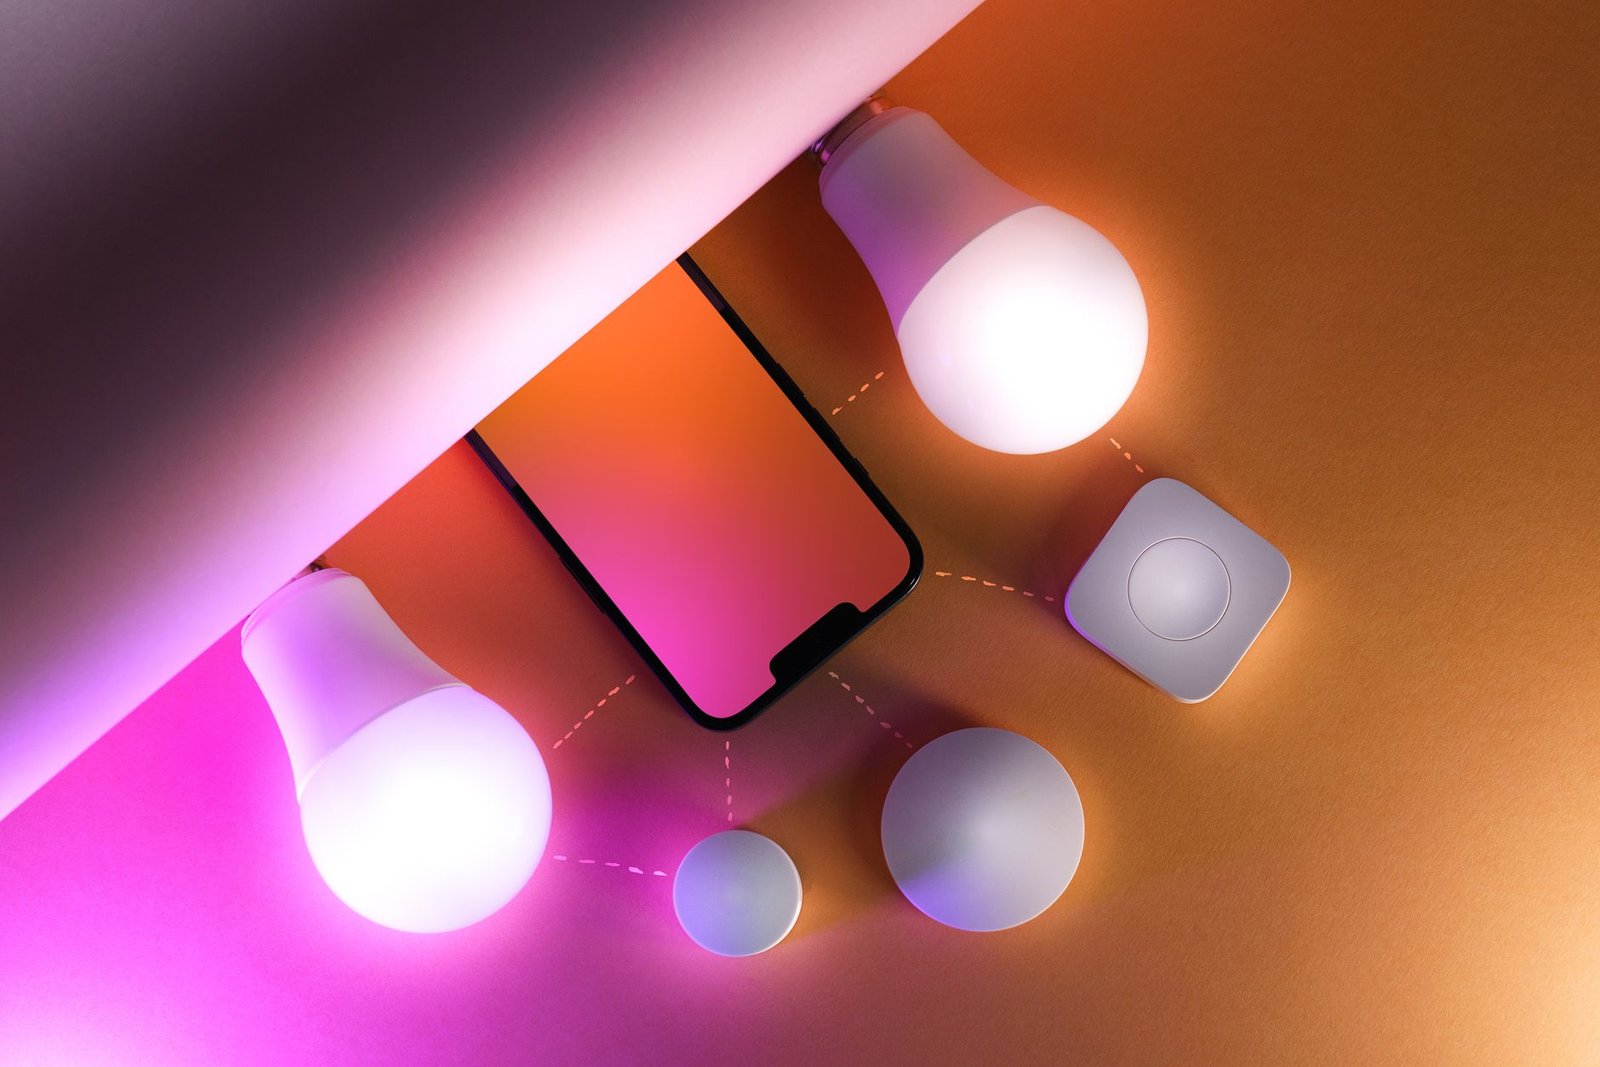
This mix tests your hub’s ability to handle different protocols.
Unboxing and Hub Registration
First, plug your hub into power and connect it to your router via the included Ethernet cable. A wired connection is non-negotiable for stability during the initial setup process. Watch the LED indicator on the hub; it will typically cycle through colors before settling on a solid blue or green, indicating it’s ready for pairing. Now, open the hub’s app on your phone. For SmartThings, this is simply the “SmartThings” app. You’ll be prompted to create an account or log in. This account is critical—it ties your hub to the cloud services that enable remote access and automations. The app will automatically search for and detect your new hub. Confirm the pairing, and allow it to install any available firmware updates. This first update can take 5-10 minutes, but never interrupt it. A failed firmware update is the number one reason hubs end up in a bricked state needing a factory reset.
Critical First-Time Settings
During the registration process, you’ll be asked to set a location for your hub. Be specific. Name it “Home” or your actual street address. This allows the hub to use local sunrise and sunset times for any automations you create later. You’ll also be asked to enable “Device Sounds.” Turn this on. The audible beeps and chimes during device pairing are your best indicator that the process is working correctly. Finally, navigate to the app’s settings and ensure “Local Execution” is enabled if your hub supports it (SmartThings and Hubitat do). This allows many automations to run even if your internet goes down.
Connect Your First Device (A Smart Bulb)
Always start with a smart bulb. They’re usually the easiest to pair and serve as a great confidence booster. We’re using a Philips Hue White bulb as our example, but the process is similar for Sengled, Wyze, and other Zigbee bulbs. Screw the bulb into a lamp that is turned ON at the wall switch. The physical power must be flowing to the bulb for it to enter pairing mode. Now, in your hub’s app, tap the “+” icon to add a new device. The app will typically start scanning. Since this is a Zigbee device, you should select “Add device nearby” or “Scan for devices.” The hub will now put out a pairing signal.
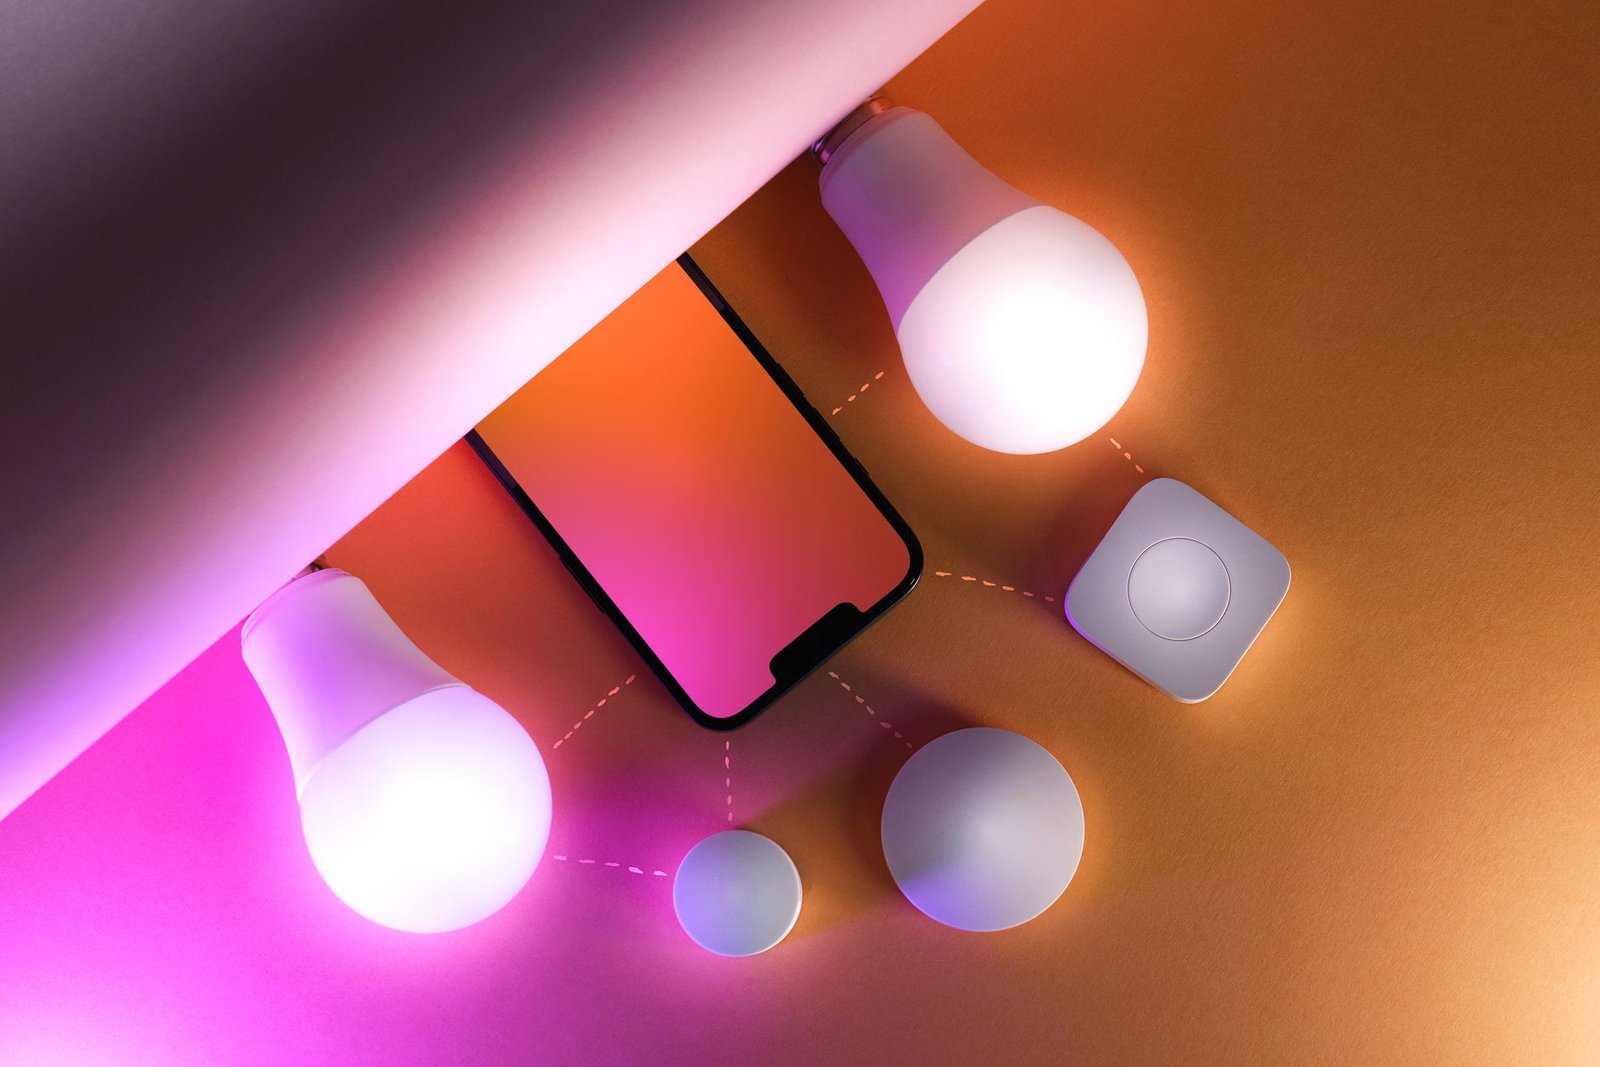
Here’s the crucial part: to force the bulb into pairing mode, you’ll need to power cycle it. Turn the lamp’s wall switch off for 3 seconds, then turn it back on. Do this 3-5 times until you see the bulb flicker. That flicker means it’s now discoverable. Within 15-20 seconds, the app should find the bulb and add it. You’ll hear a confirmation chime from the hub. Name the bulb something specific like “Living Room Lamp” immediately. Don’t just accept “Philips Hue 1.” Good naming is the foundation of a manageable smart home. Test it by turning it on and off from the app.
Test it by turning it on and off from the app.
Add a Smart Plug
Next, let’s add a smart plug. This introduces a Wi-Fi device into your system, testing your hub’s ability to bridge different protocols. We’re using the Kasa KP115, a reliable and affordable plug. Plug the KP115 into an outlet. Watch its LED; it should start blinking rapidly, indicating it’s in setup mode. Now, open the Kasa Smart app on your phone. You must use the manufacturer’s app first to connect the plug to your Wi-Fi network. Follow the in-app instructions to connect it to your 2.4GHz Wi-Fi network. This is a mandatory step for most Wi-Fi plugs before they can be integrated into a hub.
Once the plug is online in the Kasa app, you need to link the Kasa service to your hub. In the SmartThings app, go to Menu > Services. Tap the “+” icon and find “TP-Link Kasa” in the list. Log in with your Kasa account credentials. This authorizes SmartThings to talk to your Kasa devices. After a few moments, your smart plug should automatically appear in your SmartThings device list. This process, called a “cloud-to-cloud integration,” means your hub talks to Kasa’s servers, which then talk to your plug. The downside is that this plug will not work if your internet connection fails.
Pairing a Contact Sensor
Now for a sensor—specifically, an Aqara Door and Window Sensor. This is another Zigbee device, but it’s battery-powered, which changes the pairing process. First, pull the small plastic tab out of the sensor to activate its battery. The LED on the sensor should blink once. In your SmartThings app, tap “+” > “Add device” > “Scan for devices.” The hub will re-enter pairing mode. Unlike the bulb, you need to physically trigger the sensor to wake it up and make it discoverable. Simply open and close the sensor’s magnet half. You should see the LED blink again. The app should find it within 10 seconds. Name it something descriptive like “Front Door Sensor.”
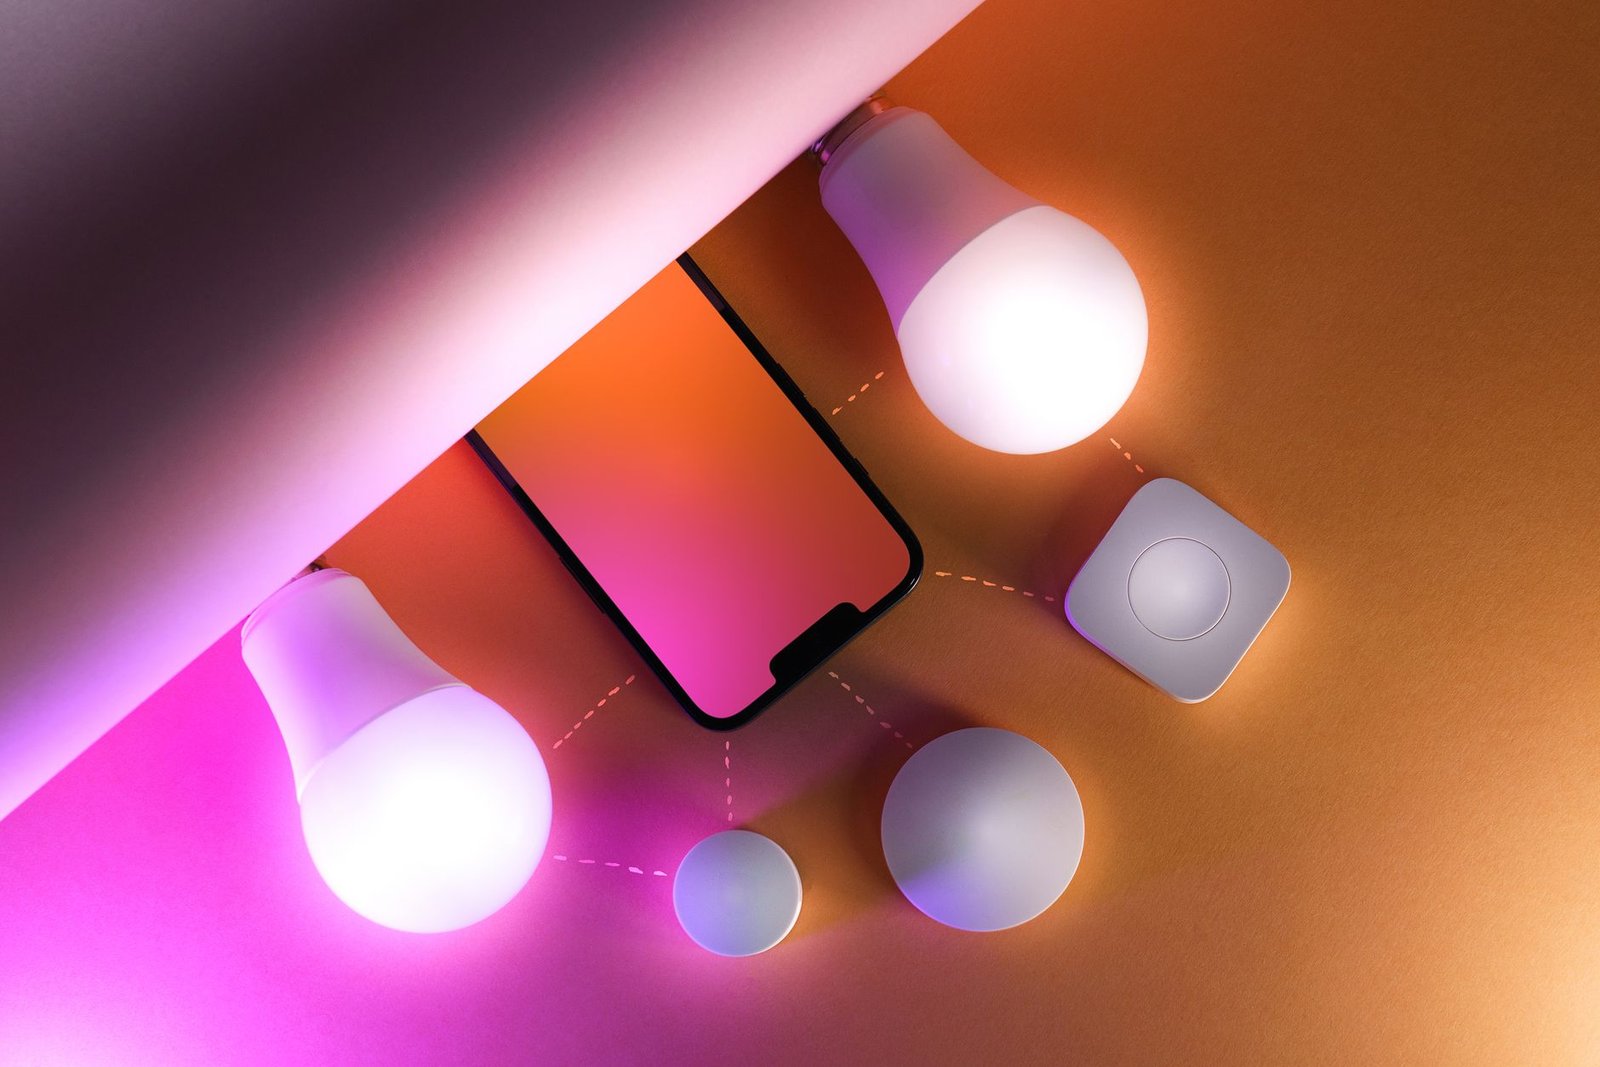
Battery-powered devices are the most common point of failure in setup. If the sensor isn’t found, the battery might be low from the factory. Try a fresh CR1632 coin battery. Also, ensure the sensor is within 10-15 feet of the hub during pairing. Walls and large metal objects can block the weak signal from a device that’s not yet part of the network. Once paired, you can move it to its final location, but test it there first to ensure the signal is still strong enough.
Once paired, you can move it to its final location, but test it there first to ensure the signal is still strong enough.
Integrating a Motion Sensor and Final Device
For your fifth device, add a motion sensor like the Philips Hue Motion Sensor. This follows a similar process to the contact sensor but uses the Zigbee Light Link (ZLL) protocol. Pull the activation tab, open the app to scan, and then press the tiny setup button on the back of the sensor with a paperclip to wake it for pairing. The LED will flash to confirm. Name it “Kitchen Motion” or similar. With these five devices added, your hub is now the central brain for lights, an outlet, door monitoring, and motion detection.
The final, critical step is to create your first automation. This is where the magic happens. In the SmartThings app, go to the “Automations” tab and create a new “SmartApp.” Create a routine that says: “When Front Door Sensor opens between Sunset and Sunrise, then turn on Living Room Lamp for 5 minutes.” This gives you a hands-free light when you come home at night. Tap save and test it immediately. Open your front door and watch the lamp turn on automatically. If it works, your entire system is functioning correctly.
Troubleshooting Common Setup Hiccups
Even with a perfect guide, things can go wrong. The most common issue is a device not being found. Ninety percent of the time, this is due to the device not being in pairing mode. Each device has a unique way to enter this mode: power cycling for bulbs, button presses for sensors, and manufacturer app setup for Wi-Fi plugs. Always confirm the correct method for your specific model. Another frequent problem is weak signal. Zigbee and Z-Wave create a mesh network, but that mesh doesn’t exist during initial pairing. Keep all devices within 20 feet of the hub for the first connection.
If your Wi-Fi devices won’t link via the service, double-check your login credentials for that service (e.g., your TP-Link Kasa password). These integrations break if you change your password on the manufacturer’s side and don’t update it in the hub’s service menu. For “Device Offline” errors, first power cycle the hub by unplugging it for 10 seconds. If that doesn’t work, remove the device from the app and repair it from scratch. It’s faster than trying to debug a failed connection.
Why This Specific Setup Order Matters
We didn’t choose this device order at random. Starting with a Zigbee bulb strengthens your hub’s mesh network right away, making it easier for subsequent battery-powered Zigbee devices (like the sensors) to connect reliably. Adding the Wi-Fi plug second tests the cloud integration without risking your core Zigbee mesh. Sensors are added last because their battery-saving nature makes them slightly more fiddly to pair. This order systematically builds network stability and tests each communication method your hub uses. Skipping around and adding a finicky sensor first is a surefire way to get frustrated and assume the hub is broken.
What To Do in Your First 48 Hours
Your setup is complete, but the work isn’t over. Live with the system for two days and actively use the automations. Watch for any delayed responses or devices showing as “offline.” This stress test will reveal any weak links. Check the battery levels on your sensors in the app; sometimes factory batteries are low. This is also the time to dive into more complex automations. Try creating a “Good Morning” scene that turns on the lamp, turns on the coffee maker via the smart plug, and sends a notification if motion is detected before a certain time. The more you use it, the more you’ll trust it.
Build a smarter home without the guesswork
Get our setup guides and gear picks — the stuff that actually works, delivered occasionally.
Frequently Asked Questions
Do I need a hub if my devices connect directly to Wi-Fi?
You don’t need one, but you should want one. Wi-Fi devices clog up your router’s connection limit and almost always require an internet connection to work. A hub using Zigbee or Z-Wave creates its own separate, low-power network that is far more reliable. It also lets you create automations that work between different brands of devices, which is impossible when each device is locked in its own app. A hub is the difference between having a few smart devices and having a truly smart home.
What’s the difference between Zigbee and Z-Wave?
Both are wireless protocols that create a low-power mesh network for smart home devices, but they aren’t compatible. Zigbee is more common and often less expensive, with a huge range of devices from brands like Philips Hue, Samsung, Aqara, and Sengled. Z-Wave has a stronger focus on security and reliability and is popular for locks and security systems from brands like Schlage and Ring. Most modern hubs, including SmartThings and Hubitat, support both radios, so you can mix and match devices from either protocol without issue.
My device paired but isn’t responding. What now?
First, check the device’s power source. For plugs and bulbs, ensure they’re physically receiving power. For battery devices, check the battery level in the app and consider replacing it even if it shows OK. If power isn’t the issue, try “repairing” the device. Remove it from the hub’s app entirely and then go through the pairing process again from scratch. This often clears up any glitches in the initial connection. Finally, check your hub’s firmware is up to date, as updates often include bug fixes for specific device connectivity.
Setting up a smart home hub is the single best thing you can do to make your connected devices actually work together. By following this specific order—hub, bulb, plug, sensor, motion, automation—you build a stable foundation in under half an hour. You now have a system that can control lights, appliances, and security from one app, with automations that run locally for speed and reliability. Your next step is to expand carefully, adding devices one by one and testing each one immediately. Avoid the temptation to buy a 10-pack of anything until you’re sure it works flawlessly with your setup.
Related from our network
- Best USB Hubs for Smart Home Setup: Complete Guide (charginggearlab)
- Smart Home Gym Setup 2025: Tech-Driven Equipment Guide (wearablegearreviews)
- 7 Best Smart Home Gadgets for 2026: Reviews & Buying Guide (wearablegearreviews)
Make Your Home Smarter
Device reviews, automations, and the deals worth grabbing.
Love this content?
Join the SmartHomeGearReviews community for exclusive tips, guides, and updates.
Subscribe Free
Disclosure: This article may contain affiliate links. If you make a purchase through these links, we may earn a small commission at no additional cost to you. We only recommend products and services we believe will add value to our readers.

