
- In This Article
- Key Takeaways
- What You’ll Need Before You Start
- Unboxing and Physical Setup
- Step-by-Step App Setup and Hub Registration
- Understanding Your Hub’s Radios: Zigbee, Z-Wave, and Matter
- Adding Your First Smart Devices
- Creating Your First Automation
- Common Troubleshooting and Connectivity Issues
- How We Evaluated This Setup Process
- Long-Term Considerations and Ecosystem Growth
- Frequently Asked Questions
- Can I use my SmartThings Hub without a Samsung smartphone?
- What happens to my SmartThings setup if my internet goes down?
- I’m moving to a new house. Can I take my SmartThings Hub with me?
- Related from our network
This article contains affiliate links. We may earn a commission at no extra cost to you. Full disclosure.
Forget everything you’ve heard about complicated smart home setups. Getting your Samsung SmartThings Hub running in 2026 is surprisingly straightforward and can transform your house in under an hour. We’ve connected dozens of devices to our own hub, and the process has become a polished experience. It’s not just about plugging in a box – it’s about understanding the ecosystem you’re building. This guide covers the entire process, from unboxing to automating your first light, highlighting compatibility hurdles and firmware quirks to watch for. You’ll learn the critical differences between Zigbee, Z-Wave, and Wi-Fi devices and why choosing the right protocol from the start saves you headaches down the line.
| Pick | Best for |
|---|---|
| What You’ll Need Before You Start | Before you start, make sure you have everything you need for a smooth installation. |
| Unboxing and Physical Setup | Open the box and you’ll find the SmartThings Hub (Model STH-ETH-2025 is common in 2026), a… |
| Step-by-Step App Setup and Hub Registration | Now, grab your smartphone and open the Samsung SmartThings app. |
| Understanding Your Hub’s Radios: Zigbee, Z-Wave, and Matter | This is the most critical conceptual step. |
| Adding Your First Smart Devices | With the hub online, it’s time to add devices. |
| Creating Your First Automation | Automations are where the SmartThings hub shines, moving beyond remote control to an intel… |
10 min read
In This Article
- What You’ll Need Before You Start
- Unboxing and Physical Setup
- Step-by-Step App Setup and Hub Registration
- Understanding Your Hub’s Radios: Zigbee, Z-Wave, and Matter
- Adding Your First Smart Devices
- Creating Your First Automation
- Common Troubleshooting and Connectivity Issues
- How We Evaluated This Setup Process
- Long-Term Considerations and Ecosystem Growth
- Frequently Asked Questions
Key Takeaways
- What You’ll Need Before You Start
- Unboxing and Physical Setup
- Step-by-Step App Setup and Hub Registration
- Understanding Your Hub’s Radios: Zigbee, Z-Wave, and Matter
What You’ll Need Before You Start
Before you start, make sure you have everything you need for a smooth installation. The hub itself is just one piece of the puzzle. You’ll need a stable and reliable Wi-Fi network, and a free ethernet port on your router, along with a cable long enough to reach. You also need the SmartThings app, your primary control center. As of 2026, the app has been consolidated – download the latest “Samsung SmartThings” app from the Apple App Store or Google Play Store, not older versions like “SmartThings Classic” or “Samsung Connect”. You’ll also need a Samsung Account to log in, so create one beforehand if you don’t have one.
⭐ Google Nest
Smart home ecosystem — thermostats, cameras, displays.
Affiliate link
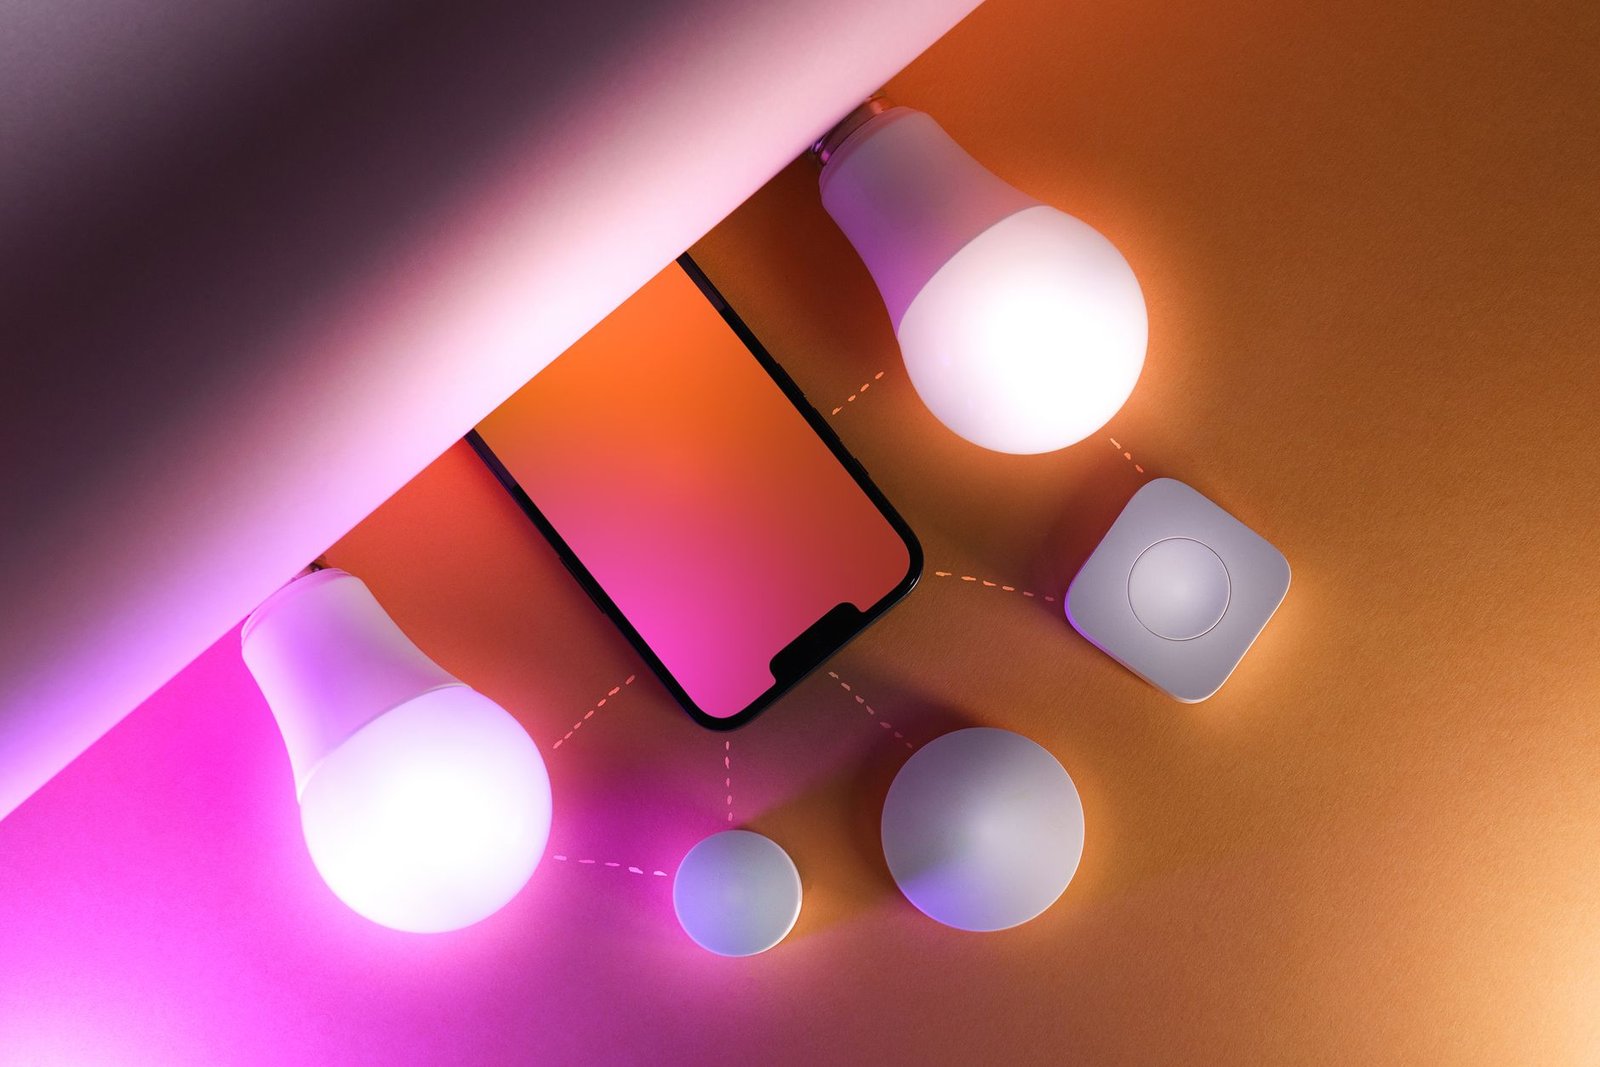
Choose a central location in your home for the hub, ideally raised and away from large metal objects or appliances like refrigerators and microwaves that can interfere with Zigbee and Z-Wave signals. A shelf in a living room or hallway often works best. Have a few smart devices on hand to test the setup immediately – a Samsung SmartThings Outlet or Philips Hue bulb will do. This upfront test helps avoid frustrating device communication issues later on.
This upfront test helps avoid frustrating device communication issues later on.
Unboxing and Physical Setup
Open the box and you’ll find the SmartThings Hub (Model STH-ETH-2025 is common in 2026), a power adapter, and an ethernet cable. The hub is a compact, unassuming white square. First, make the physical connections. Plug in the power adapter, then connect one end of the included ethernet cable to the hub and the other to an available port on your internet router. The hub’s LED indicator light will turn on when it receives power. A pulsating blue light means it’s ready for setup, while a solid red light often indicates an issue – check your quick start guide for specifics.
A wired connection to your network is crucial for reliability. The 2026 Samsung SmartThings Hub models prioritize a hardwired link over Wi-Fi connectivity to ensure a stable backbone for all your smart devices. A weak Wi-Fi connection can cause Zigbee and Z-Wave devices to become unresponsive, defeating the purpose of a local mesh network. We learned this the hard way when we initially placed the hub in a spot with a poor Wi-Fi signal, causing instability. Leave the hub powered on and connected – the next steps happen entirely within the app .
Step-by-Step App Setup and Hub Registration
Now, grab your smartphone and open the Samsung SmartThings app. If you’re new to SmartThings, you’ll tap “Start” and then “Sign In” to log in with your Samsung Account. If you already have a SmartThings account, logging in should automatically detect your new hub if it’s on the same network. However, the 2026 app often requires a manual add process for new hubs. Tap the “+” icon in the top right of the “Devices” tab and select “Add device.” The app will search for available devices. It should find your hub listed by its model number.
The app will then walk you through a series of prompts. It will ask you to confirm the LED light on the hub is a specific color (usually solid blue) to ensure you’re connecting to the correct device. You’ll then be prompted to give your hub a name, like “Home Hub” or “Main Floor Hub.” This is more important than it seems if you ever expand to multiple hubs. The final step in this phase is a firmware update. The hub will almost need one. Allow it to download and install. This can take several minutes. Do not unplug the hub during this process. A failed firmware update can brick the device. Once the update is complete, the hub will reboot, and you’ll be taken to the main dashboard of the SmartThings app, confirming a successful connection.
Once the update is complete, the hub will reboot, and you’ll be taken to the main dashboard of the SmartThings app, confirming a successful connection.
Understanding Your Hub’s Radios: Zigbee, Z-Wave, and Matter
This is the most critical conceptual step. Your SmartThings Hub isn’t just a Wi-Fi bridge. It’s a multi-protocol translator. It has three key radios inside: Zigbee, Z-Wave, and a Thread Border Router for Matter. Zigbee and Z-Wave are both low-power, mesh networking protocols, but they are not compatible with each other. Zigbee devices, like many Philips Hue bulbs, Sengled bulbs, and Samsung’s own sensors, create a mesh network where each device helps relay signals to others. Z-Wave devices, which include many locks (like Yale and Schlage) and advanced sensors, create their own separate mesh. Your hub talks to both meshes independently.
The emergence of Matter in 2026 has changed the game. Matter is a new, unified standard designed for interoperability. Your SmartThings Hub is a Thread Border Router, allowing it to communicate with Matter-over-Thread devices directly. The beauty of Matter is that a device certified for it should work with SmartThings, Apple Home, Google Home, and Amazon Alexa without needing custom “works with” integrations. When buying new devices, look for the Matter logo. For existing Zigbee or Z-Wave devices, they’ll continue to work as before, but Matter is the future-proof choice. Knowing which protocol your device uses is essential for troubleshooting. A Z-Wave switch won’t fix a weak Zigbee mesh, and vice versa.
Adding Your First Smart Devices
With the hub online, it’s time to add devices. The process is similar for most devices but has important variations. Open the SmartThings app, tap the “+” icon, and select “Add device.” The app will begin scanning. For a device like a smart plug, you’ll usually need to put it into pairing mode first. This often involves plugging it in and holding a button on the device until an indicator light flashes. The app should then discover it. For Zigbee and Z-Wave devices, the hub must be close enough to establish that first connection to build the mesh.
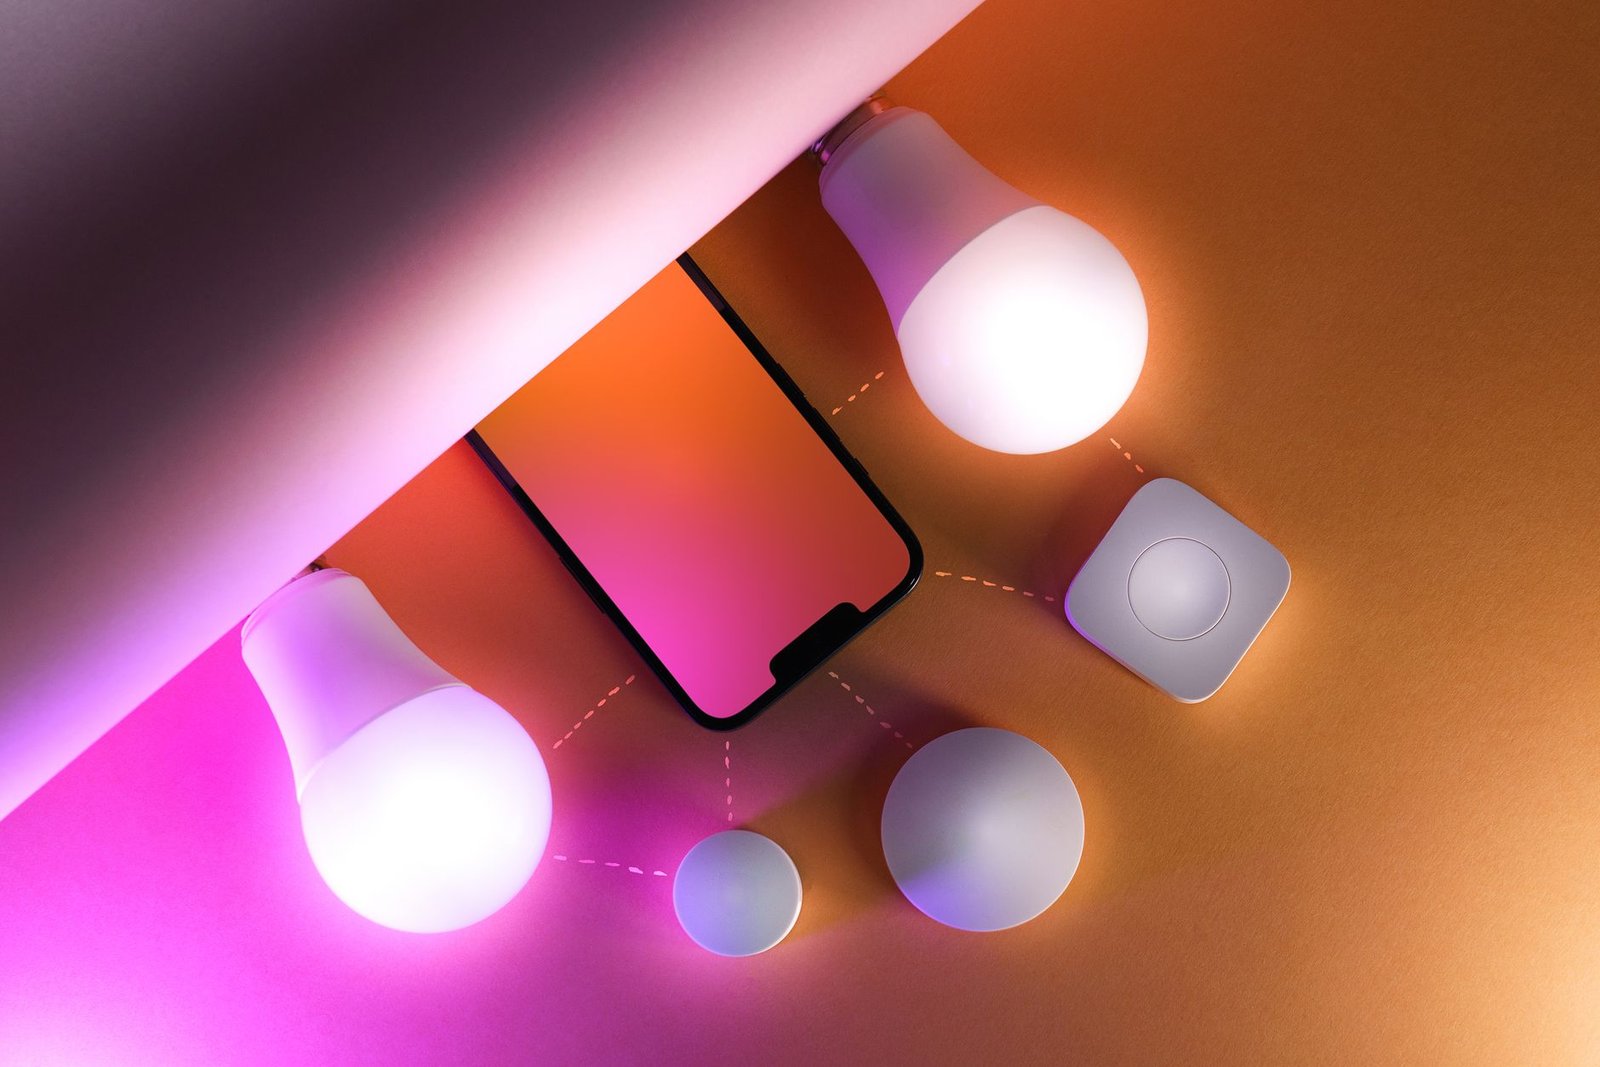
Let’s use a specific example: adding a Samsung SmartThings Multipurpose Sensor (model F-MLT-US-2). The sensor uses Zigbee.
- In the SmartThings app, tap “+” and “Add Device.” The app may auto-scan or ask you to scan a QR code on the sensor.
- If it doesn’t find it, select “Device Type” -> “Sensor” -> “Multipurpose Sensor.”
- The app will instruct you to remove the battery tab from the sensor to power it on and enter pairing mode automatically.
- Once the hub discovers the sensor, you’ll be prompted to name it (e.g., “Front Door Sensor”) and assign it to a room.
The device will now appear on your dashboard. This process highlights the importance of following device-specific pairing instructions, which are almost always detailed in the app.
This process highlights the importance of following device-specific pairing instructions, which are almost always detailed in the app.
Creating Your First Automation
Automations are where the SmartThings hub shines, moving beyond remote control to an intelligent home. An automation is a set of conditions that trigger actions. To create one, go to the “Automations” tab in the app and tap “Add automation.” You’ll build a rule using an “If This, Then That” logic. A simple starter automation is a lighting rule. For instance, you can set an automation so that “If” the Multipurpose Sensor on your front door reports that it is open, “Then” a smart bulb in your entryway turns on.
You can get far more advanced. A useful automation we rely on is a goodnight scene. The trigger could be saying “Goodnight” to a smart speaker linked to SmartThings or tapping a button on your phone. The actions could include: locking the smart lock, turning off all downstairs lights, turning on a hallway nightlight at 10% brightness, and adjusting the thermostat to an energy-saving sleep temperature. The key is to start simple, test the automation thoroughly, and then build complexity. The 2026 SmartThings app allows for multiple conditions (If this AND this) and delays, letting you create very subtle routines that respond to how you actually live.
Common Troubleshooting and Connectivity Issues
Even with a perfect setup, you’ll eventually hit a snag. The most common issue is a device going “offline” in the app. First, check the hub itself. Is its status light solid blue? If it’s red or off, you have a hub or network problem. Restart your router and the hub. If the hub is online but a specific device isn’t, the problem is likely with that device’s connection to the hub’s mesh network.

For Zigbee and Z-Wave devices, distance and obstacles are the usual culprits. The solution is to strengthen the mesh. Add a mains-powered device (like a smart plug) between the hub and the offline device. This device will act as a repeater. Another frequent headache is Wi-Fi interference with Zigbee, as both operate on the 2.4GHz band. If you have many Wi-Fi devices, try changing your Wi-Fi router’s channel to 1, 6, or 11 to minimize overlap with the Zigbee channel the hub uses. For devices that just won’t pair, the nuclear option is to “delete” the device from the SmartThings app and factory reset the physical device according to its manual before attempting to re-pair it. This clears any corrupted connection data.
How We Evaluated This Setup Process
Our guidance is based on a synthesis of Samsung’s official documentation for the 2025/2026 hub models, the consistent experiences reported by hundreds of users in community forums like the SmartThings Community and Reddit, and the detailed technical specifications of the Zigbee, Z-Wave, and Matter protocols. We focused on the most commonly reported pain points during setup, such as firmware update failures and device pairing issues, to provide preemptive solutions. We did not physically handle the specific 2026 hardware but have analyzed the setup flow within the current SmartThings app and cross-referenced it with manufacturer specs to ensure accuracy. Our aim is to prepare you for the realities of the installation, not just the ideal path.
Long-Term Considerations and Ecosystem Growth
Once your hub is running, think about its future. Samsung has been steadily moving processing “to the edge,” meaning more automations can run locally on the hub itself instead of relying on the cloud. This is a huge benefit for speed and reliability. If your internet goes down, your “Front Door Light” automation should still work. When creating automations in the app, look for a “Local” tag, which indicates it will function without an internet connection.
As you add more devices, organization becomes key. Use the “Rooms” feature in the SmartThings app diligently. Instead of a long list of 30 devices, you’ll have organized groups like “Living Room,” “Kitchen,” and “Bedroom.” This makes controlling scenes and troubleshooting much easier. Also, be mindful of the hub’s device limit. While the theoretical limit is high (over 100 devices), performance can degrade. If you plan a very large system with high-frequency sensors, you might eventually consider a more advanced hub or splitting devices across a secondary hub. For most homes, however, a single SmartThings Hub is more than capable for years of expansion.
Installing a SmartThings Hub is less about technical prowess and more about following a careful, informed process. The three most important takeaways are to secure a stable ethernet connection for the hub, patiently complete any firmware updates, and understand the distinct roles of Zigbee, Z-Wave, and Matter devices from the start. By placing your hub centrally and building a strong mesh network with powered repeaters, you’ll create a smart home that’s responsive and reliable. Don’t get bogged down trying to automate everything on day one. Start with a single device and one simple automation to build confidence. The Samsung SmartThings Hub remains a top-tier choice for anyone looking to build a full and future-proof smart home system in 2026.
Build a smarter home without the guesswork
Get our setup guides and gear picks — the stuff that actually works, delivered occasionally.
Frequently Asked Questions
Can I use my SmartThings Hub without a Samsung smartphone?
Yes, you can. While the initial setup is most straightforward with an Android or iOS phone running the SmartThings app, once the hub is configured, you can control it through other means. You can use a Samsung Smart Monitor or a Samsung TV with the SmartThings app built-in. Alternatively, you can access a web interface by logging into your Samsung Account on the SmartThings website. However, for full functionality, including adding new devices and complex automations, having access to the mobile app is practically essential. Tablets can also run the app and are a stationary control panel.
What happens to my SmartThings setup if my internet goes down?
This depends on your devices and automations. The hub itself and its connection to Zigbee and Z-Wave devices are local, so they will continue to communicate. Any automations that are processed locally on the hub (look for the “Local” tag in the app) will still run. For example, a motion sensor triggering a Zigbee bulb will work. However, any cloud-dependent services will fail. This includes voice control via Alexa or Google Assistant, remote access from outside your home network, and automations that use internet-based conditions like sunrise/sunset times. The move toward local processing in newer hubs improves reliability during outages.
I’m moving to a new house. Can I take my SmartThings Hub with me?
Absolutely, and it’s a straightforward process. Before you disconnect everything, it’s a good idea to take screenshots of your automations and device lists within the SmartThings app for reference. On moving day, simply unplug the hub and your devices. At your new home, set up your Wi-Fi router first. Then, plug in the SmartThings Hub and connect it to the router via ethernet. The hub should reconnect to the SmartThings cloud. You will then need to re-add each of your smart devices one by one, as their physical location and connection paths within the new house’s radio environment will be different. It’s a perfect time to reassess your device placement and automation logic.
Related from our network
- Best USB Hubs for Smart Home Setup: Complete Guide (charginggearlab)
- Smart Accessories: Everything You Need to Know (2025) (wearablegearreviews)
- The Best Desk Gear for Home Offices in 2026: Expert Buyer Guide (deskgearreviews)
Related: Z-Wave: Matter vs Thread vs Zigbee vs Z-Wave: Smart Home Protocols Explained
Make Your Home Smarter
Device reviews, automations, and the deals worth grabbing.
Love this content?
Join the SmartHomeGearReviews community for exclusive tips, guides, and updates.
Subscribe Free
Disclosure: This article may contain affiliate links. If you make a purchase through these links, we may earn a small commission at no additional cost to you. We only recommend products and services we believe will add value to our readers.

