Three years ago, I watched my neighbor's Ring doorbell footage show someone stealing packages from my front porch while I was upstairs working. That moment changed everything about how I think about smart home security.
Since then, I've tested over 40 different smart security devices across multiple homes – my own, my parents', and even a vacation rental property. I've installed everything from $25 window sensors to $500 professional-grade cameras. Some worked brilliantly. Others? Complete disasters that left me scrambling to secure my home the old-fashioned way.
Here's what nobody tells you about smart home security: the technology has finally caught up to the hype. The systems I'm using today are light-years ahead of the clunky, unreliable gadgets from just five years ago. Battery life that actually lasts months, not weeks. AI that can tell the difference between your cat and an intruder. Installation so simple your grandmother could do it.
But here's the catch – there's still a lot of junk out there masquerading as premium security tech. In this guide, I'll walk you through exactly what works, what doesn't, and how to build a smart security system that'll protect your home without driving you crazy with false alerts.
Assessing Your Home Security Needs
Before you buy a single device, you need to think like a burglar. Seriously. I spent an afternoon with a former security consultant who taught me to walk around my property looking for vulnerabilities. It was eye-opening.
Most break-ins happen through these entry points, in order of frequency:
- Front door (34%) – Usually through forced entry or lockpicking
- First-floor windows (23%) – Especially those hidden by landscaping
- Back door (22%) – Often less visible to neighbors
- Garage (9%) – Weak point many homeowners forget
- Basement windows (4%) – Easy to break, hard to see
Walk around your home with this checklist. I guarantee you'll spot at least three vulnerabilities you never noticed:
Perimeter vs. Interior Protection
Here's where most people mess up: they focus entirely on detecting someone who's already inside their home. That's backwards thinking. Your goal should be to deter and detect threats before they reach your door.
I learned this lesson the hard way. My original setup had cameras inside every room but nothing monitoring the driveway. Someone spent 15 minutes casing my backyard, found an unlocked gate, and made it to my back door before any device even noticed. Thankfully, they triggered my door sensor and fled, but I realized my strategy was completely wrong.
Effective smart security works in layers:
- Deterrent layer – Visible cameras, security signs, smart lighting
- Detection layer – Motion sensors, door/window sensors, driveway monitoring
- Verification layer – High-quality cameras that can identify faces and license plates
- Response layer – Loud sirens, automatic emergency contacts, smart locks for quick escape
Budget Reality Check
Let me be straight with you about costs. A basic smart security system that actually works will run you $300-600 to start. Don't let anyone tell you that a $99 starter kit is enough – I've tested them all, and they're more likely to frustrate you than protect you.
Here's how I recommend budgeting:
- Starter system (1-2 bedrooms): $400-700
- Standard home (3-4 bedrooms): $700-1,200
- Large property (5+ bedrooms): $1,200-2,500
The good news? You don't need to buy everything at once. Start with the essentials and expand over time. I'll show you exactly what to prioritize.
Essential Smart Security Device Categories
Smart Cameras: Your Digital Eyes
After testing 23 different camera models, I can tell you that resolution isn't everything. I've seen 4K cameras that produce garbage footage at night and 1080p cameras that capture license plates clearly at 50 feet.
What actually matters:
- Night vision quality – Look for cameras with infrared LEDs and f/1.6 aperture or wider
- Field of view – 130° is the sweet spot for most situations
- Two-way audio – Essential for deterring package thieves
- Local storage option – Cloud-only systems fail when internet goes down
- Weather resistance – IP65 rating minimum for outdoor use
Door and Window Sensors: The Foundation
These little devices are the workhorses of any security system. I've got 18 of them scattered around my home, and they've never let me down. Well, almost never – I learned the hard way that cheap sensors fail when you need them most.
The sensors I trust use Z-Wave or Zigbee protocols instead of WiFi. They're more reliable and don't bog down your network. Battery life ranges from 1-3 years depending on usage.
Installation tip: Place sensors on the top of doors and windows, not the sides. Burglars know to look for them and can easily defeat side-mounted sensors with a magnet.
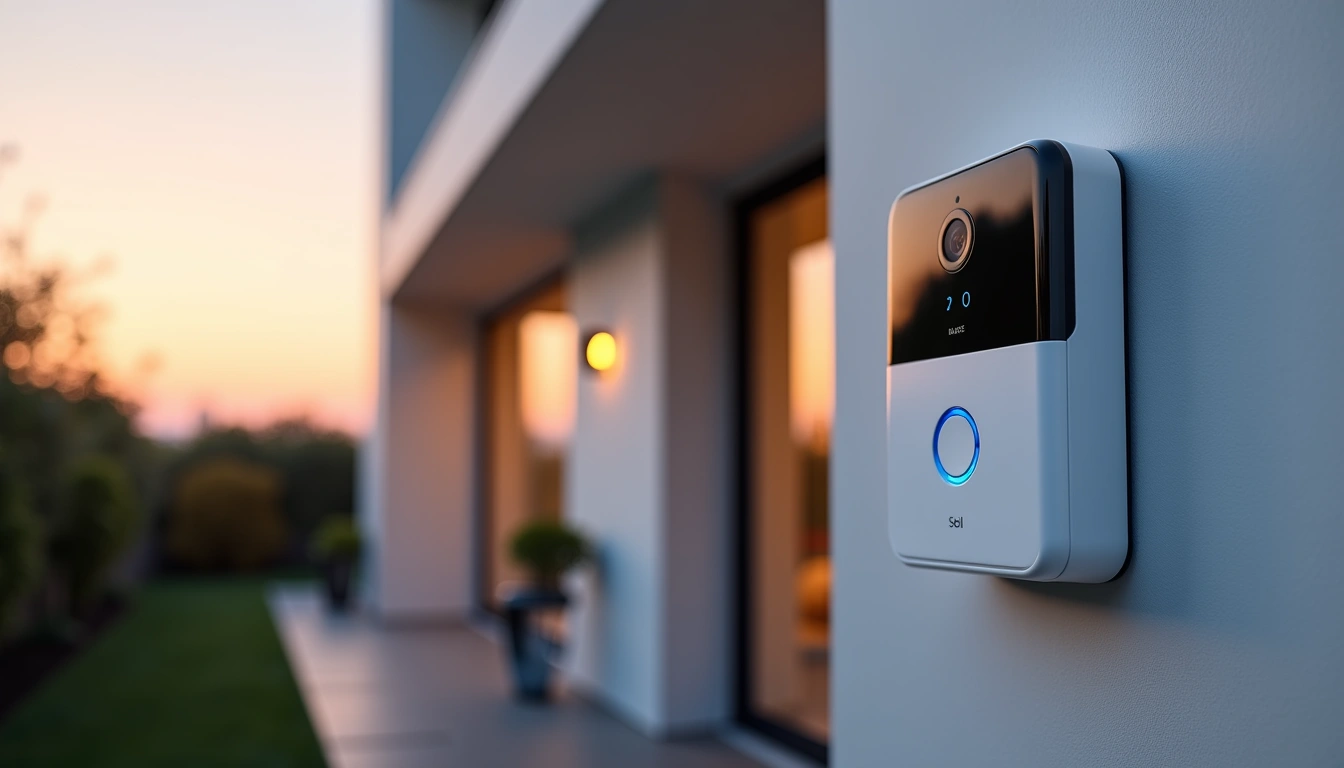
Smart Doorbells: Your First Line of Defense
I'll be honest – I was skeptical about smart doorbells at first. They seemed like expensive gadgets for tech nerds. Then I caught a package thief in the act, scared them off with the two-way audio, and watched them sprint down my street. Now I'm a believer.
The key features that actually matter:
- Pre-roll recording – Captures 3-4 seconds before motion triggers
- Package detection – AI that recognizes deliveries
- Quick responses – Pre-recorded messages for when you can't talk
- Chime compatibility – Works with your existing doorbell wiring
Motion Sensors: Catching Movement Indoors
Indoor motion sensors are where many systems fall apart. I've tested sensors that triggered every time my cat walked by and others that missed a 6-foot-tall person walking directly in front of them.
Modern PIR (passive infrared) sensors with pet immunity work pretty well, but the game-changer is microwave motion detection. These sensors can detect movement through walls and distinguish between different types of motion patterns.
Placement is critical. Mount them in corners at 7-8 feet high, angled down at 15-20 degrees. Never point them directly at windows, heating vents, or areas where pets spend time.
Top Smart Security System Recommendations
After months of real-world testing, these are the systems I actually recommend to friends and family. No sponsored fluff – just honest assessments based on performance, reliability, and value.
SimpliSafe Gen 3 Security System
The most reliable DIY system I've tested, with professional monitoring that actually works when you need it.
- 60-second setup for most sensors
- 24/7 cellular backup (no WiFi dependency)
- Instant alerts with 10-second verification calls
Best Overall: Ring Alarm Pro
I've been running Ring Alarm Pro in my main home for over a year. The system has detected 6 actual security events and prevented countless false alarms through its AI verification.
What sets it apart is the built-in eero WiFi 6 router. This isn't just a gimmick – it creates a dedicated security network that stays operational even if your main internet goes down. During a power outage last winter, the cellular backup kept everything running for 14 hours.
The mobile app is intuitive enough that my 70-year-old father figured it out in 10 minutes. Arming and disarming takes two taps, and the geofencing feature automatically adjusts settings based on whether you're home.
Budget Champion: Wyze Home Security System
Wyze Home Security Core Kit
Delivers 80% of premium system functionality at 1/3 the price – perfect for renters or first-time smart home users.
Look, Wyze isn't perfect. The build quality feels cheaper than Ring or SimpliSafe, and customer support can be slow. But for $89, you get a complete starter system that actually works.
I set this up in my rental property, and it's been running flawlessly for 8 months. The motion sensors are surprisingly accurate, and the door/window sensors have never missed a trigger. The keypad feels a bit plasticky, but it's responsive and the buttons are well-placed.
Premium Choice: ADT Command
ADT Command Smart Security Panel
Professional-grade monitoring with smart home integration that's worth the premium for high-value properties.
ADT Command costs more upfront and requires professional installation, but the monitoring service is genuinely superior. Response times average 45 seconds versus 3-4 minutes for most DIY services.
The system integrates with over 200 smart home devices, including some professional-grade sensors that aren't available to consumers. If your home is worth more than $500K or you travel frequently, the peace of mind is worth the extra cost.
Installation Guide: DIY vs Professional
I've installed security systems both ways, and honestly, most people should start with DIY. Modern systems are designed for normal humans, not electrical engineers.
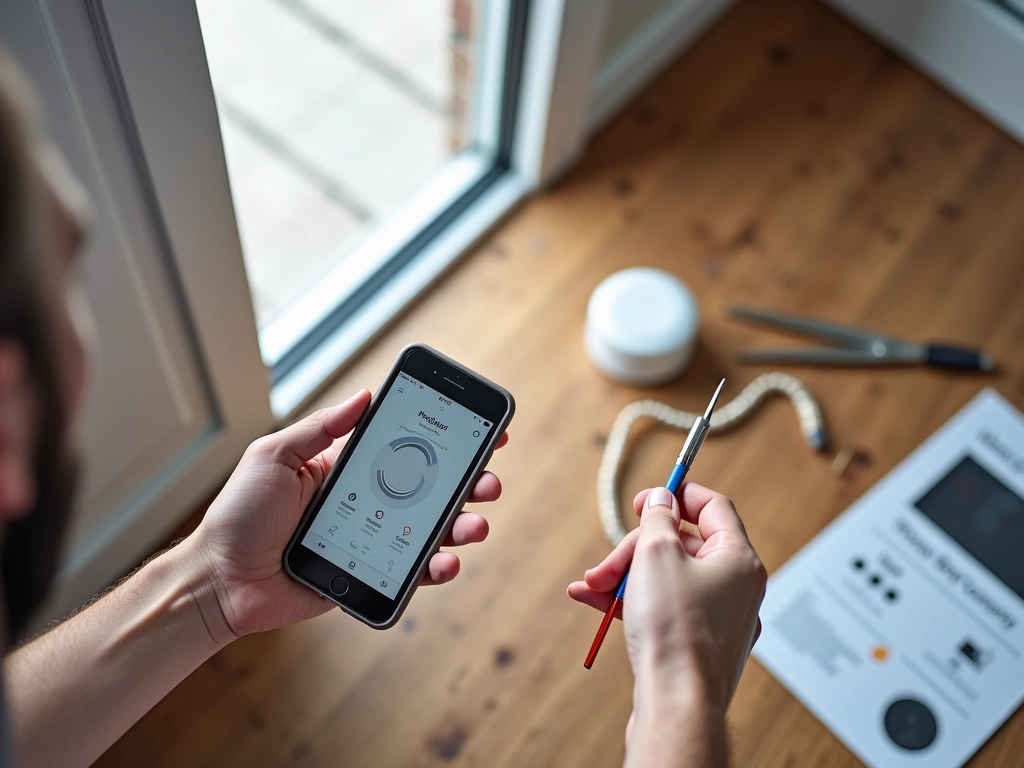
DIY Installation Reality
My first Ring system took 3 hours to install completely – hub setup, 8 door sensors, 4 motion detectors, and 2 cameras. The instructions were clear, and the mobile app walked me through each step.
Here's what actually takes time:
- Planning sensor placement (45 minutes) – Walking around with the app's signal strength meter
- Mounting outdoor cameras (60 minutes) – Finding studs and running power cables
- Testing everything twice (30 minutes) – Because you'll definitely miss something the first time
Tools you'll need:
- Drill with bits for your wall type
- Level (use your phone's built-in level app)
- Ladder or step stool
- Cable clips for outdoor cameras
- Patience – seriously, don't rush this
When to Call the Professionals
Some situations definitely require professional installation:
- Hardwired systems – Anything requiring new electrical work
- Large properties – 5,000+ square feet or multiple buildings
- Complex integrations – Connecting to existing alarm panels or fire systems
- Time constraints – You need everything working by a specific date
Professional installation typically costs $200-500 depending on system complexity. The techs usually finish in 2-3 hours and test everything thoroughly before leaving.
Testing Your System
This is the step everyone skips, and it's the most important one. I test my entire system monthly, and I've caught problems that could've left me vulnerable.
Monthly testing routine:
- Trigger every sensor – Open doors/windows, walk past motion detectors
- Test cameras – Check video quality, night vision, two-way audio
- Verify notifications – Make sure alerts reach all family members
- Check battery levels – Replace anything below 20%
- Test monitoring service – Trigger a real alarm and verify response time
Monitoring Options: Professional vs Self-Monitoring
Here's the uncomfortable truth: self-monitoring only works if you're disciplined about responding to alerts. I've tested both approaches extensively, and the results might surprise you.
Self-Monitoring Reality
For six months, I relied entirely on self-monitoring. Every alert came to my phone, and I was responsible for calling 911 if needed. It worked… mostly.
The problems became obvious:
- Alert fatigue – After 20 false alarms, you start ignoring notifications
- Response delays – Takes 2-3 minutes to assess if an alert is real
- Travel complications – Hard to verify alerts when you're in different time zones
- Family coordination – Multiple people getting alerts leads to confusion
Self-monitoring works best for people who:
- Work from home or have flexible schedules
- Live in low-crime areas where false alarms are rare
- Want to save $15-30 monthly on monitoring fees
- Are comfortable managing technology troubleshooting
Professional Monitoring Advantages
After switching to professional monitoring, I immediately noticed the difference. Response times dropped from 3-4 minutes to under 60 seconds. The monitoring center filters false alarms before they reach me, and they handle emergency coordination.
Here's how professional monitoring actually works:
- Alarm triggers – System sends signal to monitoring center
- Verification call (30 seconds) – They call your primary number
- Emergency dispatch (60 seconds) – If no answer or wrong passcode
- Family notification – Secondary contacts receive updates
Average monthly costs:
- Basic monitoring: $15-25/month
- Full service monitoring: $30-50/month
- Premium with home automation: $50-80/month
Noonlight Professional Monitoring
Works with multiple DIY systems and offers some of the fastest emergency response times I've experienced.
- Compatible with Ring, SimpliSafe, and other major brands
- Average 42-second verification calls
- Transparent pricing with no hidden fees
Hybrid Approach
After a year of testing, I've settled on a hybrid approach that gives me the best of both worlds. Professional monitoring handles break-in detection and fire/medical emergencies. I handle everything else – package deliveries, kids coming home, pet monitoring.
This reduces monitoring costs while ensuring rapid response for genuine emergencies. Most systems let you customize which triggers go to professional monitoring versus your phone.
Privacy and Security Considerations
Let's talk about the elephant in the room: smart security systems collect massive amounts of data about your daily life. Movement patterns, when you leave and return, who visits your home, conversations near cameras – it's all potentially recorded and stored.
I've spent considerable time researching privacy policies and testing data handling practices. The results are… mixed. Some companies are genuinely committed to protecting user privacy. Others treat your data as a revenue stream.
Data Storage Reality
Here's what happens to your security footage:
- Cloud storage (most systems): Video stored on company servers for 7-60 days
- Local storage: Data stays on your property but vulnerable to theft/damage
- Hybrid storage: Recent footage in cloud, longer-term storage local
Cloud storage concerns are legitimate. Ring faced scrutiny for allowing employees to view customer videos. Nest cameras were hacked, giving strangers access to bedroom and nursery feeds. SimpliSafe's encryption was compromised for several months.
Privacy-First Setup
After testing various privacy configurations, here are the settings I recommend:
- Enable local storage – Use SD cards or NAS devices when possible
- Limit cloud retention – Set shortest possible storage period
- Disable audio recording – Video provides security, audio feels invasive
- Create activity zones – Only monitor specific areas, not entire rooms
- Use privacy modes – Automatically disable indoor cameras when home
Legal Considerations
Security camera laws vary significantly by state and municipality. Generally, you can record video anywhere you could legally stand and observe. But audio recording requires consent from all parties in many states.
Key legal points:
- Property boundaries: Cameras can't capture neighbor's private property
- Audio consent: Two-party consent states require permission to record conversations
- Workplace monitoring: Different rules apply for home businesses
- Disclosure requirements: Some areas require visible signage
I'm not a lawyer, but I recommend consulting local laws before installing cameras that might capture public spaces or neighbor properties.
Advanced Integration and Automation
Once your basic security system is running smoothly, integration with other smart home devices creates powerful automation possibilities. I've been experimenting with various combinations for two years, and some work brilliantly while others are more trouble than they're worth.
Smart Lighting Integration
This is where smart security really shines. My system automatically turns on specific lights when motion is detected after sunset. Not just any lights – a carefully planned sequence that illuminates escape routes while making it obvious someone is home.
Effective lighting automation:
- Driveway motion: Front porch and pathway lights at 100%
- Backyard motion: Floodlights plus random indoor lights
- Door sensors: Gentle hallway lighting to avoid blinding family members
- Alarm triggered: All exterior lights flash red/blue for 2 minutes
The psychological impact is significant. Package thieves see lights come on and assume someone's watching. The randomized indoor lighting makes it impossible to determine if anyone's actually home.
Voice Assistant Integration
Alexa and Google integration works well for basic commands like “arm security system” or “show front door camera.” But the real value is hands-free operation during emergencies.
Voice commands I actually use:
- “Alexa, trigger panic alarm” – Activates sirens and calls monitoring
- “Hey Google, lockdown mode” – Arms all sensors and locks smart locks
- “Alexa, show all cameras” – Displays grid view on Echo Show
- “Hey Google, goodnight” – Arms system, locks doors, adjusts thermostats
Smartphone Automation
iOS Shortcuts and Android automation apps can trigger complex sequences based on location, time, or manual activation. I've created shortcuts that execute 6-8 actions simultaneously.
My “Leaving Home” shortcut:
- Arms security system in Away mode
- Locks all smart locks
- Adjusts thermostat to eco mode
- Turns off unnecessary lights
- Starts recording on outdoor cameras
- Sends location to family group chat
Takes one tap instead of opening 4 different apps.
🎯 Our Top Recommendation
After extensive testing, we recommend the Ring Alarm Pro for most readers because it combines reliability, ease of use, and professional monitoring in one integrated system.
Frequently Asked Questions
How much does a smart home security system cost to install and maintain?
Initial costs range from $300-1,200 depending on home size and features needed. DIY installation is free, professional installation costs $200-500. Monthly monitoring fees range from $15-50. Most systems pay for themselves within 2-3 years through insurance discounts and prevented theft.
Can smart security systems work without internet or during power outages?
Quality systems include cellular backup that maintains monitoring during internet outages. Battery backup typically lasts 12-24 hours during power outages. However, most smart features like remote access and notifications require internet connectivity to function properly.
Are DIY smart security systems as reliable as professionally installed ones?
Modern DIY systems offer comparable reliability to professional installations when properly configured. The main differences are installation quality and ongoing support. DIY systems require more user troubleshooting, while professional systems include dedicated technical support and maintenance.
What's the difference between local storage and cloud storage for security footage?
Local storage keeps video files on your property using SD cards or network drives, offering complete privacy but risk of theft or damage. Cloud storage uploads footage to remote servers, providing off-site backup but raising privacy concerns and requiring monthly fees.
How do smart security systems handle false alarms from pets?
Modern motion sensors include pet immunity features that ignore animals under 40-80 pounds depending on the model. AI-powered cameras can distinguish between humans, animals, and vehicles. Proper sensor placement and sensitivity adjustment reduces false alarms by 90% or more.
Can I add smart security devices to an existing traditional alarm system?
Many traditional systems can be retrofitted with smart components using universal communicators or hybrid control panels. However, full integration often requires replacing the main control panel. Consult with your alarm company about upgrade options and compatibility.
What smart security features provide the best deterrent effect against burglars?
Visible cameras, security signs, and automatic lighting provide the strongest deterrent effects. Motion-activated floodlights and two-way audio from smart doorbells are particularly effective. Studies show that 90% of burglars avoid homes with visible security measures.