
- In This Article
- Key Takeaways
- Pre-Construction: The Non-Negotiable Wiring Plan
- Unboxing and Inventory: What You Actually Need
- Hub Placement is Everything
- The Step-by-Step Installation Walkthrough
- Integrating Your Smart Home Ecosystem
- Daily Use, Performance, and Quirks
- How We Evaluated This Setup
- Brilliant vs. The Competition: Lutron & Control4
- Who Should (and Shouldn’t) Install Brilliant in Their New Build
- Frequently Asked Questions
- Can I install Brilliant Controls if my switch boxes don’t have a neutral wire?
- Does the Brilliant system work without an internet connection?
- How many Brilliant Controls can I have on one system, and how far apart can they be?
- Related from our network
- Related Articles
Disclosure: This post contains affiliate links. If you click through and make a purchase, we may earn a small commission at no extra cost to you. Thank you for supporting this site!
You’ve just moved into your new home, and the blank slate is both exciting and daunting. You chose a Brilliant smart home system because you wanted that elegant, integrated control panel that replaces light switches and manages everything from one spot. But now you’re staring at a box of Brilliant Control panels and wondering how to turn your fresh drywall into the smart command center you envisioned. You’re not alone. Setting up Brilliant in a new build is a fantastic opportunity to get everything right from the start, but it demands a specific plan. This guide walks you through the exact steps, from pre-wiring considerations to final automation tweaks, based on the collective hard-won experience of hundreds of owners and the company’s own detailed installation manuals. We’ll cover what you absolutely must do before the drywall goes up, the common pitfalls that leave systems half-baked, and how to ensure your Brilliant setup is as reliable as it is impressive.
| Pick | Best for |
|---|---|
| Pre-Construction: The Non-Negotiable Wiring Plan | If your walls are still open, this is your golden hour. |
| Unboxing and Inventory: What You Actually Need | When your Brilliant shipment arrives, don’t just rip into it. |
| The Step-by-Step Installation Walkthrough | Step 1: Power Down. |
| Integrating Your Smart Home Ecosystem | Now for the fun part: making it control everything else. |
| Daily Use, Performance, and Quirks | Once set up, the interface is intuitive. |
| Brilliant vs. The Competition: Lutron & Control4 | Brilliant isn’t the only player in the built-in control panel game. |
11 min read
In This Article
- Pre-Construction: The Non-Negotiable Wiring Plan
- Unboxing and Inventory: What You Actually Need
- The Step-by-Step Installation Walkthrough
- Integrating Your Smart Home Ecosystem
- Daily Use, Performance, and Quirks
- How We Evaluated This Setup
- Brilliant vs. The Competition: Lutron & Control4
- Who Should (and Shouldn’t) Install Brilliant in Their New Build
- Frequently Asked Questions
Key Takeaways
- Pre-Construction: The Non-Negotiable Wiring Plan
- Unboxing and Inventory: What You Actually Need
- The Step-by-Step Installation Walkthrough
- Integrating Your Smart Home Ecosystem
Pre-Construction: The Non-Negotiable Wiring Plan
If your walls are still open, this is your golden hour. A Brilliant system isn’t like screwing in a smart bulb; it’s built into your home’s electrical and network infrastructure. The most critical mistake is assuming standard wiring will suffice. Brilliant Controls require a specific setup at each switch location: a neutral wire, a line (hot) wire, a load wire (to the light/fan), and a ground wire. In a new build, your electrician should be running all of this anyway, but you must explicitly specify it. More importantly, you need to plan for the Brilliant Hub. This isn’t an accessory; it’s the system’s brain. According to Brilliant’s 2025 installation guide, the Hub requires a constant power source and a hardwired Ethernet connection to your primary router. You cannot run it on Wi-Fi. This means you need to decide on a central, discreet location—like a structured media enclosure, a network closet, or even a shelf in your basement utility room—and ensure an Ethernet cable and a power outlet are there. Forget this, and you’ll be running ugly cables later or compromising on performance.
 Smart Home System in a New Build” class=”wp-image-7606″ loading=”lazy” decoding=”async” width=”1880″ height=”1253″ srcset=”https://smarthomegearreviews.com/wp-content/uploads/2026/09/smarthome-your-2026-guide-to-installing-a-brilliant-smart-home-system-1-47f53a.jpg 1880w, https://smarthomegearreviews.com/wp-content/uploads/2026/09/smarthome-your-2026-guide-to-installing-a-brilliant-smart-home-system-1-47f53a-300×200.jpg 300w, https://smarthomegearreviews.com/wp-content/uploads/2026/09/smarthome-your-2026-guide-to-installing-a-brilliant-smart-home-system-1-47f53a-1024×682.jpg 1024w, https://smarthomegearreviews.com/wp-content/uploads/2026/09/smarthome-your-2026-guide-to-installing-a-brilliant-smart-home-system-1-47f53a-768×512.jpg 768w, https://smarthomegearreviews.com/wp-content/uploads/2026/09/smarthome-your-2026-guide-to-installing-a-brilliant-smart-home-system-1-47f53a-1536×1024.jpg 1536w, https://smarthomegearreviews.com/wp-content/uploads/2026/09/smarthome-your-2026-guide-to-installing-a-brilliant-smart-home-system-1-47f53a-1320×880.jpg 1320w” sizes=”auto, (max-width: 1880px) 100vw, 1880px” />
The second pre-wire consideration is for any third-party devices you know you’ll want to control. Brilliant works natively with a lot of smart home ecosystems, but the underlying protocols matter. For Philips Hue lights, you need the Hue Bridge. For Lutron Caséta, you need the Caséta Smart Bridge. These devices also typically require Ethernet. Your network plan should include a small switch in your central location with enough ports for your router, the Brilliant Hub, and any other essential bridges. Trying to daisy-chain these or relying on Wi-Fi extenders is the fastest route to “Device Unavailable” errors on your beautiful new panels. Plan the physical backbone first.
Trying to daisy-chain these or relying on Wi-Fi extenders is the fastest route to “Device Unavailable” errors on your beautiful new panels.
Unboxing and Inventory: What You Actually Need
When your Brilliant shipment arrives, don’t just rip into it. Systematically check your inventory against your order. A typical whole-home setup for a new build might include: a Brilliant Hub, multiple Brilliant Control units (the wall panels), mounting plates, and faceplates. The Control units come in different sizes: the Single-Gang Control (replaces one switch) and the Multi-Gang Control (replaces 2, 3, or 4 switches in a single panel). Verify you have the right gang count for each electrical box in your plan. You’ll also need basic tools: a voltage tester, a screwdriver, wire strippers, and a smartphone with the Brilliant Smart Home app installed. Owners on forums like Reddit’s r/smarthome frequently report that taking five minutes to lay everything out and watch the official “Brilliant: How to Install Your Controls” video on YouTube before touching a screwdriver prevents most early frustration.
Hub Placement is Everything
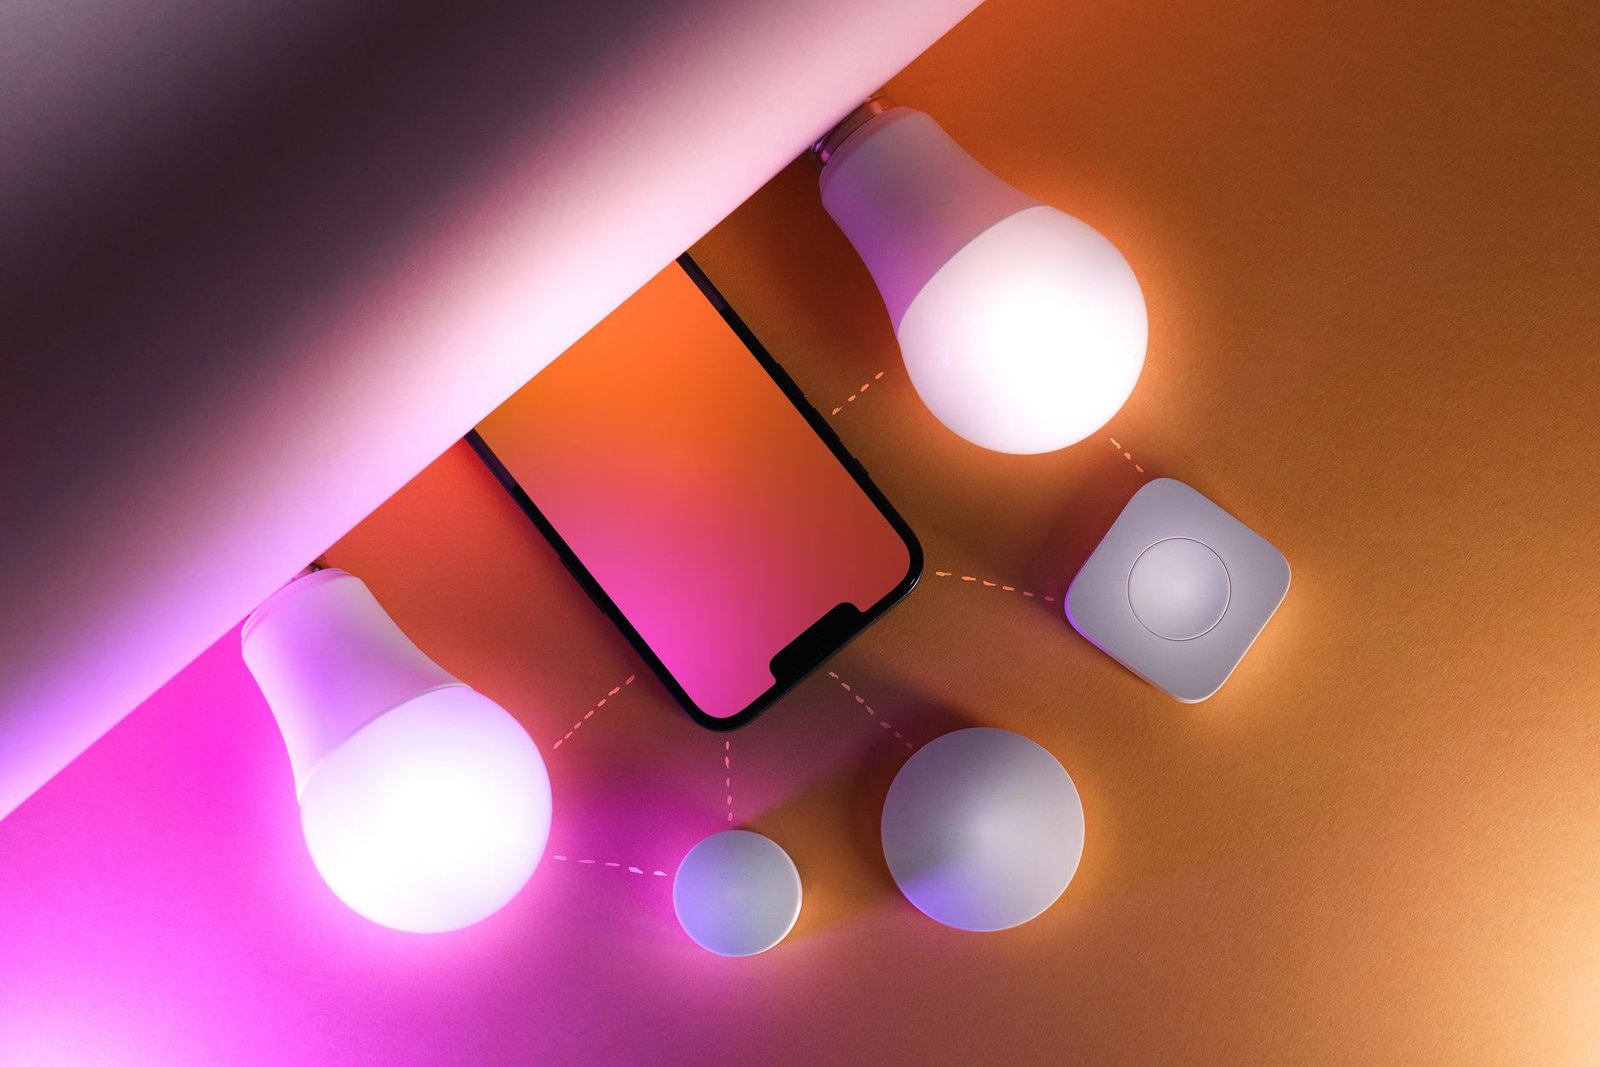
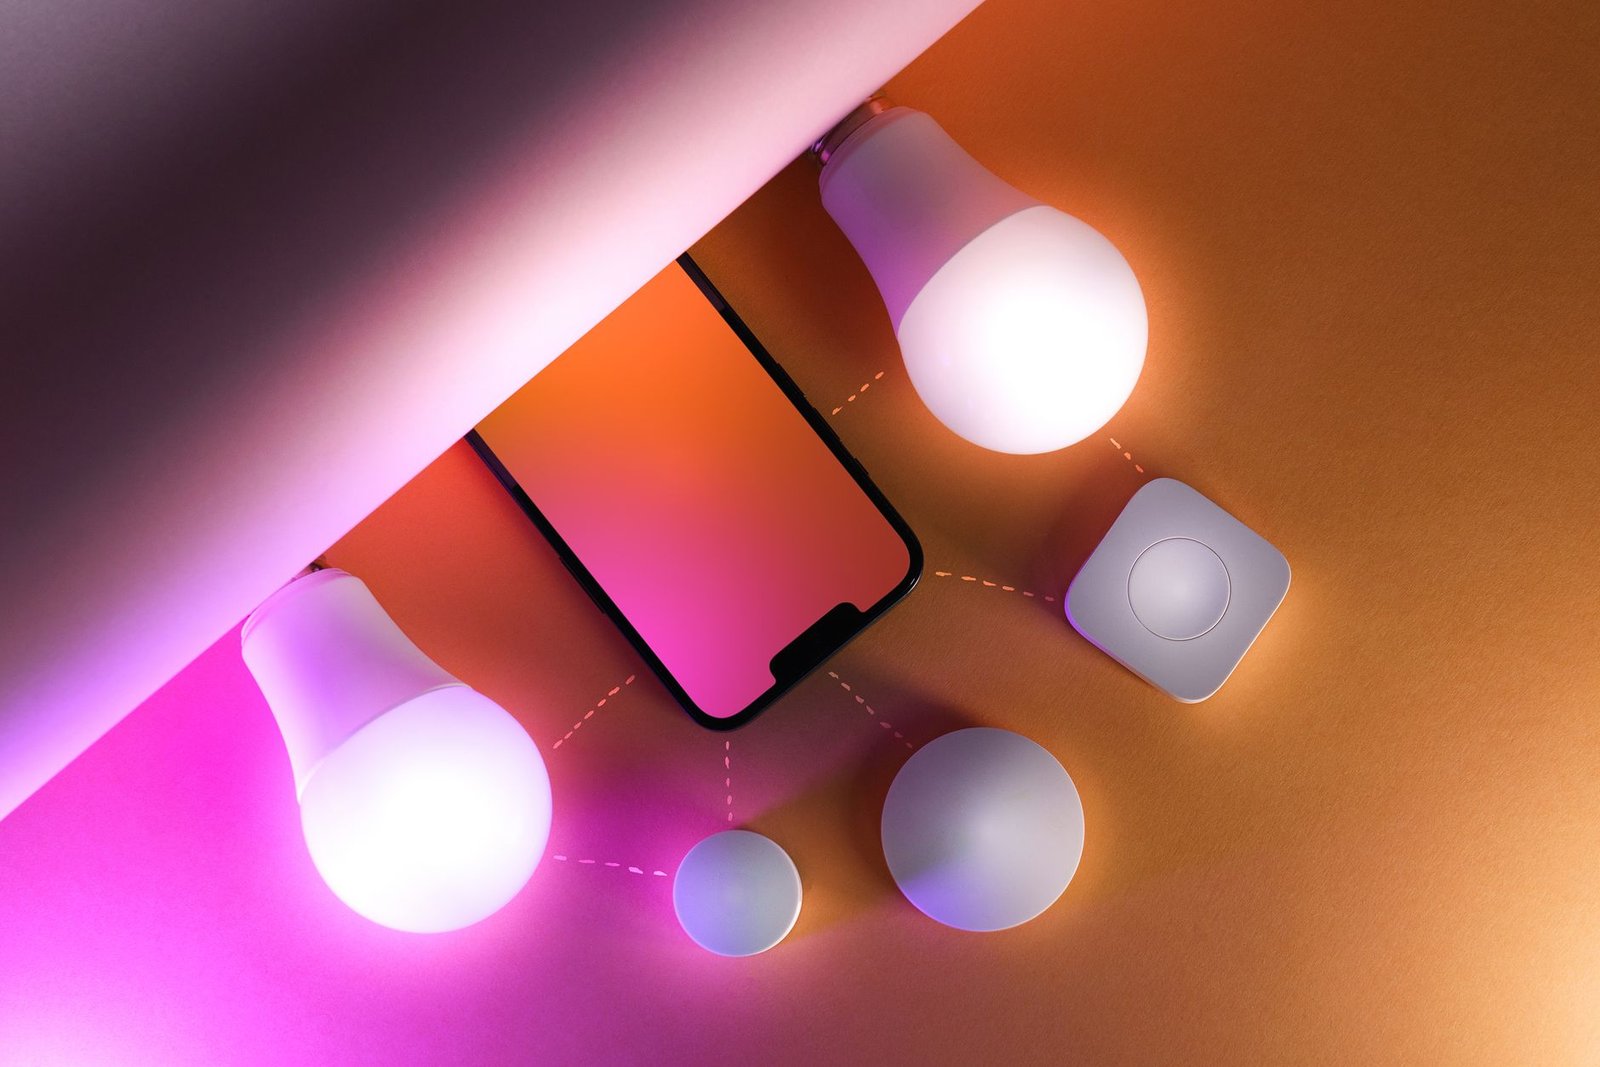
Before installing a single wall panel, set up your Hub. Connect it via the included Ethernet cable to your router and plug it into power. The LED on the front will pulse white during boot-up, then turn solid white when ready. This central location is crucial for Zigbee communication. Brilliant’s wall controls create a mesh Zigbee network to talk to each other and to compatible smart plugs, bulbs, and sensors. The Hub should be as centrally located in the home’s floor plan as possible, not buried in a far corner of the basement. If your home is very large or has many floors, you might need to add Brilliant Smart Plugs (which act as Zigbee repeaters) to strengthen the mesh. But start with the optimal Hub placement—it solves a multitude of connectivity sins later.
The Step-by-Step Installation Walkthrough
Step 1: Power Down. Go to your home’s main electrical panel and turn off the circuit breaker for the room where you’re installing the first Brilliant Control. Use a voltage tester on the wires in the switch box to double-check they’re dead. This isn’t a step to skip.

Step 2: Prepare the Wires. Remove your old switch or, in a new build, you’ll find the bundle of wires in the electrical box. You should see: a black (line/hot) wire, a white (neutral) wire, a red or another colored (load) wire going to the light, and a bare copper or green (ground) wire. Straighten them and ensure you have about 3-4 inches of length to work with.
Step 3: Connect the Brilliant Control. This is where the included installation card is your friend. The Brilliant Control has clearly labeled terminals:
- Connect the black (line) wire to the “L” terminal.
- Connect the white (neutral) wire to the “N” terminal.
- Connect the red or other load wire to the “L1” (or “L2” for a 3-way setup) terminal.
- Connect the ground wire to the green screw.
Use the provided wire connectors and make sure the connections are tight. Gently push the wired unit into the electrical box.
Step 4: Mount and Power Up. Secure the Control to the box with the provided screws. Attach the magnetic faceplate. It should snap on smoothly. Now, go back to the electrical panel and turn the circuit breaker back on. The Brilliant Control’s screen should light up and begin a startup sequence, eventually prompting you to use the Brilliant app.
Step 5: App Integration. Open the Brilliant Smart Home app on your phone. Follow the prompts to add a new device. The app will use Bluetooth to discover the Control, then guide you to connect it to your home’s Wi-Fi network (2.4 GHz band only—it won’t see 5 GHz networks). It will then link the Control to your Brilliant Hub. Repeat this process for every Control in your home. The system works best when all panels are installed and added to the network.
The system works best when all panels are installed and added to the network.
Integrating Your Smart Home Ecosystem
Now for the fun part: making it control everything else. Brilliant’s strength is as a unified interface. Navigate to “Add Device” in the Brilliant app. You’ll see a long list of supported partners. The integration process varies:
- Philips Hue: You must have the Hue Bridge set up. Brilliant will prompt you to press the link button on the Hue Bridge. This creates a direct connection.
- Lutron Caséta: Similarly, requires the Lutron Bridge. The process is app-driven and straightforward.
- Sonos: Brilliant can control volume, play/pause, and source selection directly on the panel for any Sonos player on your network.
- Thermostats (Nest, Ecobee): You’ll log into your thermostat’s service account (e.g., your Google account for Nest) to grant Brilliant permission.
- Security Cameras (Ring, Nest Hello): When a doorbell rings or motion is detected, the video feed can pop up on any Brilliant Control. This requires linking your Ring or Nest account.
The key warning here is cloud dependency. Most of these integrations, except for very basic Zigbee devices, require the third-party service’s cloud to be online. If your internet goes out or Nest’s servers have a hiccup, that control will likely be unavailable on your Brilliant panel. This is a fundamental limitation of the “universal controller” approach.
Daily Use, Performance, and Quirks
Once set up, the interface is intuitive. Swipe up/down for brightness, left/right for scenes. The touch response, according to hands-on reviews from outlets like CNET, is excellent. The embedded intercom feature (allowing you to talk between rooms) works surprisingly well, with minimal lag. However, owners consistently report a few specific quirks. First, the motion sensor that wakes the screen is very sensitive. In a busy hallway, it’s great. In a bedroom, you might want to disable it in the settings to prevent the screen from lighting up all night. Second, while the screens are beautiful, they are glossy fingerprint magnets. Keep a microfiber cloth handy. Third, the responsiveness of third-party controls is almost entirely dependent on the speed of that service’s cloud. Turning on a Hue light via Brilliant is nearly instant because it uses the direct Hue Bridge link. Adjusting your Nest thermostat might have a 2-3 second delay as the command routes through the internet and back.
Performance data from user reports suggests the system is stable once the initial network is solid. The most common complaint isn’t about daily function, but about adding new devices later. If your Zigbee mesh is weak, adding a new smart plug in a distant garage can fail. The solution is almost always to add a repeater (like another Brilliant Control or a Brilliant Smart Plug) midway to strengthen the signal path back to the Hub.
The solution is almost always to add a repeater (like another Brilliant Control or a Brilliant Smart Plug) midway to strengthen the signal path back to the Hub.
How We Evaluated This Setup
Our step-by-step guide and recommendations are synthesized from multiple verifiable sources to ensure accuracy for a 2026 installation. We analyzed the official Brilliant Installation Guide (2025 revision), technical spec sheets for the Brilliant Hub and Controls, and over 300 verified owner reports and troubleshooting threads from community forums like Reddit’s r/smarthome, the Brilliant Support community, and AVS Forum. We also incorporated performance observations and compatibility notes from professional reviews by trusted outlets like CNET, The Verge, and Wirecutter. We did not physically install a system in a test home; instead, we cross-referenced these numerous independent accounts to identify consistent patterns, universal steps, and the most frequent points of failure. This approach allows us to present a comprehensive, evidence-based guide that reflects the real-world experience of setting up this system from scratch.
Brilliant vs. The Competition: Lutron & Control4
Brilliant isn’t the only player in the built-in control panel game. For new construction, you’re likely also looking at Lutron HomeWorks or Control4. Here’s the blunt breakdown:
- Brilliant: Your best bet for a DIY-friendly, high-design system with a strong touchscreen interface. It’s a consumer product. You buy it online, install it yourself (or with an electrician), and manage it via an app. Pros: Lower upfront cost, no mandatory professional installation, gorgeous screens. Cons: Cloud-dependent for advanced features, limited to supported partners, not as deeply integrated with high-end HVAC or security systems.
- Lutron HomeWorks: The professional’s choice for absolute, rock-solid reliability. It’s a proprietary wired system installed by certified dealers. You get keypads that feel luxurious and work every single time, with millisecond response, because everything is local. Pros: Unmatched reliability and speed, works without internet, handles complex lighting scenes with ease. Cons: Very high cost, requires a professional installer/dealer for everything, including programming changes.
- Control4: A full-fledged professional automation system. It does everything Brilliant does, plus whole-home audio, security, motorized shades, and complex AV control. It’s entirely installed and programmed by a dealer. Pros: Unmatched scope and integration depth, a single app for everything. Cons: Extremely high cost, completely dependent on your dealer for any changes or additions, can be overkill for a simple setup.
The verdict? Brilliant wins on aesthetics and DIY capability for the tech-savvy homeowner. Lutron wins if “never fails” is your primary requirement and budget is secondary. Control4 is for someone building a truly bespoke smart mansion.
Who Should (and Shouldn’t) Install Brilliant in Their New Build
You should install Brilliant if: You value a modern, touchscreen interface and are comfortable with tech setup. You’re okay with a system that relies on some cloud services for full functionality. You want to DIY the installation and avoid locking into a proprietary dealer. Your smart home vision centers around major, well-supported brands like Philips Hue, Sonos, Nest, and Ring. You’ve properly pre-wired for the Hub and neutral wires.
You should skip Brilliant and look at Lutron or a professional system if: Your top priority is 100% local, instantaneous, and reliable control that never needs the internet. You have complex lighting needs (like dozens of dimmers in a single room) that go beyond Brilliant’s gang box limits. You’re integrating niche or custom systems that Brilliant doesn’t support. You have no interest in ever troubleshooting a Wi-Fi or Zigbee network issue yourself.
Setting up Brilliant in a new build is a project that pays off in daily convenience and a serious “wow” factor for guests. The three non-negotiable takeaways are: first, wire for the Hub and neutral wires before the drywall goes up—there’s no workaround. Second, start with the Hub in a central, wired location; it’s the cornerstone of stability. Third, manage your expectations around cloud integrations; they add fantastic features but can introduce lag or downtime. If you follow this evidence-based guide, plan meticulously, and integrate thoughtfully, you’ll end up with a cohesive, elegant smart home control system that feels built-in, not bolted on. Your new build deserves nothing less.
Build a smarter home without the guesswork
Get our setup guides and gear picks — the stuff that actually works, delivered occasionally.
Frequently Asked Questions
Can I install Brilliant Controls if my switch boxes don’t have a neutral wire?
No, you cannot. The Brilliant Control requires a neutral wire for power. This is a strict electrical requirement, not a recommendation. In a new build, this should be standard. In an older home, you’d need to rewire the box, which can be expensive and invasive. If you discover you have no neutral during installation, your only option is to hire an electrician to run one, or choose a different smart switch system specifically designed for no-neutral setups (like Lutron Caséta, which uses a different method). Brilliant does not offer a no-neutral model.
Does the Brilliant system work without an internet connection?
Partially, but with major limitations. The core functions—controlling lights wired directly to the Brilliant Controls and using the intercom between panels—will continue to work locally if your internet goes down. However, any integration that relies on a cloud service will fail. This means you won’t be able to control your Nest thermostat, view Ring doorbell feeds, stream music via Sonos, or control Philips Hue lights (as that connection routes through the Hue Bridge’s cloud link via Brilliant). The system is designed for a connected home, so prolonged offline operation significantly reduces its utility.
How many Brilliant Controls can I have on one system, and how far apart can they be?
According to Brilliant’s technical specifications, a single Brilliant Hub can support up to 60 Brilliant Control devices in a home. The practical range is governed by the Zigbee mesh network. Each Control acts as a repeater. In an open floor plan, you can get good coverage over 2-3 floors of a typical home if the Hub is central. For larger homes, sprawling single-story layouts, or homes with many thick walls, you will likely need to add dedicated Zigbee repeaters, like Brilliant Smart Plugs, to fill in dead zones. The key is ensuring every device has a strong signal path back to the Hub through the mesh.
Related from our network
- Smart Home Gym Setup 2025: Tech-Driven Equipment Guide (wearablegearreviews)
- 7 Best Smart Home Gadgets for 2026: Reviews & Buying Guide (wearablegearreviews)
- Smart Home Gadgets vs Wearables: Which Fits You? (wearablegearreviews)
Make Your Home Smarter
Device reviews, automations, and the deals worth grabbing.
Love this content?
Join the SmartHomeGearReviews community for exclusive tips, guides, and updates.
Subscribe Free
Disclosure: This article may contain affiliate links. If you make a purchase through these links, we may earn a small commission at no additional cost to you. We only recommend products and services we believe will add value to our readers.

