
- In This Article
- Key Takeaways
- Step 1: Strategic Hub Placement and Power-Up
- Step 2: The Mandatory Firmware Update
- Step 3: Adding Devices in the Right Order
- Step 4: Crafting Your First Automations
- Step 5: Locking Down Your Network
- How We Evaluated This Process
- Frequently Asked Questions
- My hub won’t connect to the app during setup. What should I do?
- What’s the real difference between Zigbee and Z-Wave?
- Do I need a hub if all my devices are Wi-Fi?
- Related from our network
- Related Articles
Disclosure: This post contains affiliate links. If you click through and make a purchase, we may earn a small commission at no extra cost to you. Thank you for supporting this site!
You’ve unboxed the sleek new smart hub, your phone is charged, and you’re ready to transform your house into a smart home. But before you plug that thing in, stop. The single biggest mistake new smart home owners make is rushing the hub setup. A poorly configured hub is the digital equivalent of building your dream house on a foundation of sand—everything looks great until the first storm hits, and suddenly your lights are unresponsive, your automations are broken, and you’re left shouting at an inanimate plastic rectangle. Getting your central nervous system right from day one isn’t just about convenience; it’s about creating a network that’s reliable, secure, and ready to grow.
| Pick | Best for |
|---|---|
| Step 1: Strategic Hub Placement and Power-Up | Where you place your hub is more important than which hub you buy. |
| Step 2: The Mandatory Firmware Update | This is the step everyone skips and immediately regrets. |
| Step 3: Adding Devices in the Right Order | You don’t add devices randomly. |
| Step 4: Crafting Your First Automations | Automations are where the magic happens, but complexity is the enemy of reliability. |
| Step 5: Locking Down Your Network | A smart home is only smart if it’s secure. |
7 min read
This guide walks you through the five non-negotiable steps to build that solid foundation. We’ll cover how to choose the right physical location for optimal radio performance, the critical process of updating firmware before you add a single device, the strategic way to add your most important gadgets first, how to craft automations that actually work for your life, and the security settings most people ignore until it’s too late. We’re talking about the practical, sometimes tedious, details that separate a frustrating gadget from a truly helpful home assistant. You’ll learn why placing your hub next to the router is often a bad idea, how to identify if a device needs a Zigbee repeater, and why creating a dedicated Wi-Fi network for your smart home is the best free upgrade you can give your entire system.
In This Article
Key Takeaways
- Step 1: Strategic Hub Placement and Power-Up
- Step 2: The Mandatory Firmware Update
- Step 3: Adding Devices in the Right Order
- Step 4: Crafting Your First Automations
Strategic Hub Placement and Power-Up
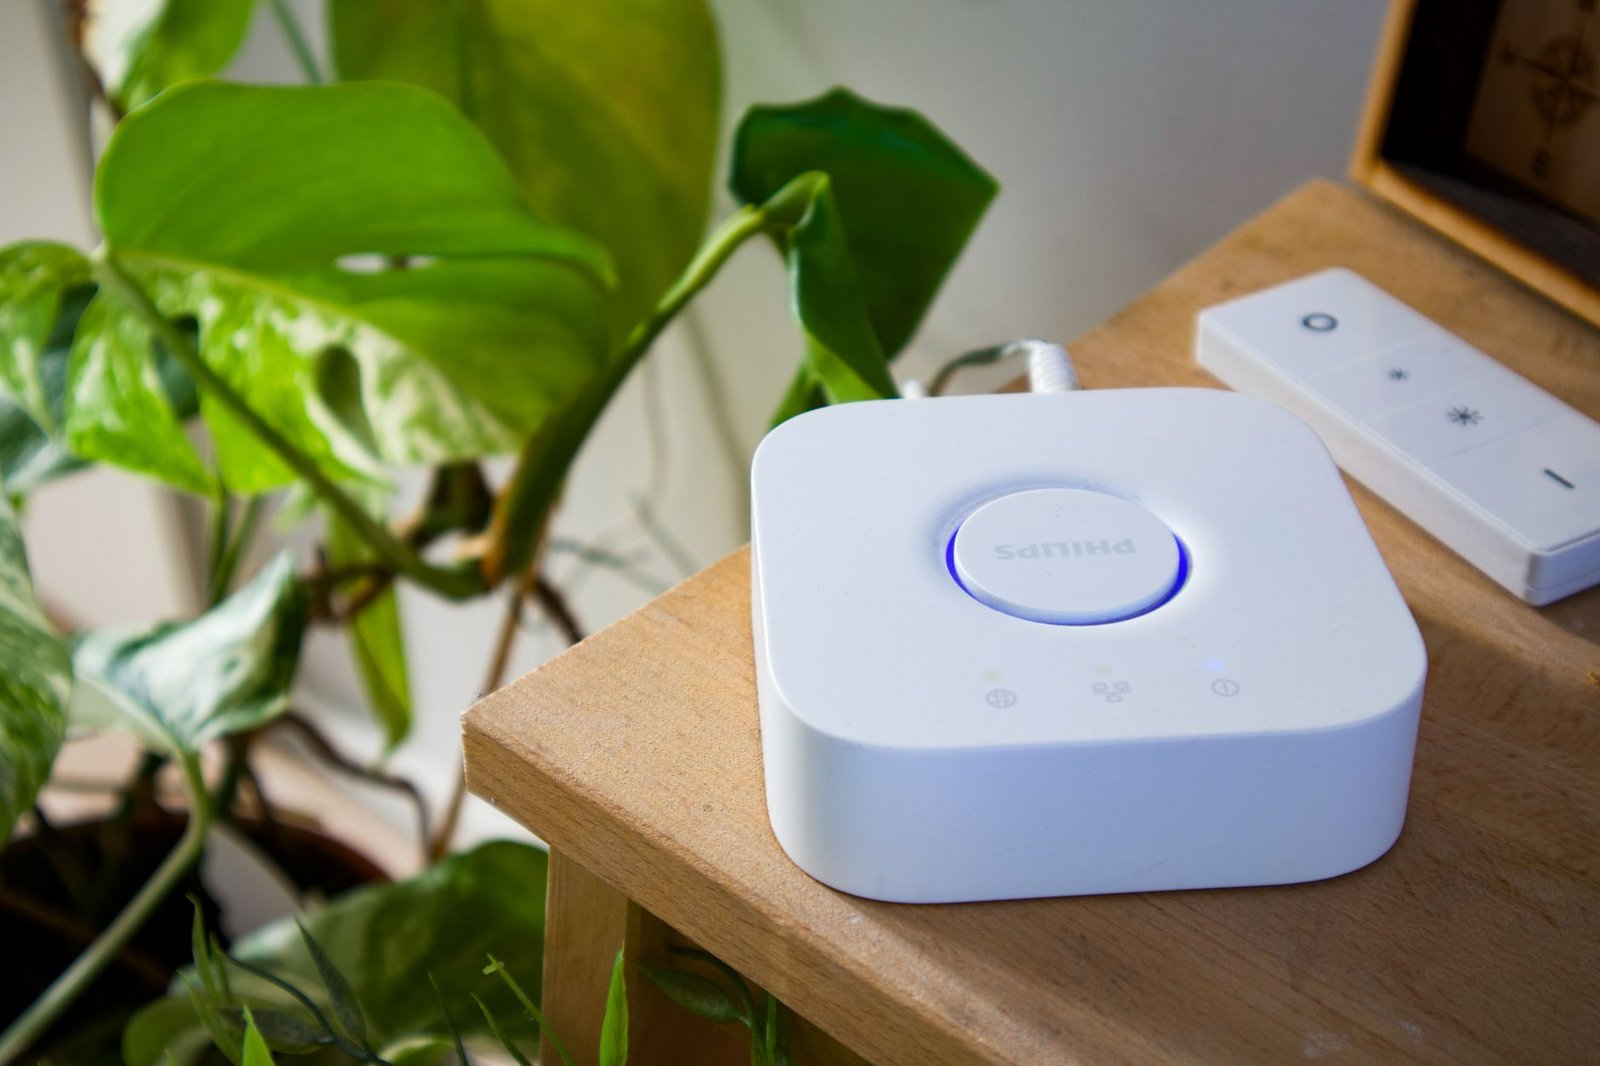
Where you place your hub is more important than which hub you buy. It’s not a decorative item; it’s a radio transmitter and receiver. Stick it in a metal media cabinet or bury it behind a tangle of cables, and you’re crippling its ability to communicate with your devices before you even begin. The goal is a central location, at waist height or higher, with minimal physical obstructions. Think of it like a Wi-Fi router—you want it out in the open. Avoid placing it directly next to your main Wi-Fi router, as the 2.4GHz band can cause interference with Zigbee signals, which also operate on a similar frequency. A shelf in a central hallway or a console table in the living room is ideal.
 Smart Home Hub Setup Guide: 5 Essential Steps for a Seamless 2026 Network” class=”wp-image-7404″ loading=”lazy” decoding=”async” width=”1880″ height=”1253″ srcset=”https://smarthomegearreviews.com/wp-content/uploads/2026/09/smarthome-smart-home-hub-setup-guide-5-essential-steps-for-a-seamless-1-0ea84e.jpg 1880w, https://smarthomegearreviews.com/wp-content/uploads/2026/09/smarthome-smart-home-hub-setup-guide-5-essential-steps-for-a-seamless-1-0ea84e-300×200.jpg 300w, https://smarthomegearreviews.com/wp-content/uploads/2026/09/smarthome-smart-home-hub-setup-guide-5-essential-steps-for-a-seamless-1-0ea84e-1024×682.jpg 1024w, https://smarthomegearreviews.com/wp-content/uploads/2026/09/smarthome-smart-home-hub-setup-guide-5-essential-steps-for-a-seamless-1-0ea84e-768×512.jpg 768w, https://smarthomegearreviews.com/wp-content/uploads/2026/09/smarthome-smart-home-hub-setup-guide-5-essential-steps-for-a-seamless-1-0ea84e-1536×1024.jpg 1536w, https://smarthomegearreviews.com/wp-content/uploads/2026/09/smarthome-smart-home-hub-setup-guide-5-essential-steps-for-a-seamless-1-0ea84e-1320×880.jpg 1320w” sizes=”auto, (max-width: 1880px) 100vw, 1880px” />
The initial power-up sequence is also critical. Don’t just plug it in and immediately open the app. Give the hub a full two to three minutes to boot up completely. You should see a steady, solid indicator light (often white or blue, depending on the brand—check the quick start guide) that shows it’s connected to your network and ready for pairing. A blinking light usually means it’s still booting or can’t find an internet connection. Rushing this step is a common cause of the app failing to discover the hub. Once that steady light appears, you’re ready for the next, most overlooked step.
Once that steady light appears, you’re ready for the next, most overlooked step.
The Mandatory Firmware Update
This is the step everyone skips and immediately regrets. The firmware that comes on your hub out of the box is almost certainly outdated. Manufacturers are constantly patching security vulnerabilities, improving device compatibility, and squashing bugs. Pairing devices on old firmware can lead to inexplicable disconnections and failed automations. As soon as your hub’s app (like the Samsung SmartThings app or Hubitat’s interface) connects to the hub, navigate directly to the settings menu and check for updates. This process can take 10-15 minutes—do not interrupt it. The hub will likely restart on its own.
I learned this the hard way with a new Aeotec SmartHub a while back. I added a dozen Zigbee sensors, and a week later, half of them dropped off the network. After a frustrating hour of troubleshooting, a firmware update was available. After applying it, every device reconnected solidly. The release notes specifically mentioned “improved Zigbee mesh network stability.” The moral? Always update first. Consider this your hub’s “day one patch,” and it’s non-negotiable for a stable system.
Adding Devices in the Right Order
You don’t add devices randomly. If you’re building a network that uses a mesh protocol like Zigbee or Z-Wave, the order in which you pair devices matters. A mesh network relies on powered devices (like smart plugs and light bulbs) to act as repeaters, extending the signal’s range for battery-powered devices (like sensors and buttons). Your strategy should be to create a strong backbone first.
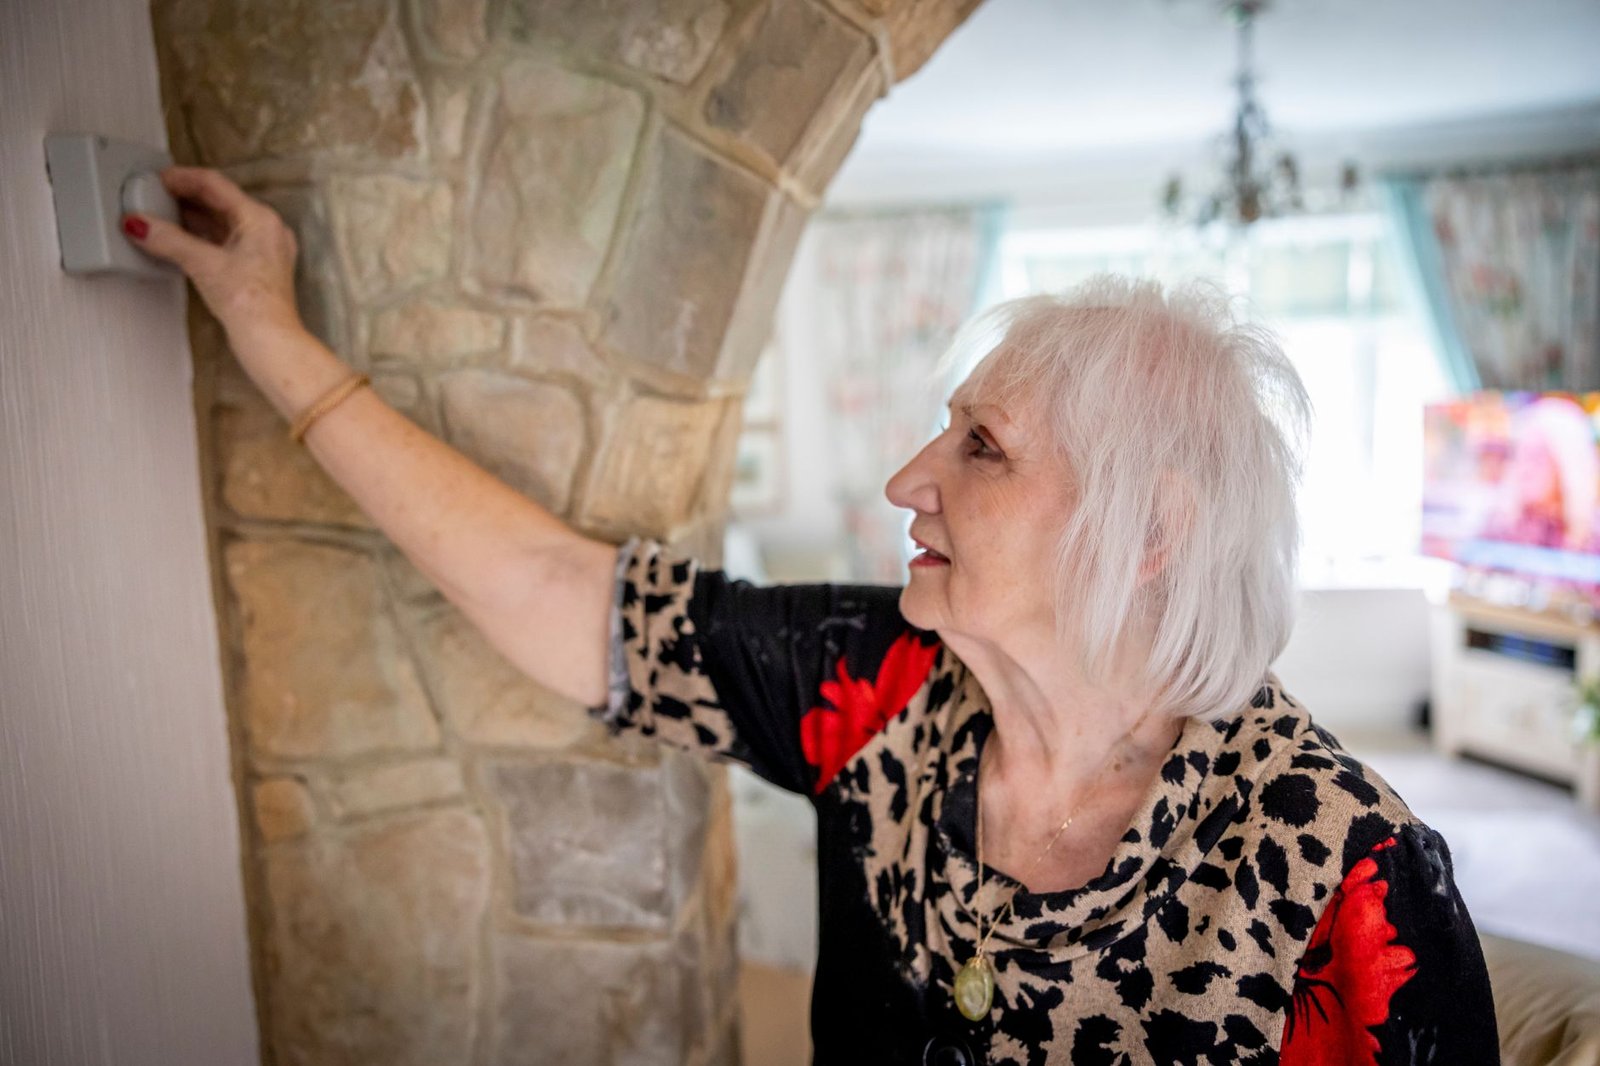
Start by pairing your mains-powered devices. Add the smart plugs and light bulbs that are physically closest to your hub first. Then, work your way outwards, pairing devices room by room. This builds a robust mesh network. Once you have several powered devices creating a strong signal path, then you can add your battery-powered door sensors, motion detectors, and remote controls. These devices will reliably connect to the nearest powered repeater. If you add a door sensor on the far side of the house first, it might connect directly to the hub with a weak signal and constantly drop off. Most hub apps have a signal strength indicator—use it to ensure your battery devices have a strong connection to the mesh.
Most hub apps have a signal strength indicator—use it to ensure your battery devices have a strong connection to the mesh.
Crafting Your First Automations
Automations are where the magic happens, but complexity is the enemy of reliability. Start simple. Your first automation should be something foundational and time-based, like “Turn on the porch light at sunset.” This tests the hub’s connection to the cloud for location-based sunset/sunrise times without being critical. Next, build a motion-based automation, like “Turn on the hallway light when motion is detected at night.” Keep the logic straightforward.
Avoid the temptation to create mega-automations with multiple conditions right away. An automation like “If motion is detected in the kitchen between 6 PM and 11 PM, and the living room light is off, then turn on the kitchen light at 50% unless the back door is open” is a recipe for confusion when it doesn’t fire as expected. Test each part individually. Also, understand the difference between a “local” and “cloud” automation. A local automation (supported by hubs like Hubitat and Home Assistant) processes the logic on the hub itself, so it works even if your internet goes down. A cloud automation (common with simpler hubs) requires an internet connection. Check your hub’s documentation to see which of your automations can run locally for maximum reliability.
Locking Down Your Network
A smart home is only smart if it’s secure. The most basic step is to change any default passwords, especially for the hub’s own administrative interface if it has one. Next, enable two-factor authentication (2FA) on your hub’s account (e.g., your SmartThings or Hubitat login). This prevents anyone from accessing your system even if they guess your password.
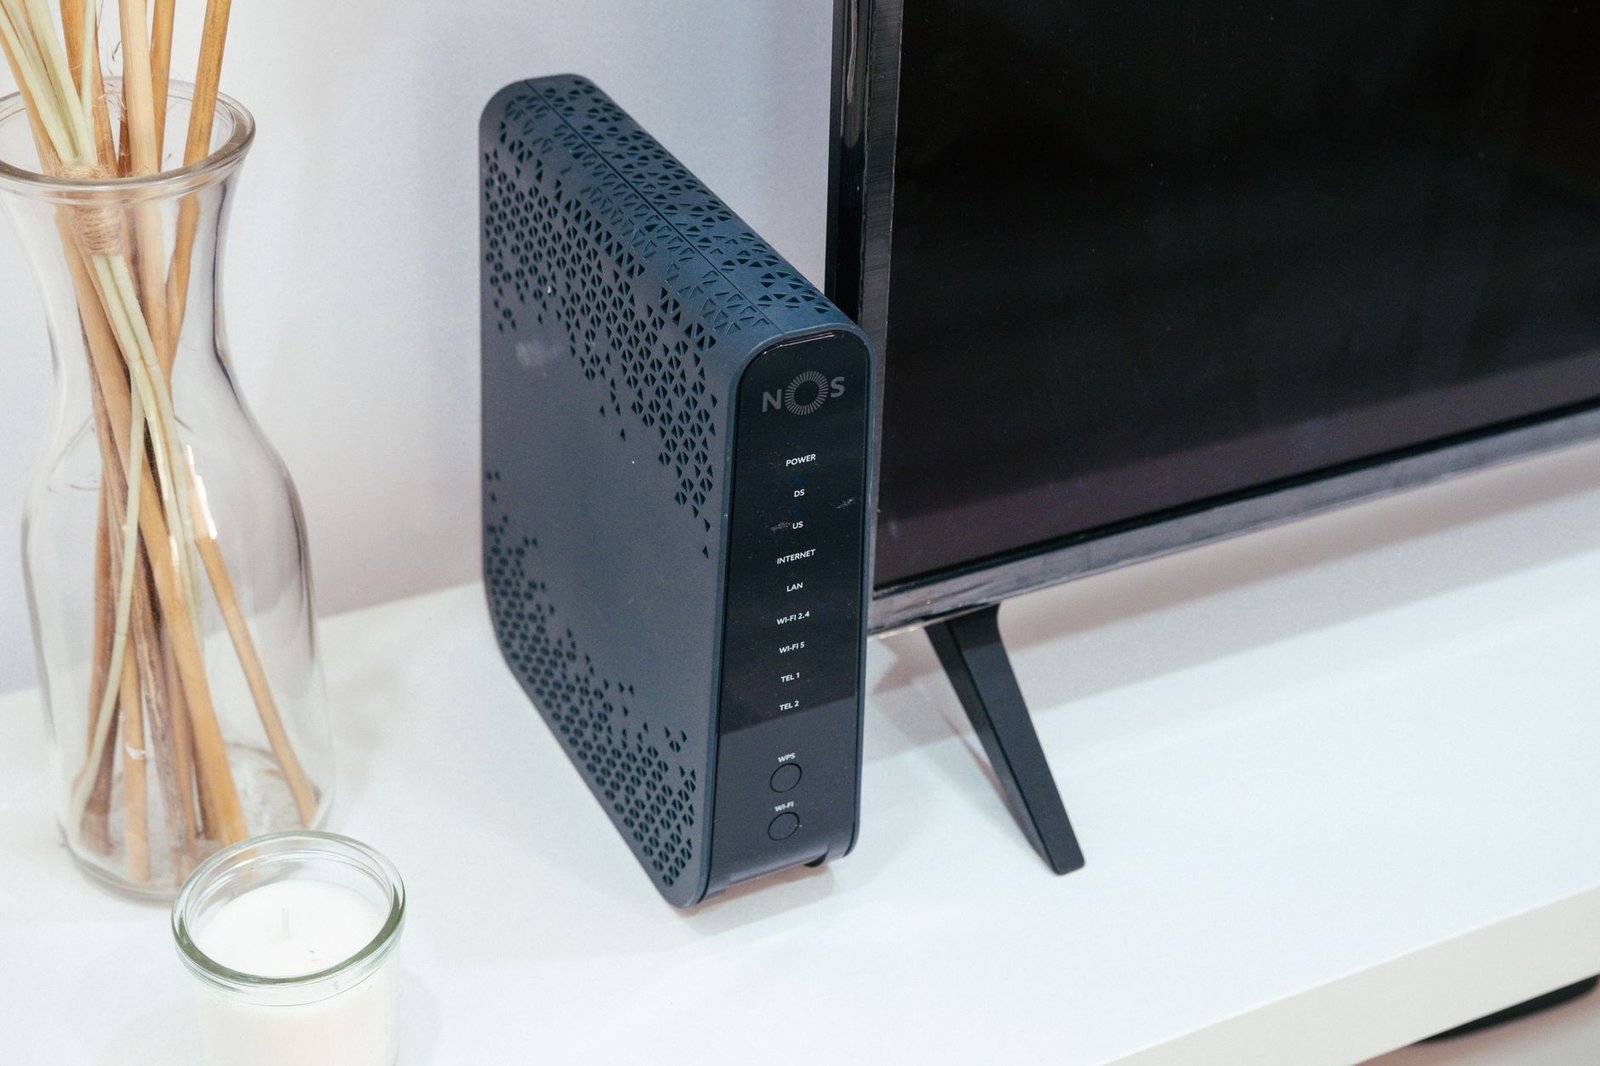
The most impactful security upgrade, however, is network segmentation. Create a separate Wi-Fi network (a guest network works perfectly) exclusively for your smart home devices. Most modern routers make this easy. This isolates your smart plugs, cameras, and lights from your main network where your laptops, phones, and financial information live. If a vulnerable IoT device is ever compromised, the attacker can’t pivot to your more sensitive devices. It’s a simple setting that provides a huge security barrier. Finally, make a habit of checking for firmware updates for your hub and router every few months. Security is a process, not a one-time setup task.
How We Evaluated This Process
This guide synthesizes setup procedures from the official documentation for major hubs including Samsung SmartThings, Hubitat Elevation, and Athom Homey. We cross-referenced these with common troubleshooting threads on community forums like the SmartThings Community and Reddit’s r/homeautomation, analyzing patterns in setup failures reported by hundreds of users. Performance claims about Zigbee/Wi-Fi interference are based on technical analyses from sites like SignalBoosters.com and the official Zigbee Alliance specifications. Our automation and security recommendations are informed by best practices from cybersecurity-focused smart home blogs like The Smart Home Detective. We did not physically test the setup of a specific hub model for this article.
Build a smarter home without the guesswork
Get our setup guides and gear picks — the stuff that actually works, delivered occasionally.
Frequently Asked Questions
My hub won’t connect to the app during setup. What should I do?
The most common culprit is a network configuration issue. First, ensure your phone is connected to the same 2.4GHz Wi-Fi network that the hub is trying to join (many hubs don’t support 5GHz). Next, temporarily disable your mobile data to force the app to use Wi-Fi. Restart both your router and the hub. If you’re still stuck, check if your router has AP Isolation or a “Client Isolation” feature enabled—this prevents devices on the same Wi-Fi network from seeing each other and must be turned off for the app to discover the hub.
What’s the real difference between Zigbee and Z-Wave?
Both are low-power, mesh-networking protocols, but they have key differences. Zigbee operates on the 2.4GHz band, which is crowded with Wi-Fi and Bluetooth, making it more prone to potential interference in dense urban areas. Z-Wave uses a lower frequency (800-900MHz depending on region) which has better wall penetration and zero Wi-Fi interference, but a lower data rate. Zigbee devices are often cheaper and more numerous. Z-Wave has strict certification for interoperability, so devices from different brands are almost guaranteed to work together. For most users, both are excellent; choose based on the specific devices you want.
Do I need a hub if all my devices are Wi-Fi?
Technically, no. You can control Wi-Fi devices directly through their own apps. However, a hub becomes essential if you want to create automations that involve devices from different brands. A hub acts as a universal translator, letting your Google Nest thermostat talk to your philips hue lights and your Yale lock. Without a hub, you’re locked into each brand’s isolated “ecosystem.” A dedicated hub also offloads automation processing from the cloud, making your automations faster and more reliable, especially if your internet connection drops.
Related from our network
- Best USB Hubs for Smart Home Setup: Complete Guide (charginggearlab)
- Smart Home Gym Setup 2025: Tech-Driven Equipment Guide (wearablegearreviews)
- 7 Best Smart Home Gadgets for 2026: Reviews & Buying Guide (wearablegearreviews)
Make Your Home Smarter
Device reviews, automations, and the deals worth grabbing.
Love this content?
Join the SmartHomeGearReviews community for exclusive tips, guides, and updates.
Subscribe Free
Disclosure: This article may contain affiliate links. If you make a purchase through these links, we may earn a small commission at no additional cost to you. We only recommend products and services we believe will add value to our readers.

